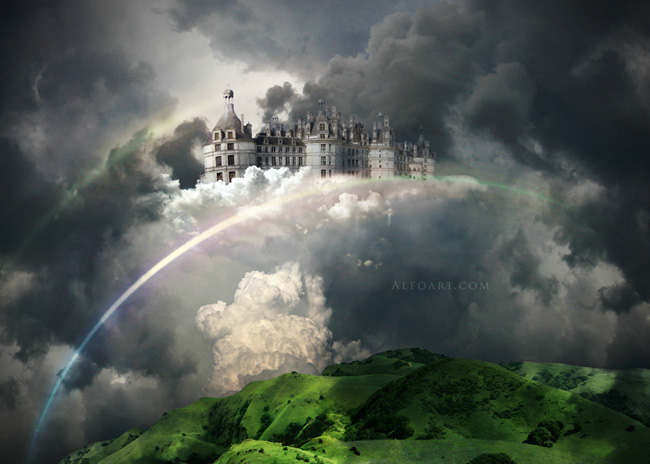
| You may get .psd* file of "Castle in the Sky" The easy way to create beautiful photo manipulation with green landscape, dramatic sky, rainbow and castle in the white clouds. Photoshop tutorial by making a payment. Put the tutorial title in "Add special instructions to seller" line of PayPal and it will be sent to you shortly. |
Used images:
Clouds [link] [link]
Landscapes [link] [link]
Sky [link]
Castle [link]
- Create a new document in Photoshop.
- Insert sky image:
.jpg)
- Duplicate Sky layer. Apply Auto Contrast adjustment to it. Image > Adjustments > Auto Contrast.
- Set Overlay Blending Mode to duplicated layer and Opacity 45%.
.jpg)
- Merge both of sky layers, duplicate created sky layer again and connect sky images on edge.
- Merge two sky layers.
.jpg)
- Select the Patch tool.
- I order to cover edge, drag in the image to select the area you want to repair, and select Source in the options bar. Drag the selection border to the area from which you want to sample. When you release the mouse button, the originally selected area is patched with the sampled pixels.
.jpg)
- To cover all edge area, repeat this action several times.
.jpg)
.jpg)
- Apply Warp (Arc) transformation to sky image just like on the image below.
.jpg)
- Scale Sky layer and rotate it on 10° left.
.jpg)
- Insert landscapes images.
.jpg)
- Merge them together.
.jpg)


