-
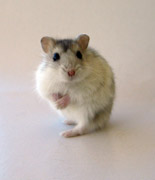
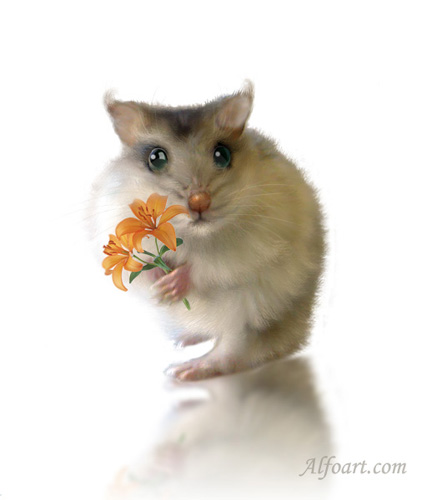
The photo before and after editing (click to enlarge the pictures):

- Open original photo of an animal in Photoshop.
- Click on "D"
- Click the Quick Mask mode button in the toolbox
 end fill background with color using soft brush.
A color overlay (similar to a rubylith) covers and protects the area outside the selection. Selected areas are left unprotected by this mask. By default, Quick Mask mode colors the protected area using a red, 50% opaque overlay.
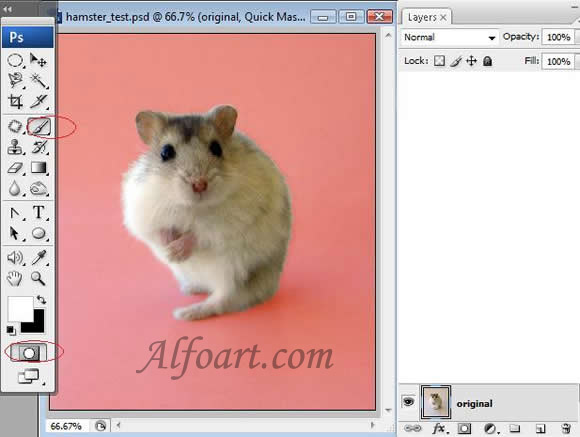
- Click on Quick Mask again.
- Copy the selected silhouette of a hamster and insert it into a new layer.
- Create a new layer and place it under layer with hamster. Fill layer with white color.
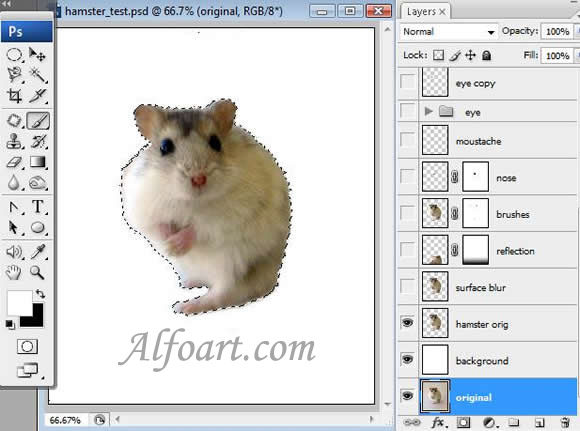
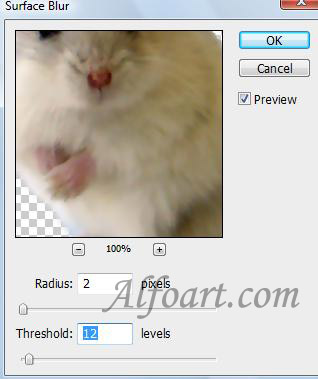
- Choose Filter > Blur > Surface Blur.
