


Learn how to create surreal street scene with the 3D models, water reflections, underwater textures, also learn how to create water line effect from scratch. You may get .psd* file of "Giraffe Neck Knot realistic transformation". Photoshop tutorial by making a payment. Put the tutorial title in "Add special instructions to seller" line of PayPal and it will be sent to you shortly.
- Duplicate black and white knot layer and increase black shades by using Levels adjustments. Move left black marker and grey center marker to center. Apply Soft Light Blending Mode to the duplicate.
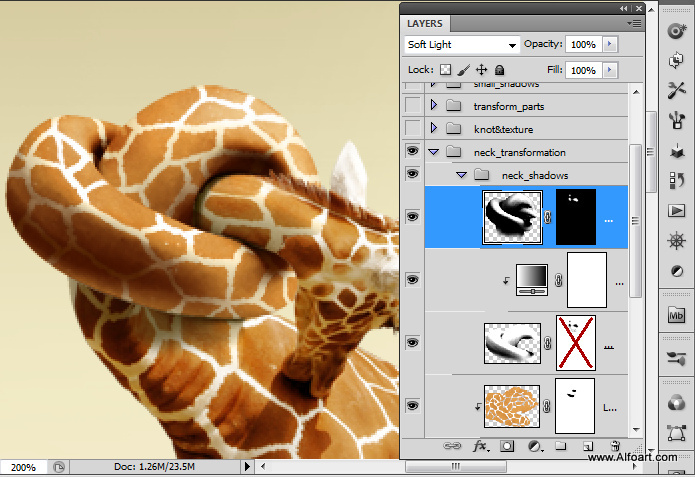
- Here is the result. Merge giraffe and knot layers.
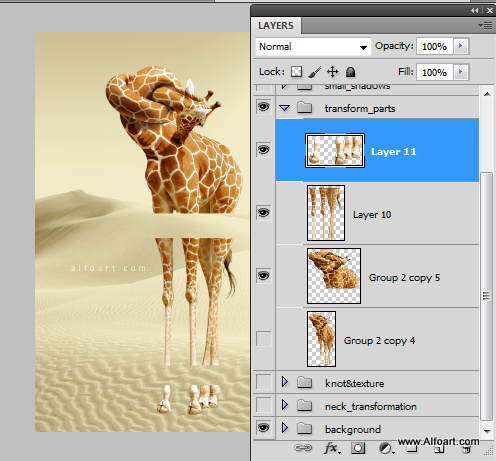
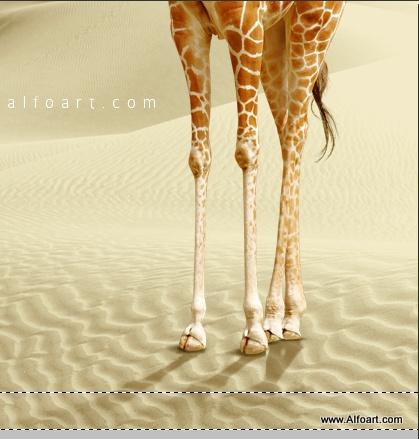
- The top part of Giraffe became too large and heavy. In order to create more cartoon and balanced silhouette, let's stretch legs a but.
- Select, cut and paste into the new layers these section of giraffe body:
- Then stretch center part with Free Transformation or Edit >"Content-Aware Scale", try which way working better for good result.
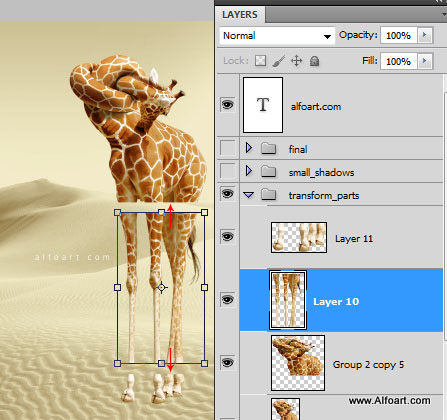
- Move parts edges close to each other and merge giraffe figure again.

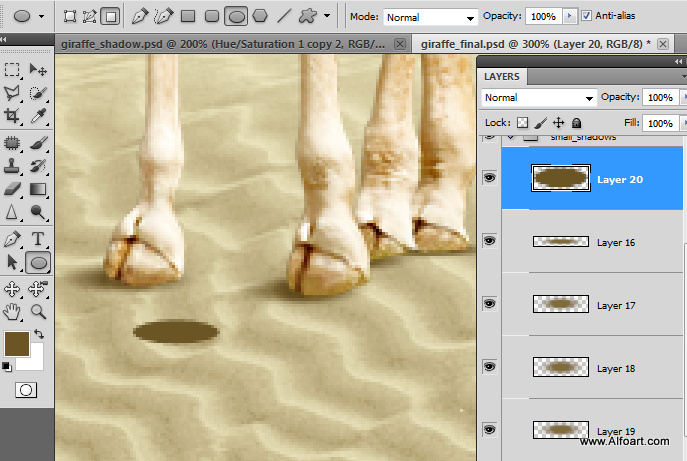
- Draw dark brown ovals and put them below each leg. Apply Gaussian Blur filter (2-3 px) to them.
- Duplicate Giraffe shape. Load selection for the duplicate and fill it with the brown color.
- Go to Edit > Transform > Flip Vertical. Move flipped layer down below giraffe shape.
- Go to Edit > Transform > Distort. Move shape corners just like in the example below.
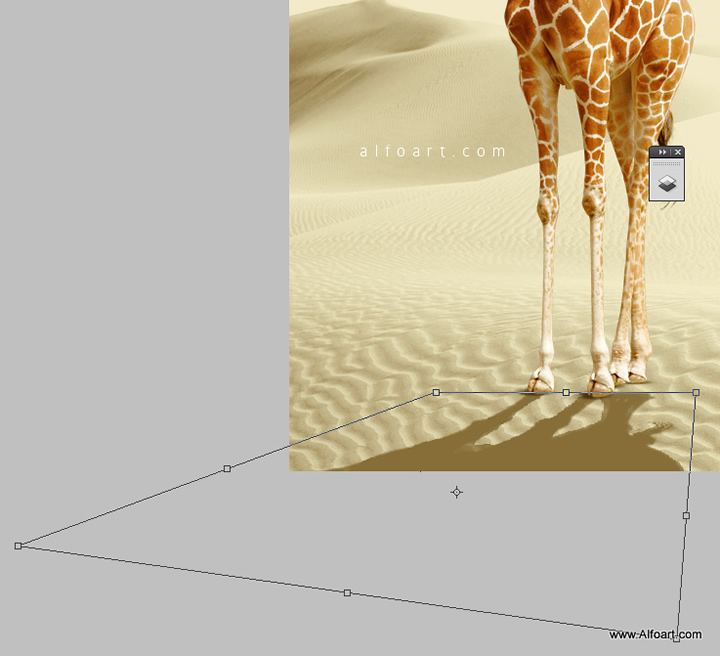
- Apply Multiply Blending Mode to the shadow layer.
- Add layer Mask to the shadow layer.
- Click Quick Mask icon. Then fill bottom part of shadow with the gradient.
- Release Quick Mask, you will get soft selection of the bottom part of shadow.
- Apply Gaussian Blur filter to selected part of shadow(8-12px).
- Then make active Layer Mask and fill selected area with black color.
- Play with Opacity settings to get better soft shadow effect.
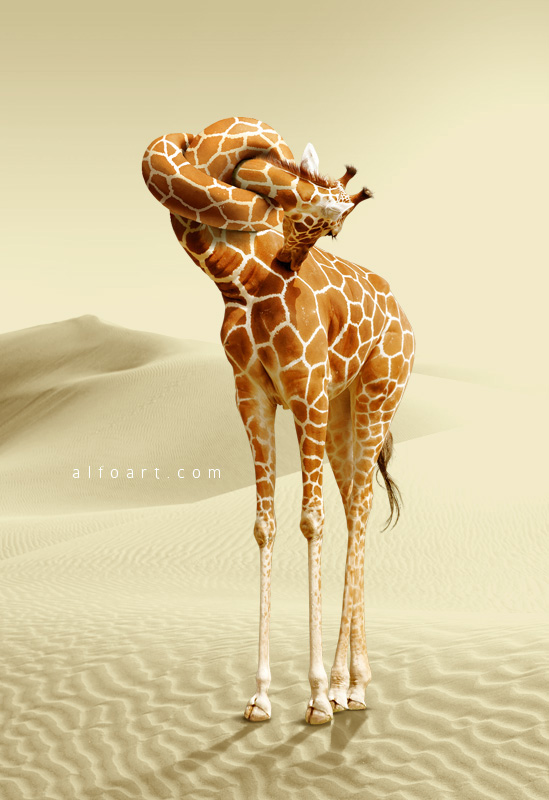
And here is the result!