


You may get .psd* file of "Winter Scene Photo Manipulation". Photoshop tutorial by making a payment(attn.(!)- the layers with the original stock pictures are watermarked). Put the tutorial title in "Add special instructions to seller" line of PayPal and it will be sent to you shortly.
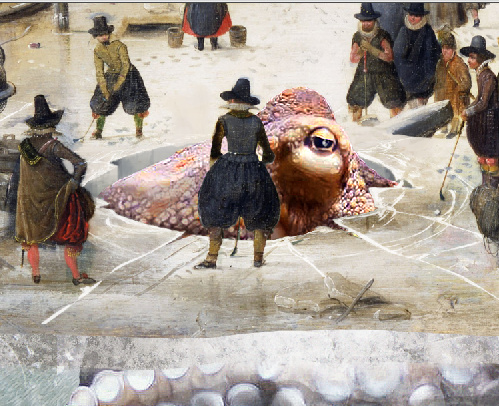
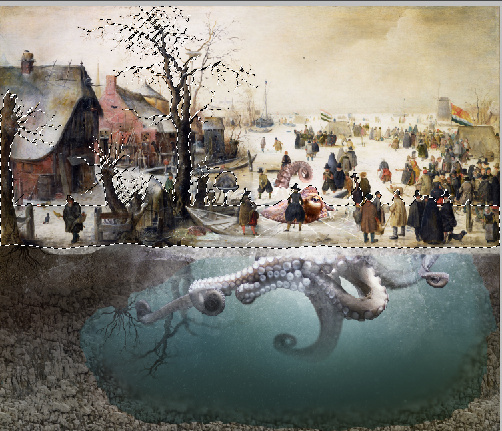
- Insert octopus image once again, but put this layer above original painting, ice hole, layers.
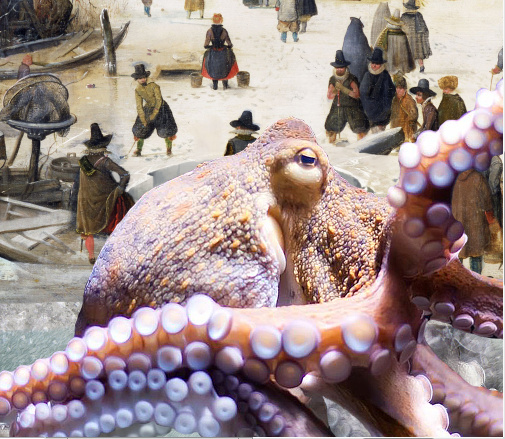
- Erase octopus body, leave only top of the head above bottom edge of the ice hole.
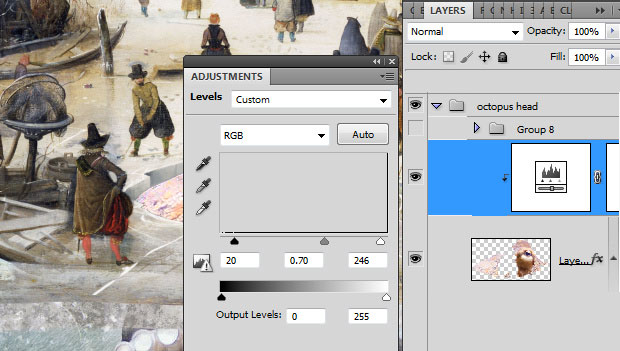
- Correct levels for the octopus head, make it darker.
- Add second broken glass image. Transform it just like the previous glass texture.
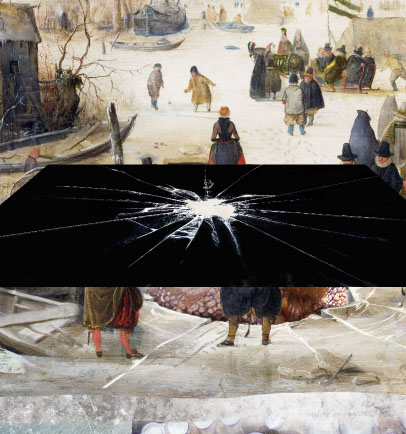
- Apply Screen Blending Mode, erase white crack from figures.
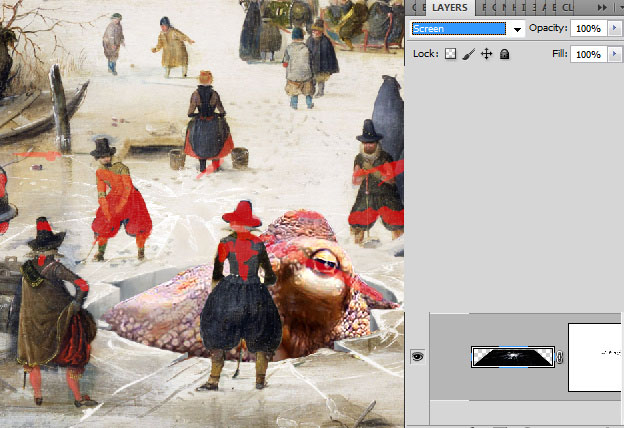
- Fill ice hole area with gradient, use the same way as for previous large hole image.
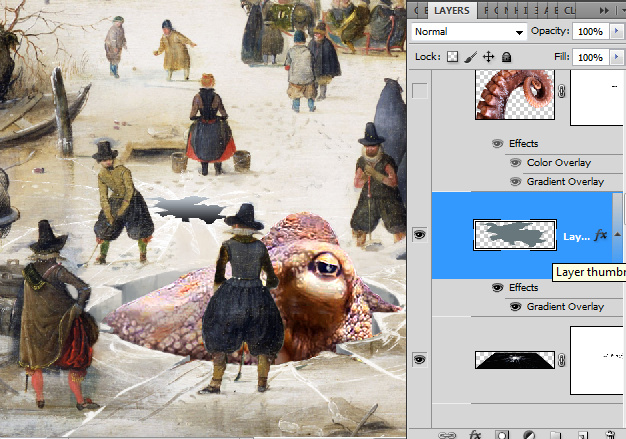
- Insert octopus tentacle, erase bottom edge below ice hole contour.
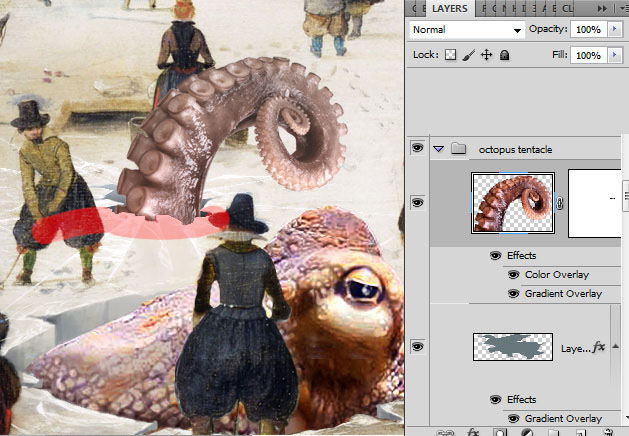
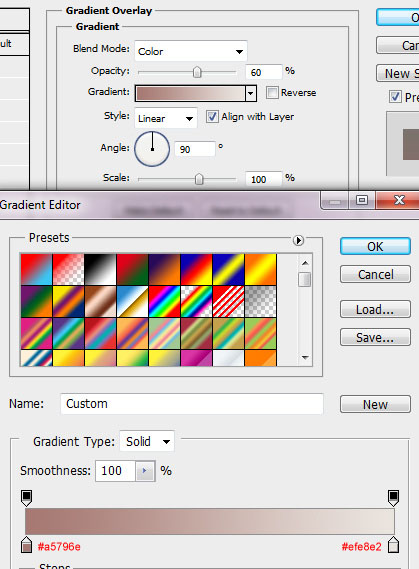
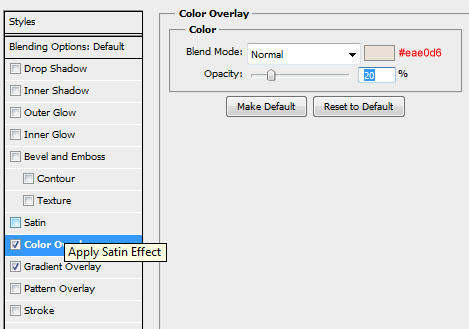
- Apply Gradient Overlay effect and Color Overlay to the octopus tentacle.
- Load selection for the whole scene.
- Go to Edit > Copy Merged.
- Paste merged photo manipulation layer on the top of layers.
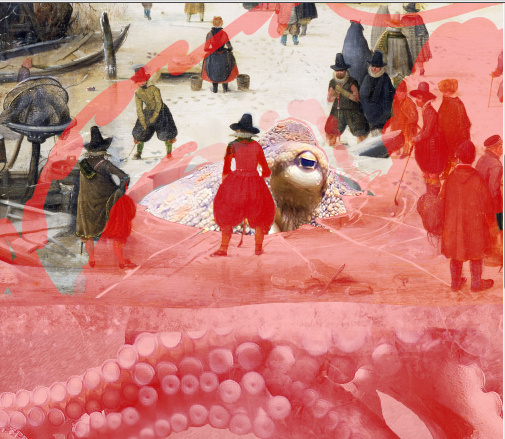
- Return to the layer with the trees silhouette and add other figures and objects of the front side of painting scene.

- Then add red/transparent gradient from front ice edge to the center of figures height. Erase bottom part of gradient(underground area/area below ice surface)
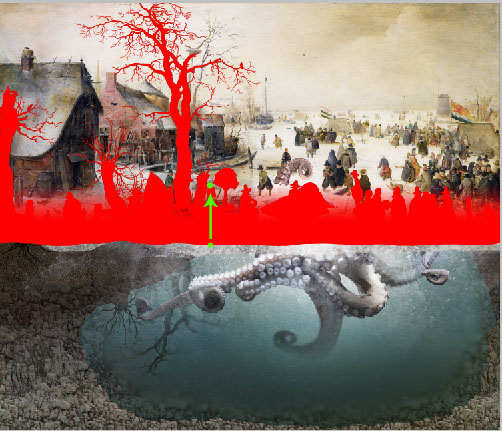
- Load selection for the silhouettes and gradient shape. Make red silhouette layer invisible.
- Keep selection. Make active merged layer.
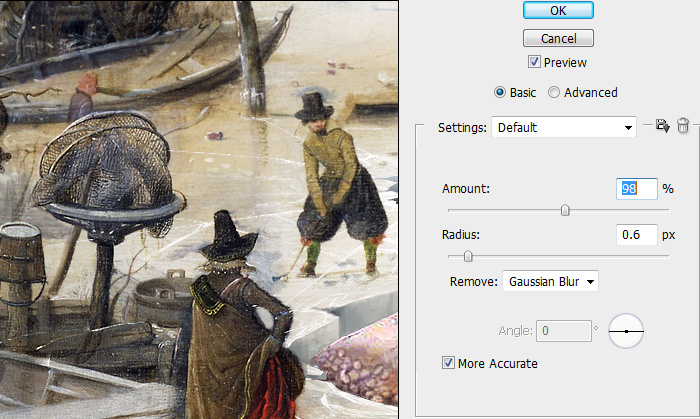
- Go to Filter > Sharpen > Smart Sharpen.
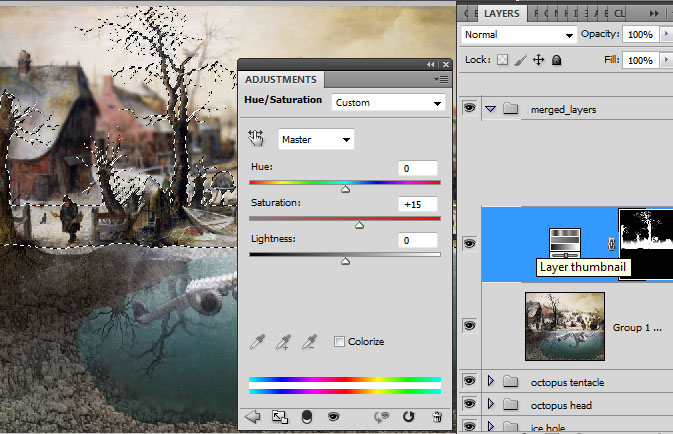
- Then increase Saturation to selected spot.
- Keep selection. Go to the Edit > Copy Merged.
- Edit > Paste. Paste selected shape to the new layer.
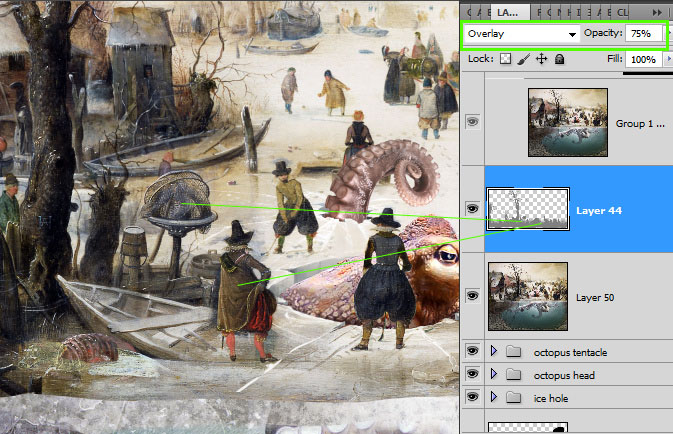
- Go to Filter > Other > High Pass 1px. Apply Overlay Blending Mode to this layer and Opacity 75%.
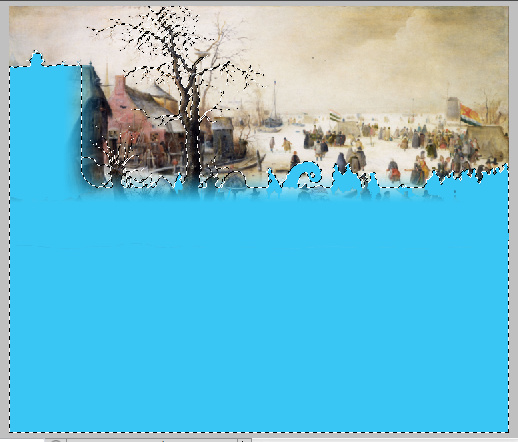
- Create a new layer below the red silhouette and fill with the different color second row of figures and objects of the scene.
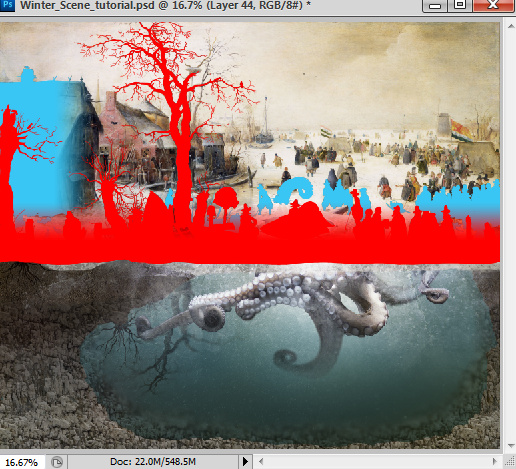
- Add blue/transparent gradient to the blue shapes.
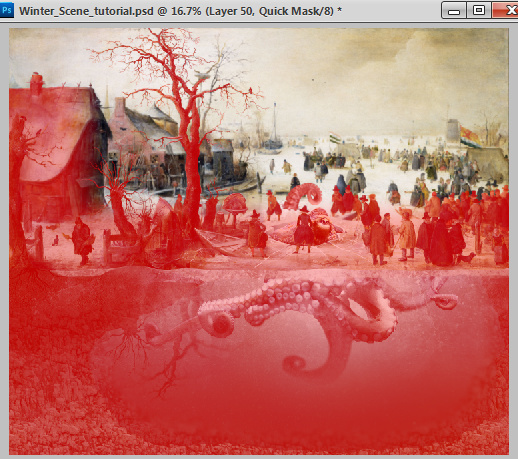
- Load selection for the red silhouette layer, then Go to Select > Inverse selection. Press Quick Mask bottom. You should get red shade above red silhouette. Take a large black brush and fill with the red shade all area below ice surface.

- Release Quick Mask Mode.
- You should have selection in the top part above the red silhouette.
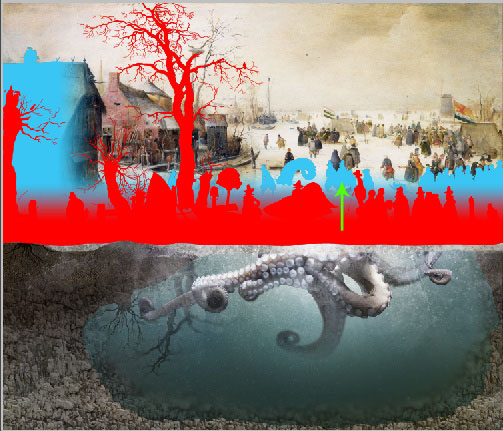
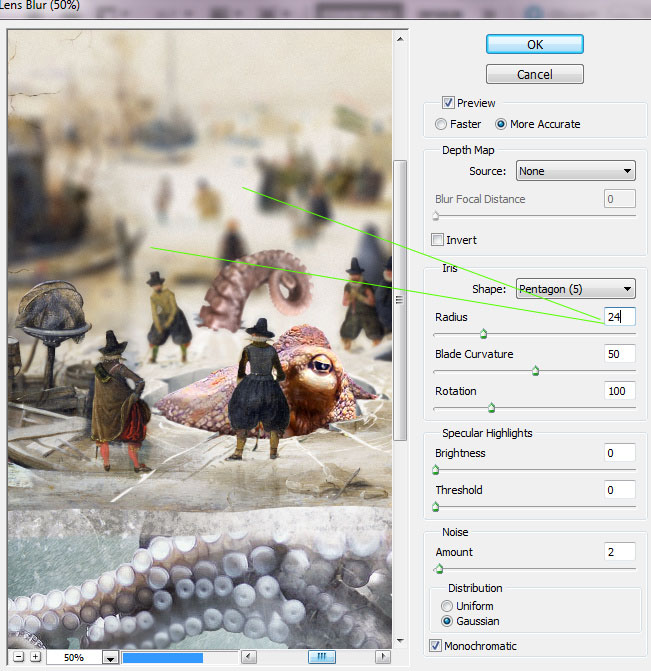
- Make active whole composition merged layer.
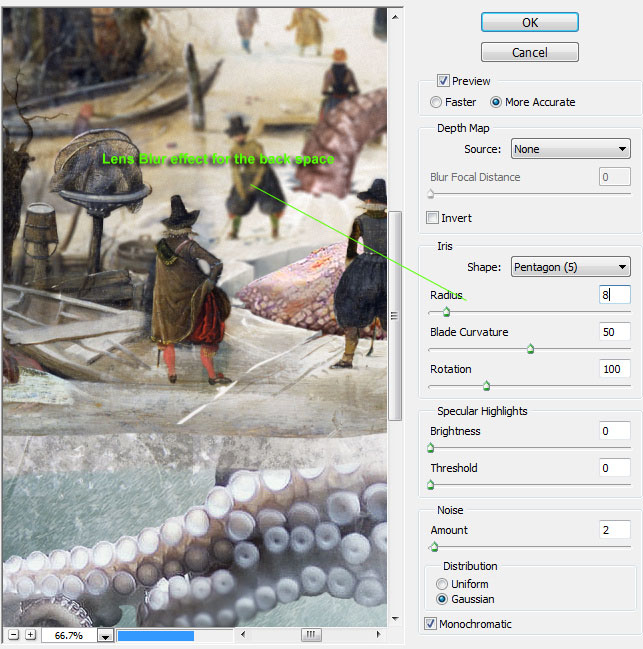
- Go to Filter > Blur > Lens Blur.

- Apply these settings.
- Mow load selection for the red silhouette, plus blue silhouette, plus underground area. Use Ctrl +Shift click to the red, blue layers thumbnails.
- Go to select > Inverse selection.
- If you press Quick Mask Mode you will see red shade on the underground area, front figures, second row figures.
- Release Quick Mask Mode.
- Go to Filter Blur > Lens Blur. Increase Lens Blur for the back stage.
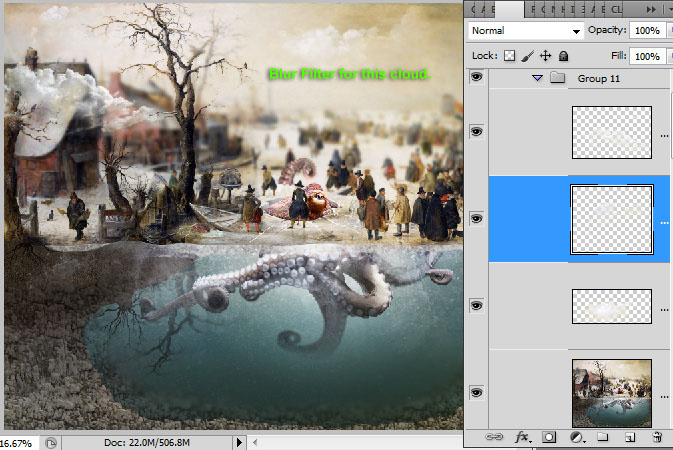
- Add clouds, apply blur effect for the far cloud.
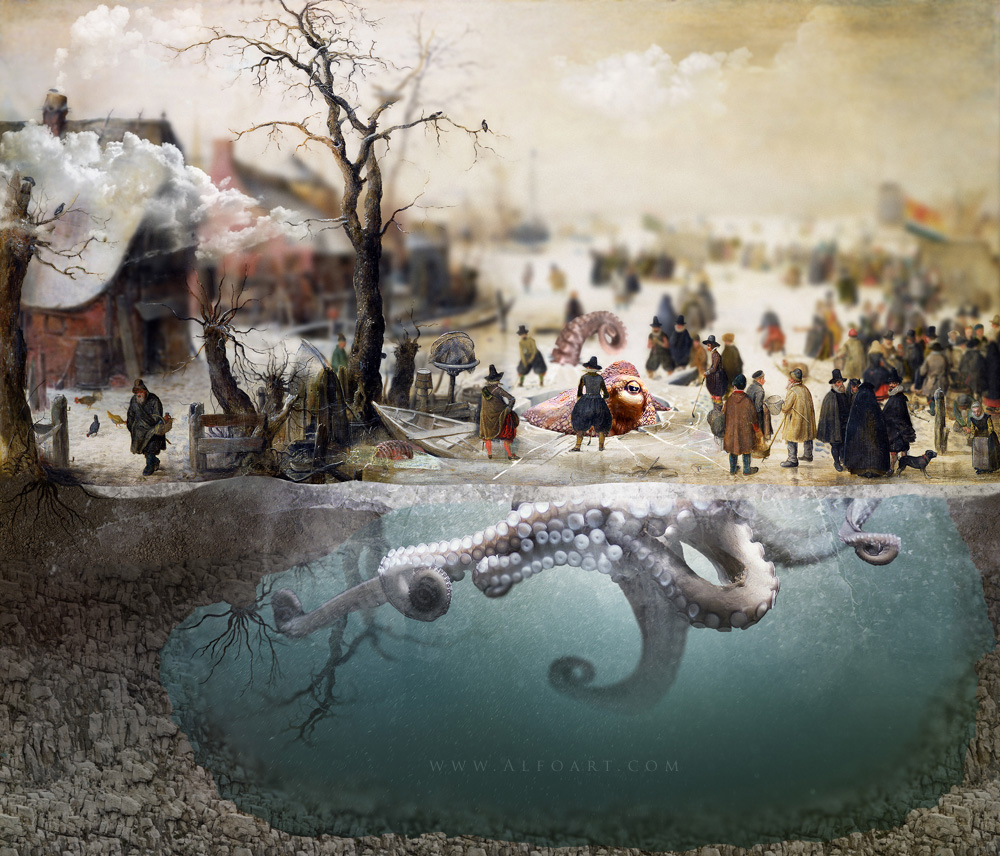
And here is the result!