


Learn how to create fairy winter photo manipulation with the crescent above the clouds, shiny icicles and glow effects. You may get .psd* file of "Magic Christmas" and 3D Moon shape Photoshop tutorial by making a payment (attn.(!)- the layers with the original stock pictures are watermarked). Put the tutorial title in "Add special instructions to seller" line of PayPal and it will be sent to you shortly.
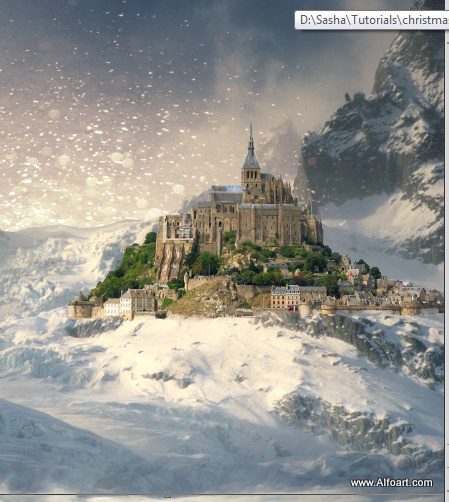
Click to enlarge the image.
- Download Moon shape(image created with the Photoshop tools)
- Icicles - Sergei Furtcev
- Cloud 1(Ruslan Olinchuk), Cloud 2(Image*After), Cloud 3(Sergei Perov)
- Stars - Yuriy Mazur
- Building - Image*After
- Bokeh - Regularjane
- Landscape 1 - Anders Bjerré Pedersen
- Landscape 2 - author Sundstrom(nickname)
Used images:
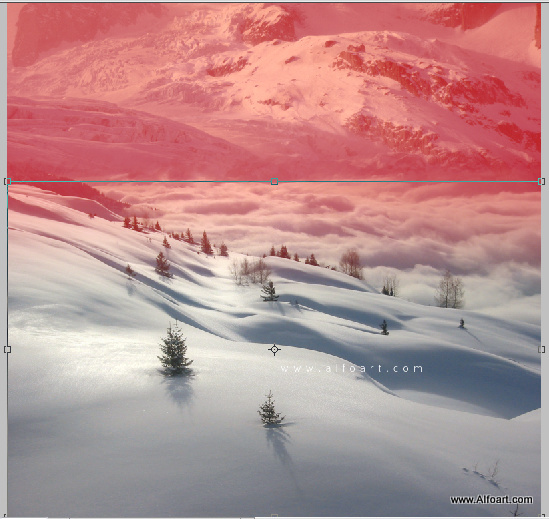
- Create a new Photoshop document, adjust resolution - 180px/inch, 2000px height and 1600px width. You may choose different size, but some tutorial settings are depending of image size and resolution.

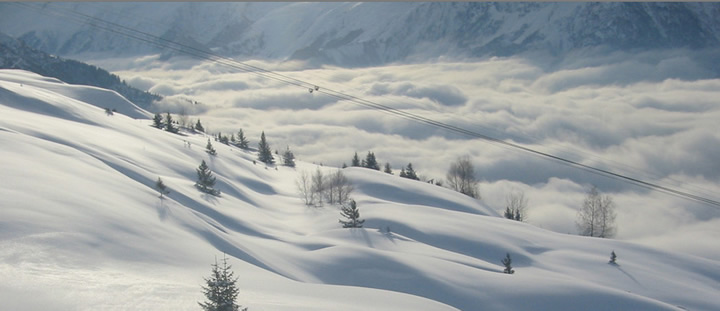
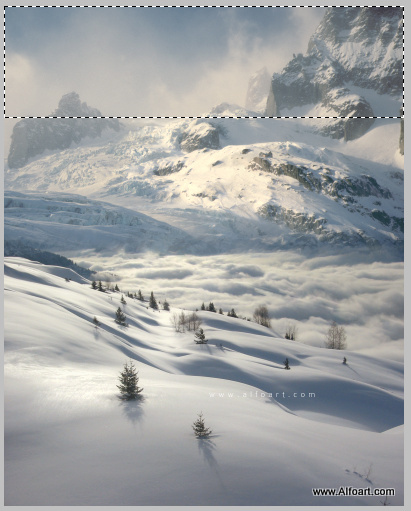
- Insert Mountings landscape to the top part of the image.
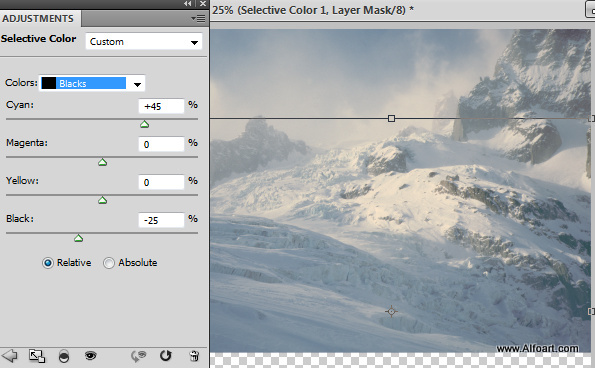
- Correct Selective Colors adjustments. I used adjustments layers to correct different layers settings, such as Selective Colors, Levels, Hue/Saturation, etc... You may find how to use adjustments layers here or just change image/layer settings in the section of Photoshop: Image > Adjustments > Brightness/Contrast, Levels, Curves, etc... So, in order to apply adjustments from screen shot below, go to Image > Adjustments > Selective Color.
- Download landscape image for the bottom part of landscape.
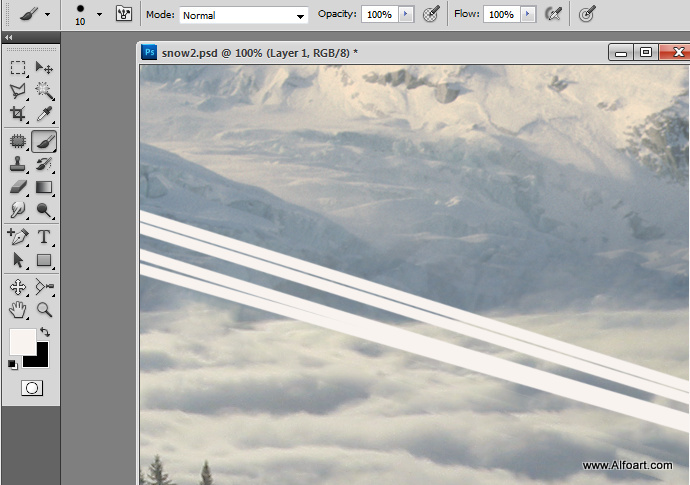
- You may see wire lines. In order to delete them, create a new empty layer and draw lanes above the black lines, use regular round brush with the Shift key to make lines straight:
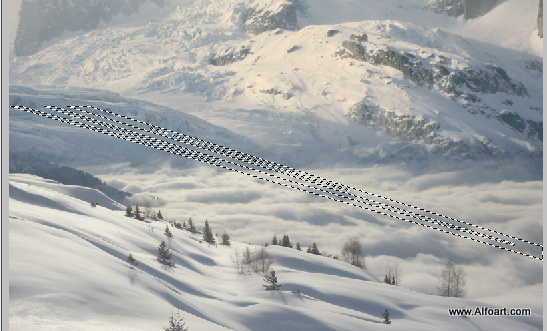
- Load selection for the lines layer, then you make them invisible or delete.
- Return to the original landscape layer, go to Edit > Fill > Content Aware
- Process the top edge of the layer with the soft Eraser Tool to create smooth connection with the mountains image.
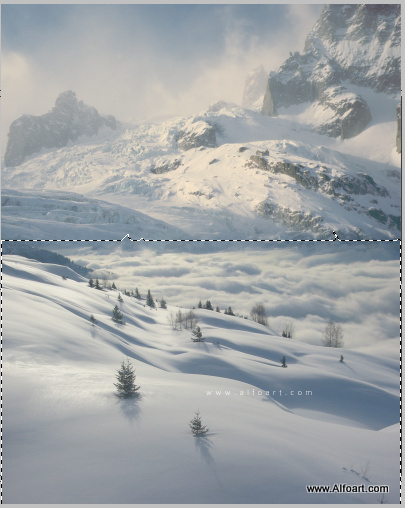
- Now you may merge both layers.
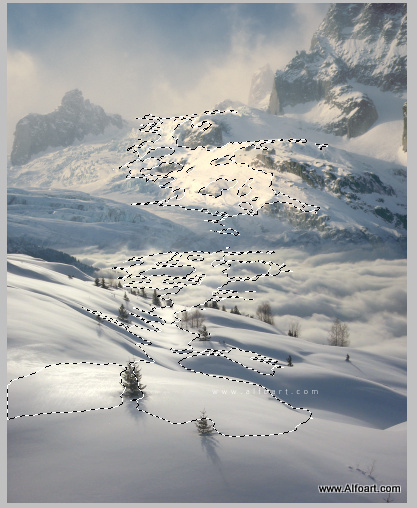
- Make active Quick Mask Mode, click icon
 , go to Edit > Fill > Black color, you should get red masked area.
 - Choose regular white round soft brush and create silhouette like on the image below, use large soft brush for the front areas.
- Release the Quick Mask Mode. You should get selected area like on the image below:
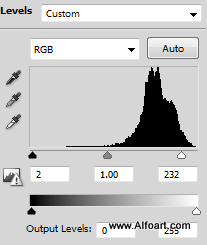
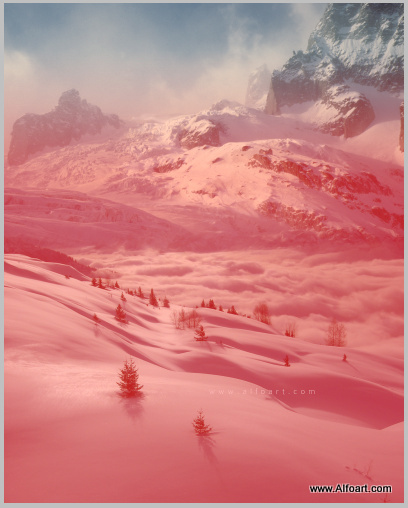
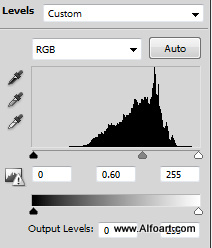
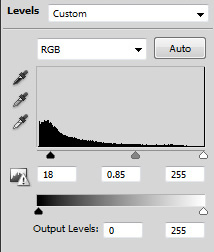
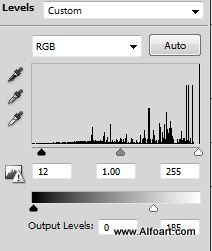
- Correct levels of selected area, Image > Adjustments > Levels:
- Create a new layer and fill selected area from previous step with white color. Make this layer invisible, we will use it in future steps:

- Make Quick Mode Mask active again .
- Fill Mask with the black and white gradient (white should be in the top part).
- Release Quick Mask to get top part selected.
- Apply these levels settings for selected area.
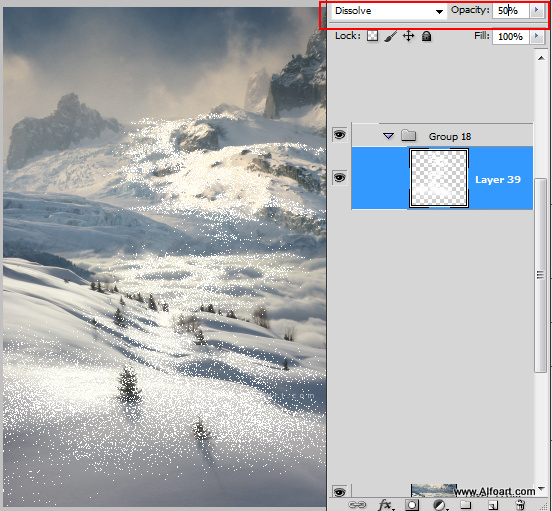
- Return to the white spot layer. Make it visible for now.
- Apply Dissolve Blending Mode to this layer and Opacity 50%.
- Merge this layer with the new empty layer and apply Overlay Blending mode to it.
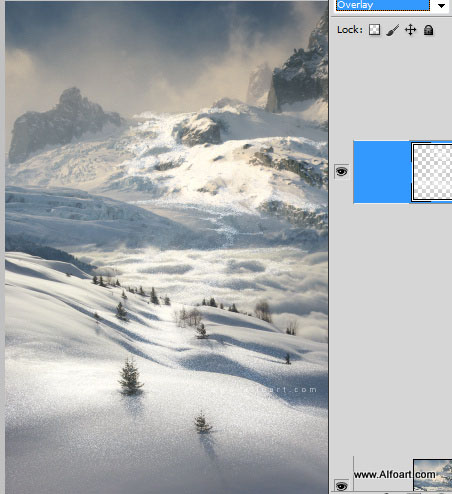
- Correct Opacity of this layer to make white dots less visible, around 15-20%.
- Erase red shaded area of the dots with the soft Eraser tool.
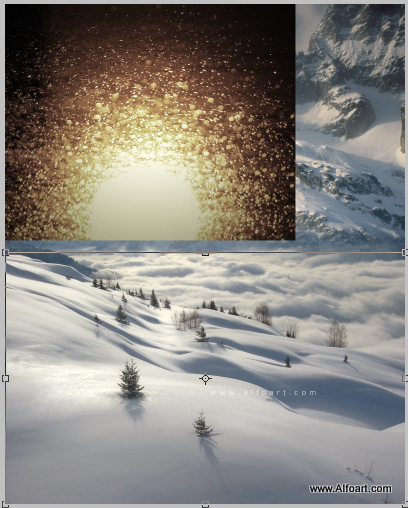
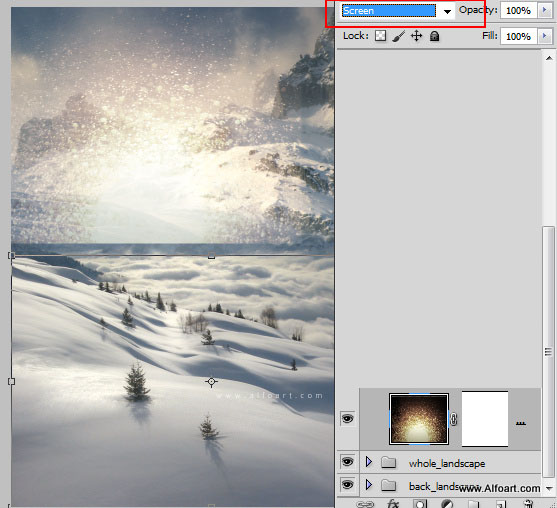
- Insert bokeh image.
- Apply Screen Blending Mode to this layer.
- Add Layer Mask and erase Mountains area.
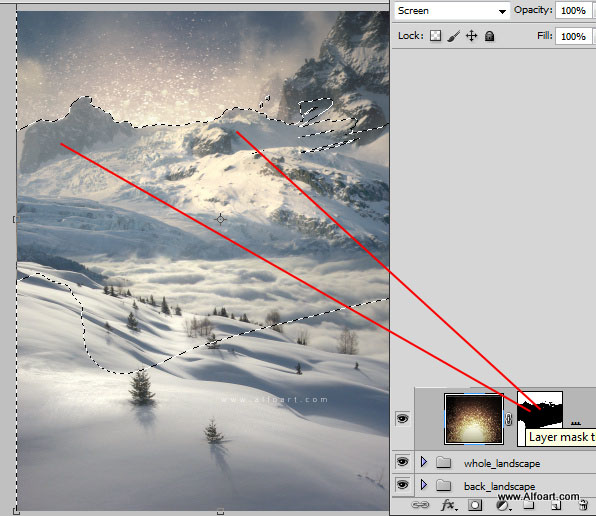
- Correct Levels of the bokeh layer:
- Insert Castle image, separate it from background.
- Activate Quick Mask Mode.
- Fill it with black and white gradient(white color on the right side) .
- Release Quick Mask Mode, you should have selected the bottom right corner of the building.
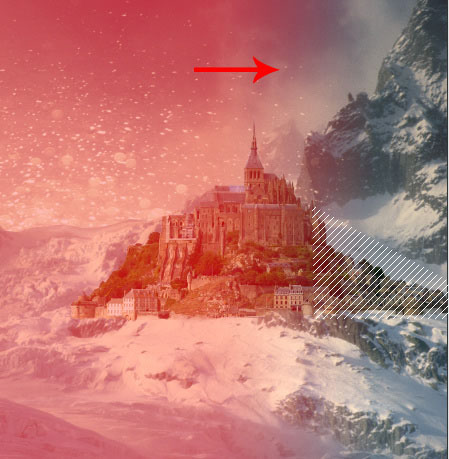
- Apply Levels setting to the selected area of the building:
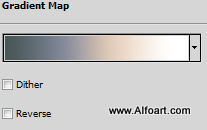
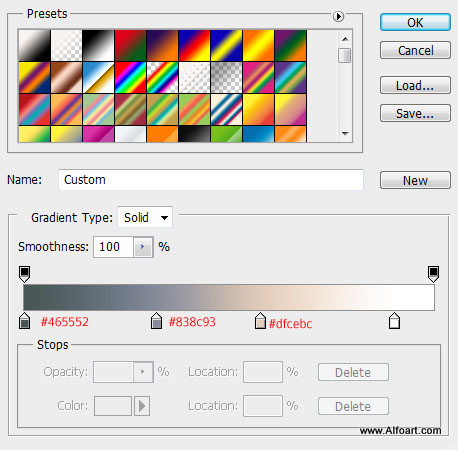
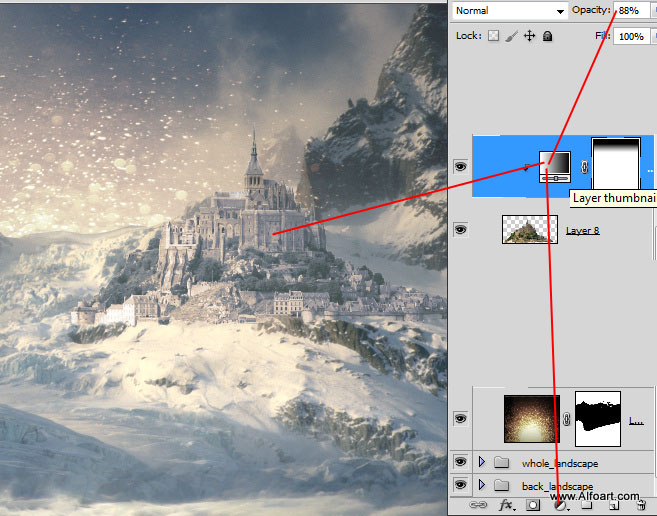
- Add Gradient Map Adjustment layer to the castle image, choose it from drop down menu after clicking the icon

- Right click to Gradient Map adjustment layer and choose "Create clipping Mask". Apply Opacity 88% to the adjustment layer.
- Use these colors for the Gradient Map: