


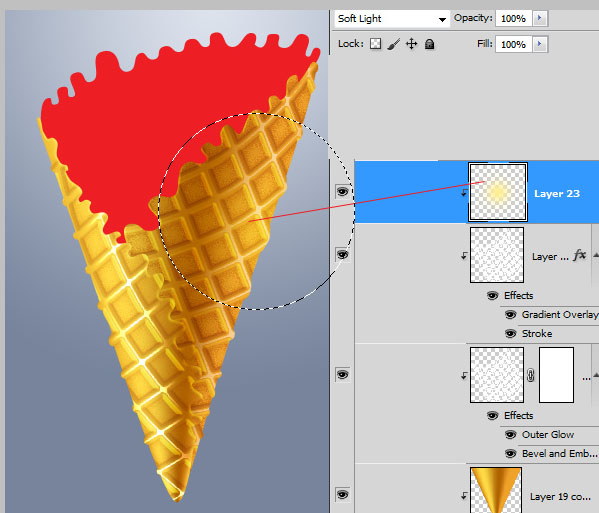
- Create new adjustment layer to the right cone shape. Draw large light yellow spot using soft brush.
- Apply Soft Light Blending Mode to this Layer.
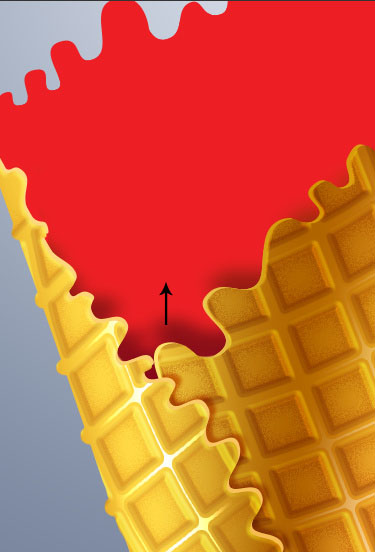
- In Order to create shade of wavy cone edge, load selection for the left side.
- Create new empty layer below left cone shape and fill selection with any color.
- Move "Shade" layer little bit right and top to see right edge under the original layer.
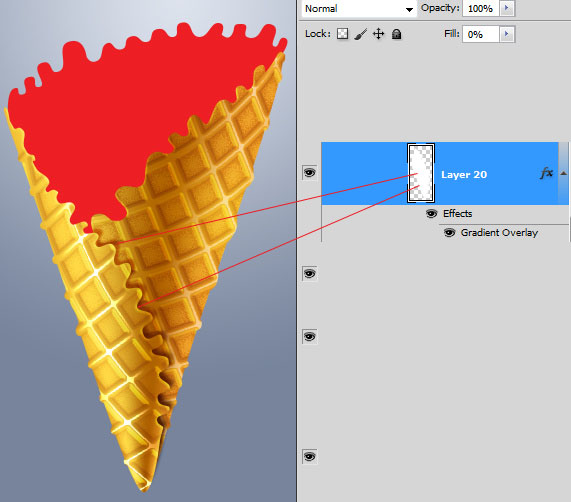
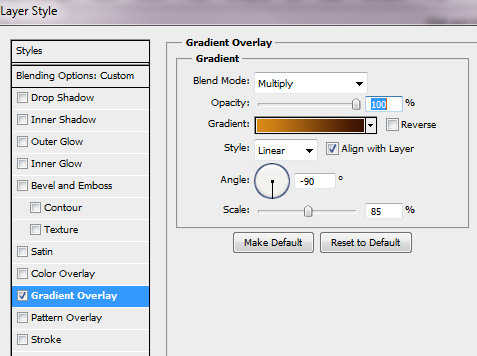
- Apply dark gradient to this layer, then go to Filter > Blur > Gaussian Blur(1-2px)
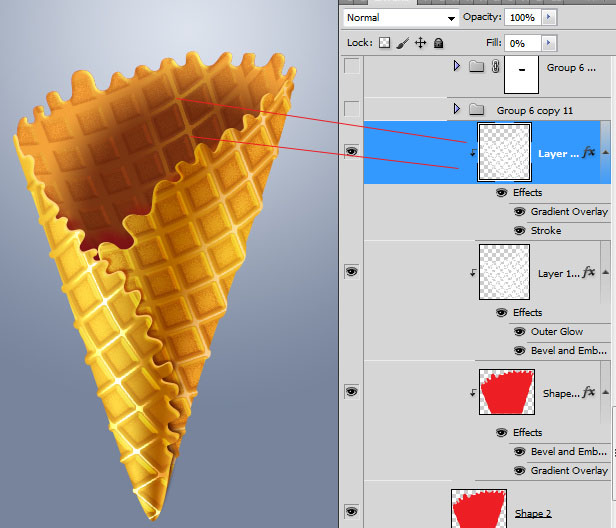
- To create waffle thickness, load selection for the original shape again, fill it with any color in empty layer below original layer but above shadow layer. Move it left and top on couple pixels.
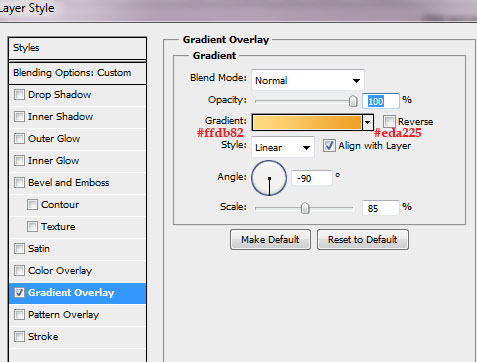
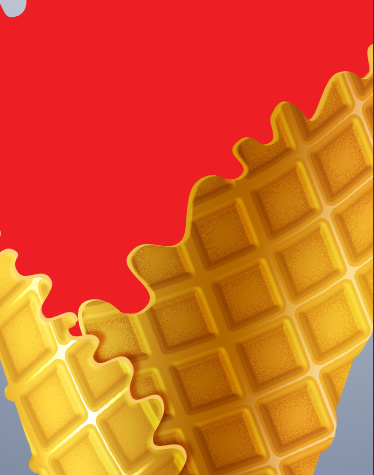
- Apply light gradient to it.
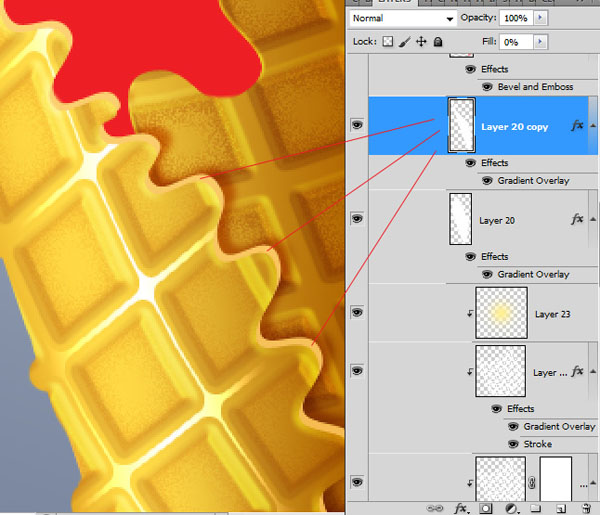
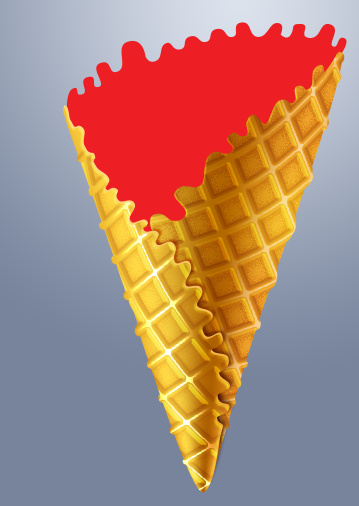
- Here is the result of applying thickness and shadow.
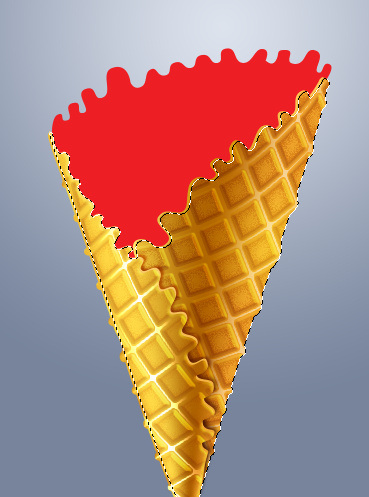
- Apply thickness to the right corner shape as well using actions from previous steps.
- Here are several steps about creating back side of cone, they may be useful for the cone without ice cream.
- Load selection for the left and right shapes. Click with Shift pressed button to layers thumbnails.
- Create empty layer below left and right cone shapes but above back side shape.
- Fill selected area in the empty layer with the dark color.
- Apply Gaussian Blur(8-10px) filter to created shape and move it up.
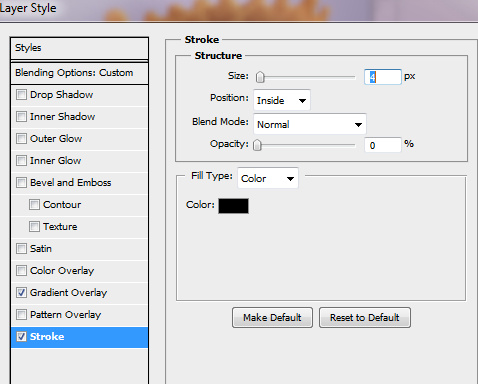
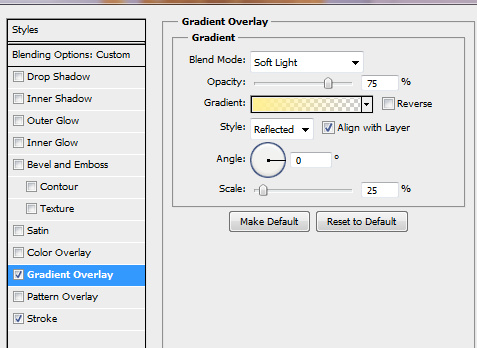
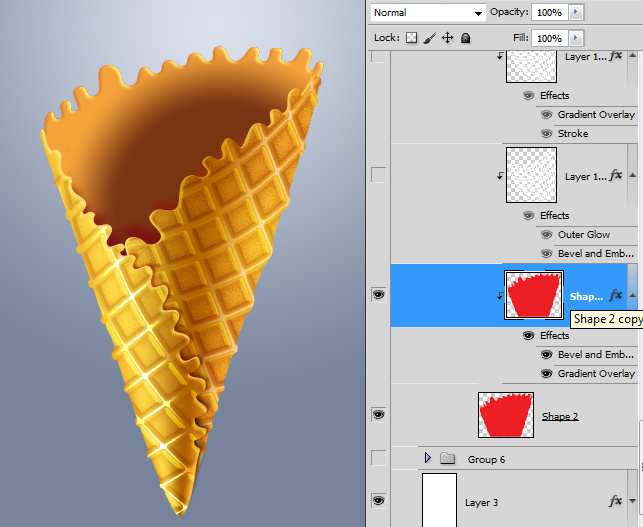
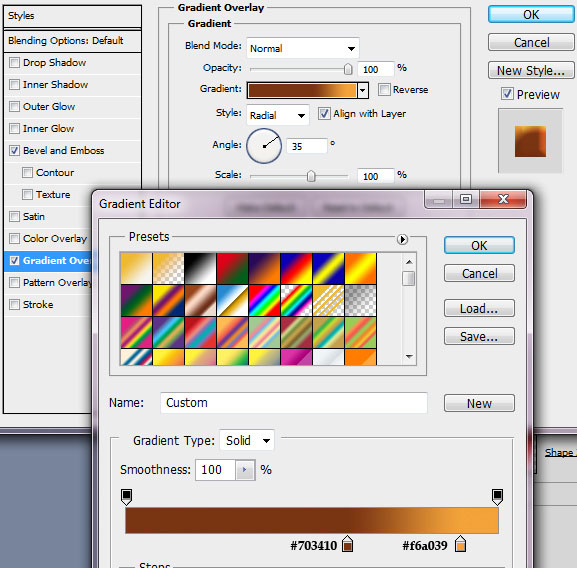
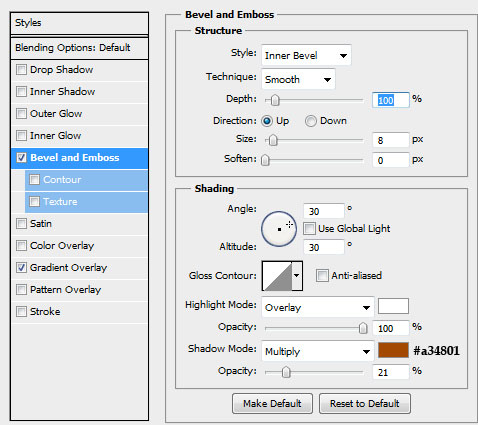
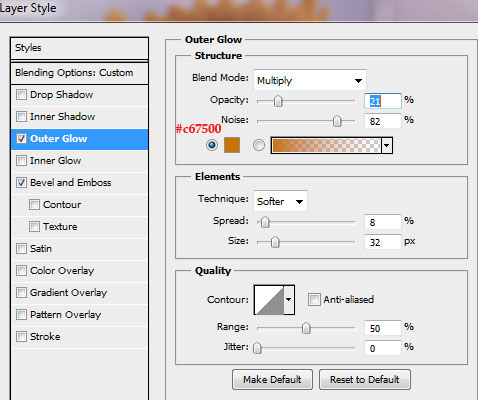
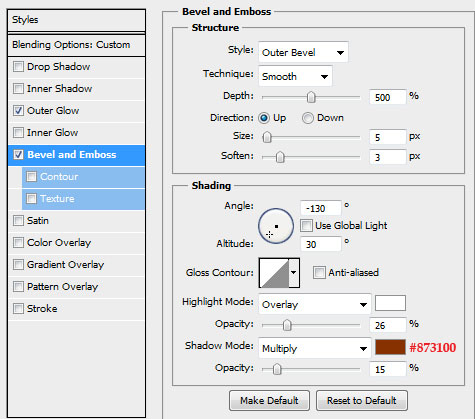
- Apply following layer style settings to the cone back side:
- Create Clipping Mask layer with the waffle texture for the back side layer again, but apply different layer style settings:
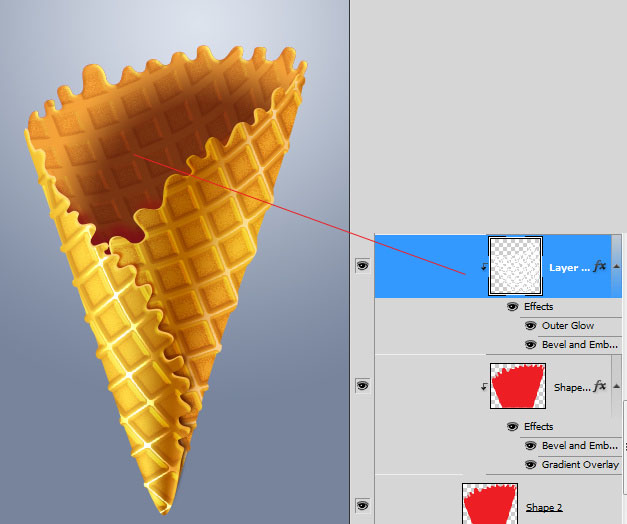
- Duplicate waffle texture Clipping mask layer to create light reflection effect.