


| You may get .psd* file of "Phone digital rendering photoshop tutorial " Photoshop tutorial by making a payment. Put the tutorial title in "Add special instructions to seller" line of PayPal and it will be sent to you shortly.
|
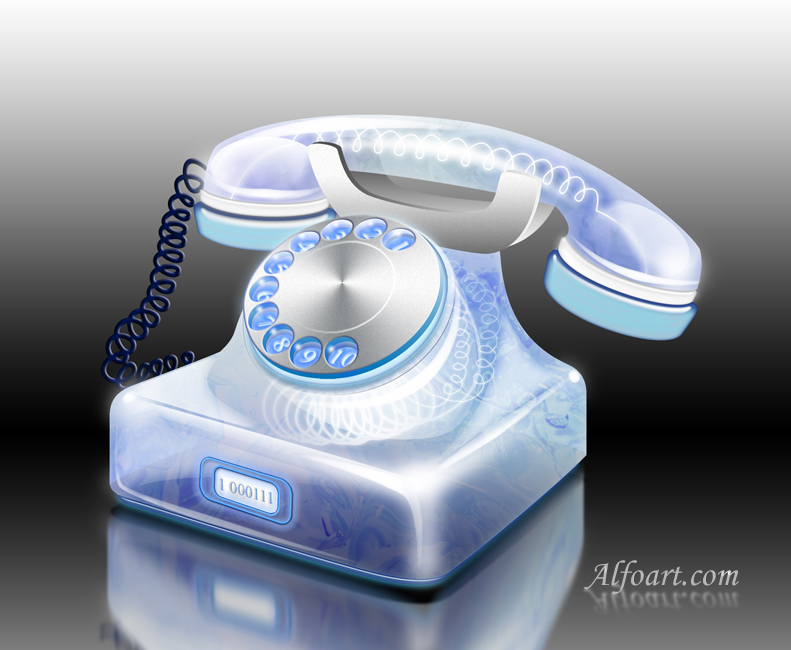
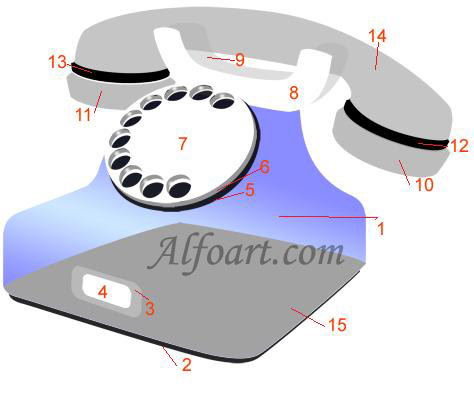
- Create all details of the phone. Draw each detail in a new layer.
- Create the following shapes using Pen Tool
, Convert Point Tool
 , Direct Selection
 . In order to load selection of the path click Ctrl + Enter. Fill shapes with any colors, but fill the phone body with Reflected Gradient (blue/ light blue).
- Use
 Ellipse Tool to create ovals.
 - In order to create holes use
 Elliptical Marquee Tool and free transformation. Cut out oval selection areas from large shape.
Different layer style effects are applied to shapes of this phone.
You may download Layer Style Effects here , names of the effects correspond to the names of the shapes in this tutorial.
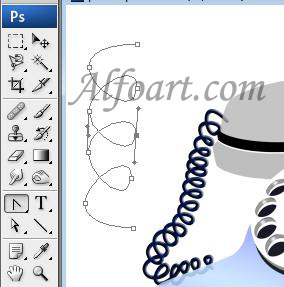
- Draw a zigzag using Pen Tool.
Phone cord creation.
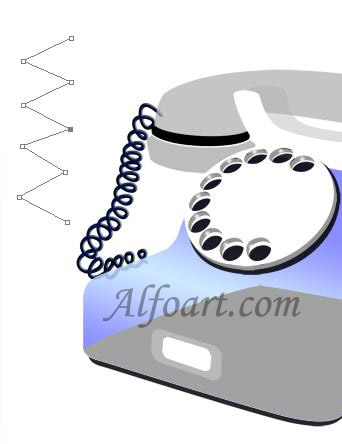
- Correct the form using Convert Point Tool.
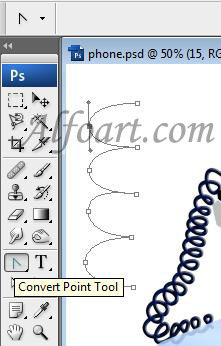
- Choose Brush Tool. Adjust round shape and black color and size 7-8 px. The size of a brush depends of the your phone size .
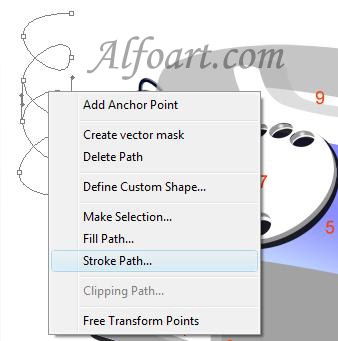
- Return to Pen Tool. Right click on path, choose Stroke Path > Brush.
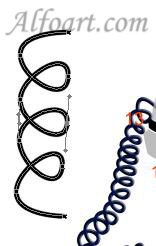
- Delete Path.
- Apply "Style 16" to this shape.