You may get large 9,5"x 7.5" layered and editable .psd* file of "Halloween Card Photoshop tutorial by making a payment. Put the tutorial title in "Add special instructions to seller" line of PayPal and it will be sent to you shortly.
Click to enlarge the image.
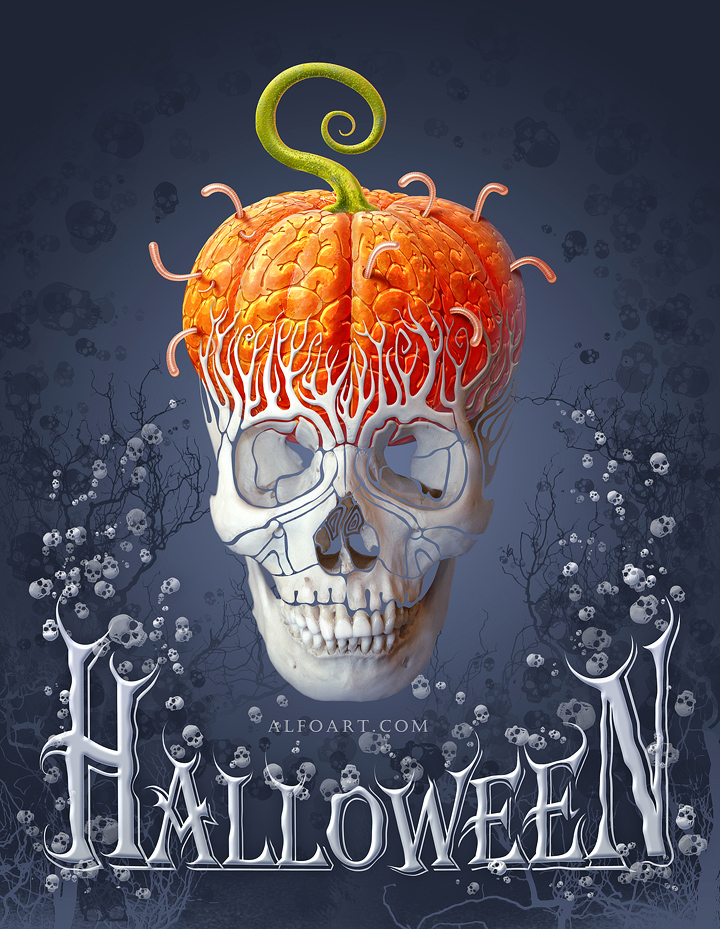
Used images:
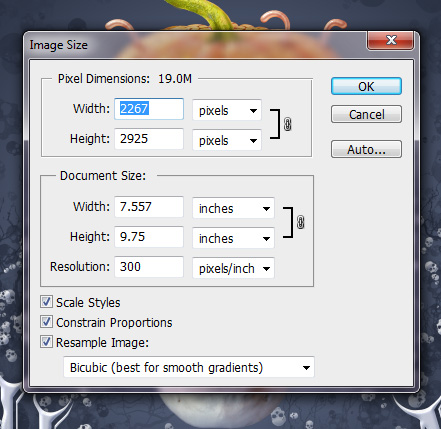
- Create a new Photoshop document, adjust size and resolution, use settings from the screen shot below. You may choose different size, but some tutorial settings are depending of the image size.
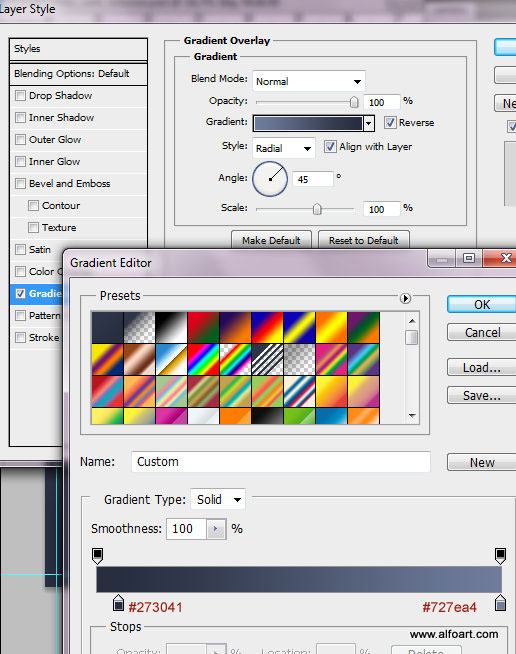
- Apply Radial Gradient Overlay effect to the background layer (unlock the first layer before, move lock icon to recycle bin).
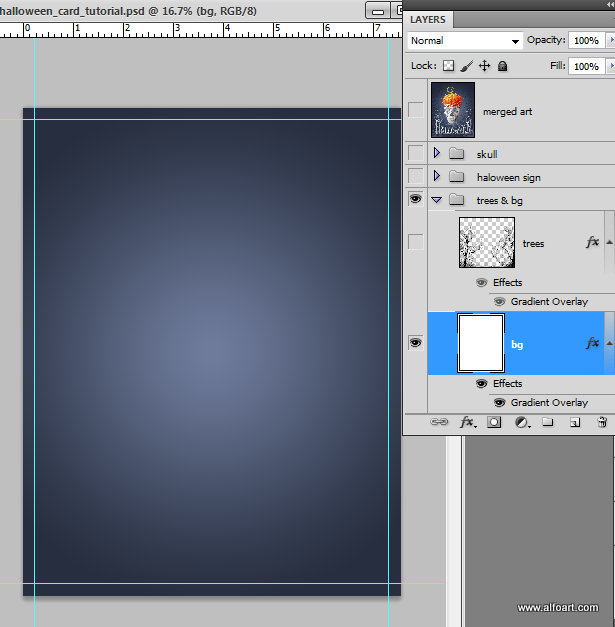
- Use following settings:
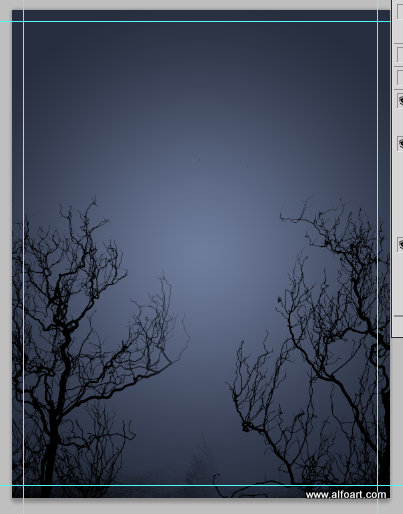
- Download card elements and place trees silhouettes above the background.
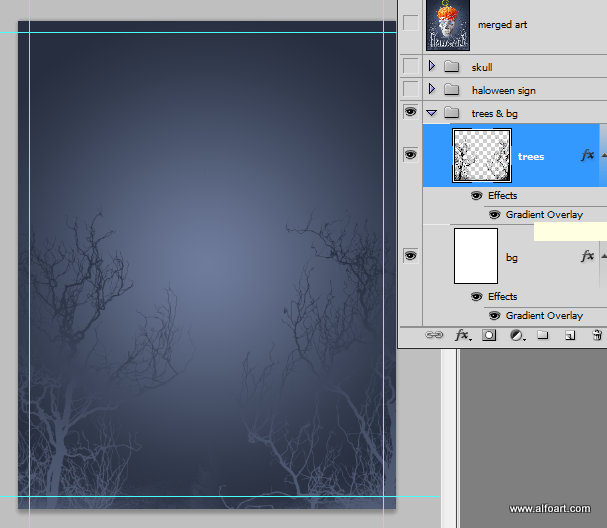
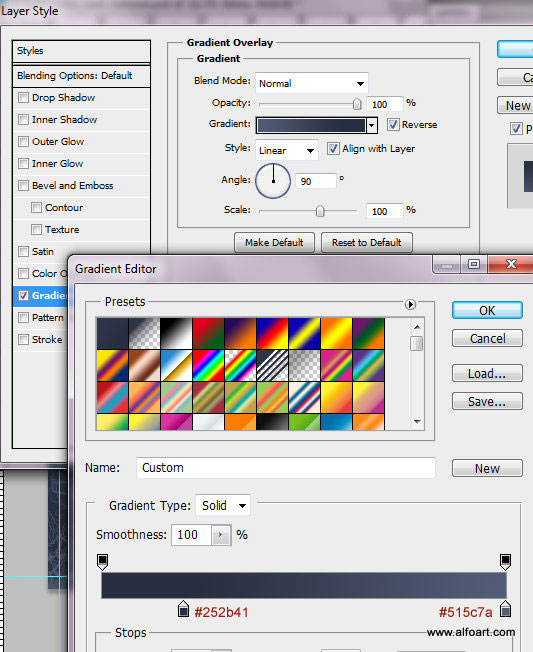
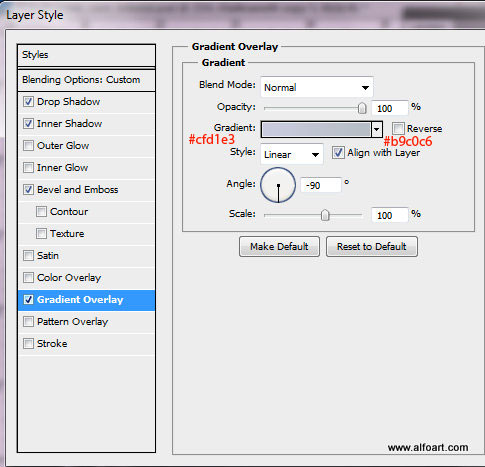
- Apply Gradient Overlay layer style effect to this layer:
- Download skull brushes, choose the one 300 px size, and draw some silhouettes around the card edges.
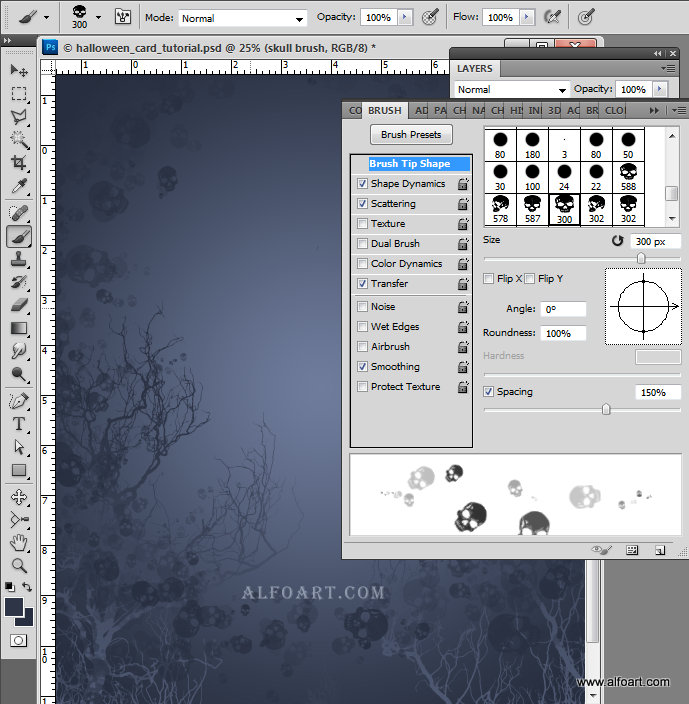
- Then choose Text Tool, I used "Algeria" font, but other serif style fonts with the uppercase lettering can be used to get similar sharp torn effects. Make the first and the last letters of the sign larger then others.
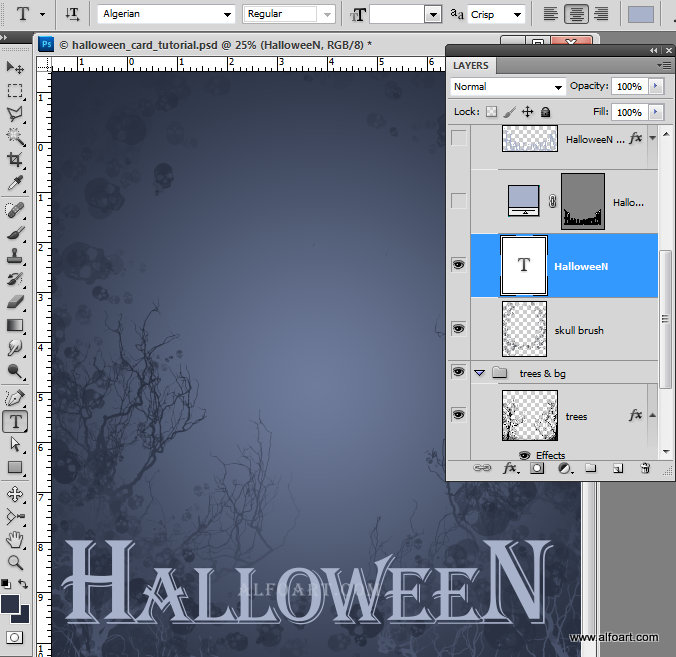
- Convert text layer to the shape, right click layer thumbnail and choose "convert to shape". Transform the text shape, stretch it by vertical, then apply Warp transformation.
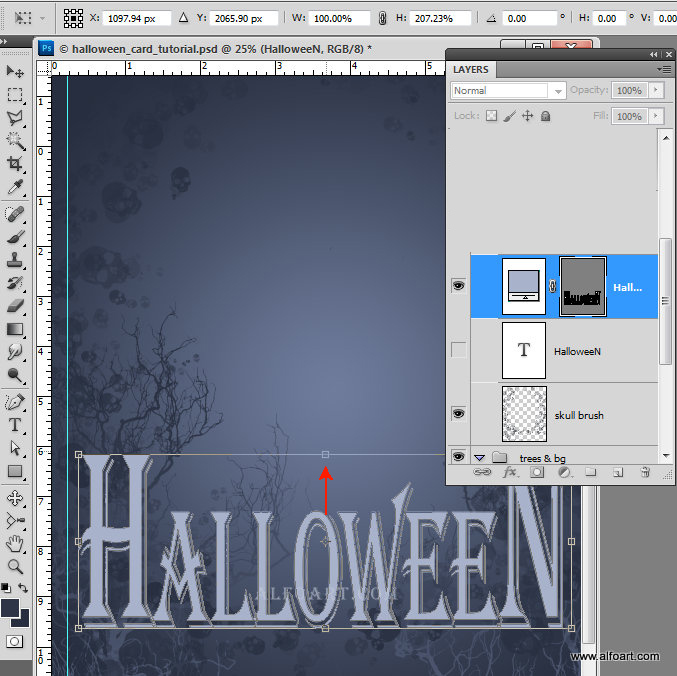
- Select Arc Upper transformation and move top center point bottom like on the image below.
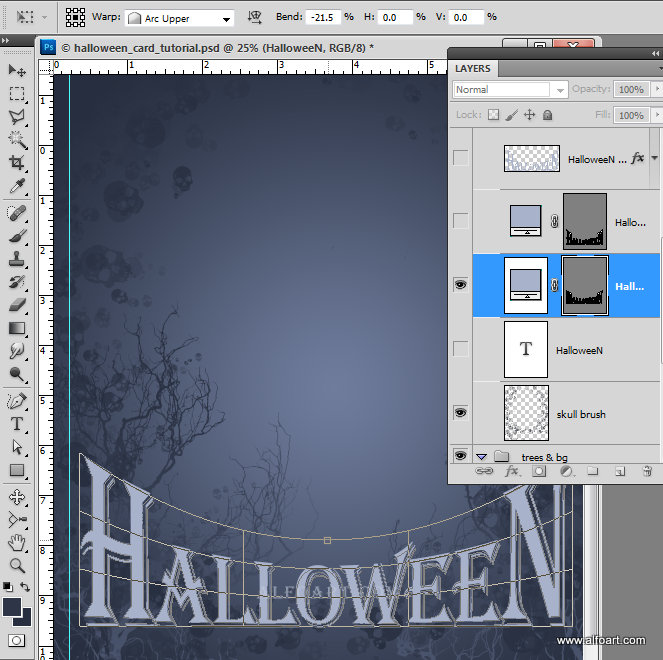
- You should get something like this.
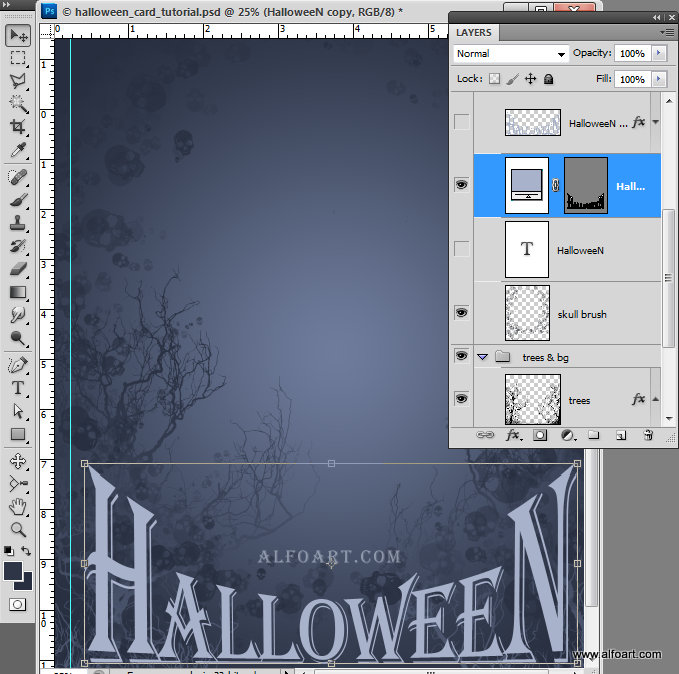
- Rasterize the text layer. Go to Filter > Liquify. Use 80-130 px Forward Warp Tool to modify and extend letters corners.
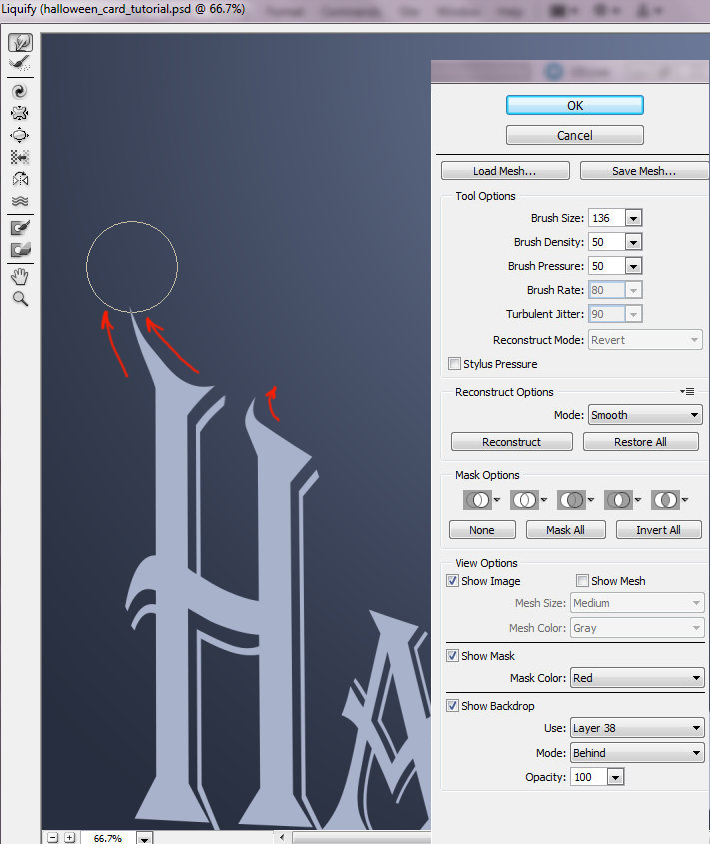
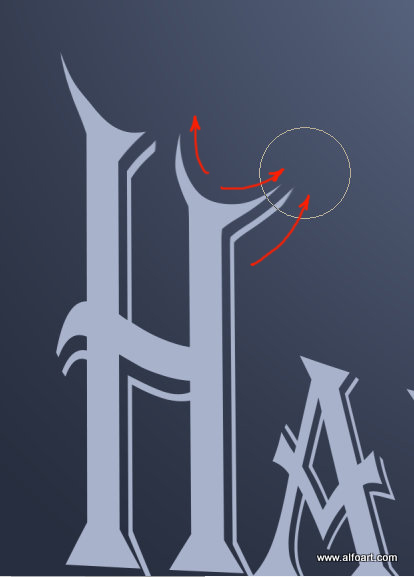
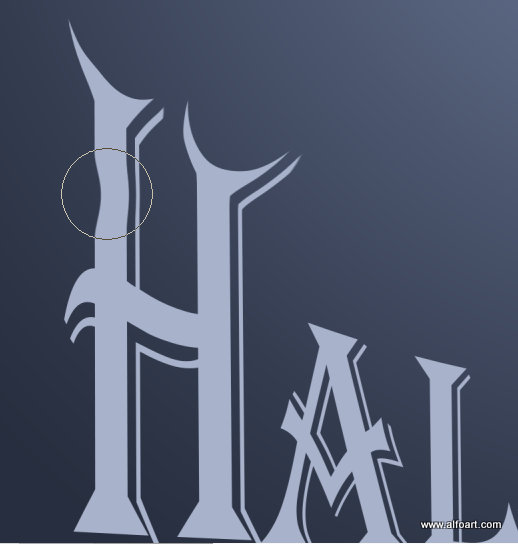
- Process each letter and apply layer style effects to the modified text layer.
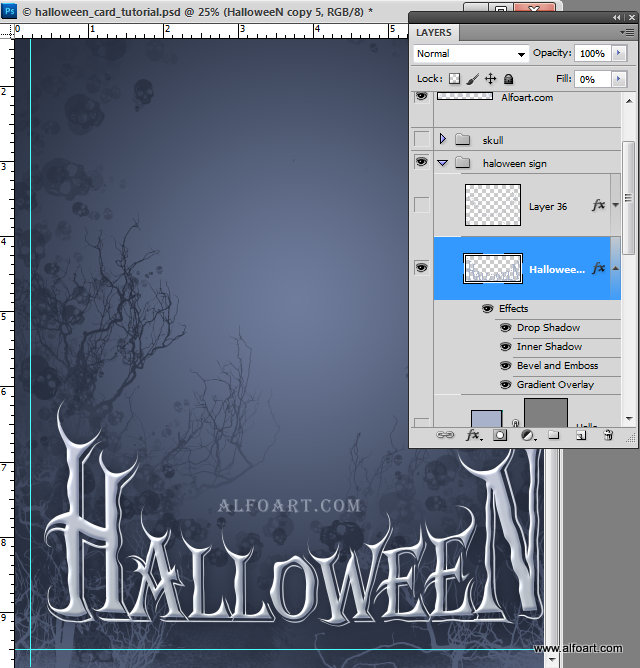
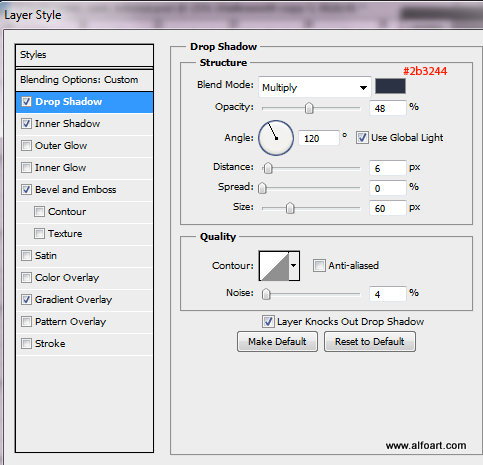
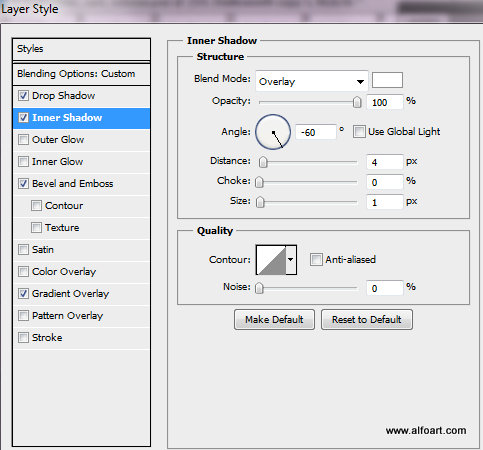
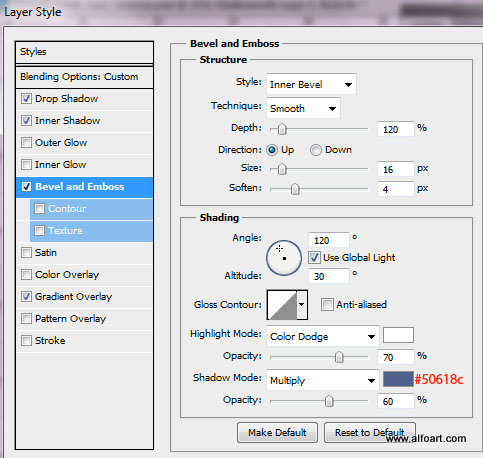
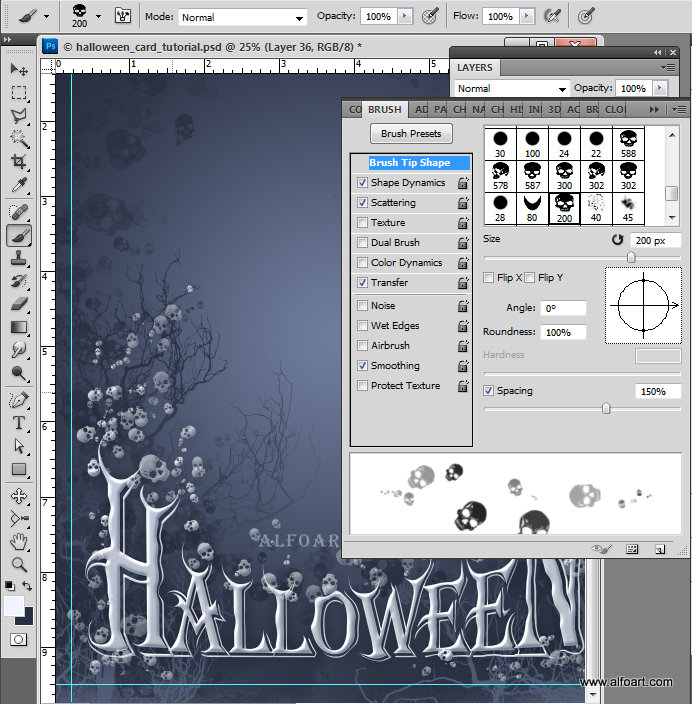
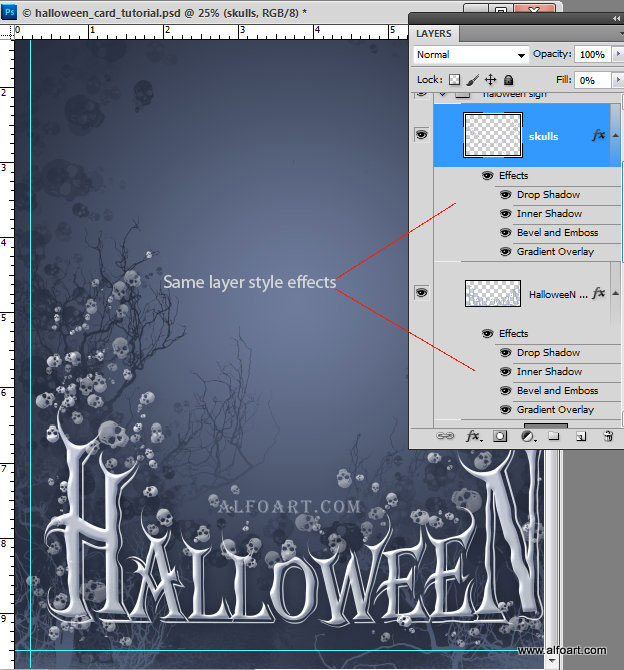
- Create a new empty layer and choose second smaller 200px "skull" brush to create some silhouettes around the text. Then apply to the skulls layer the same style effects as for the text layer.
- Insert pumpkin and stalk images.
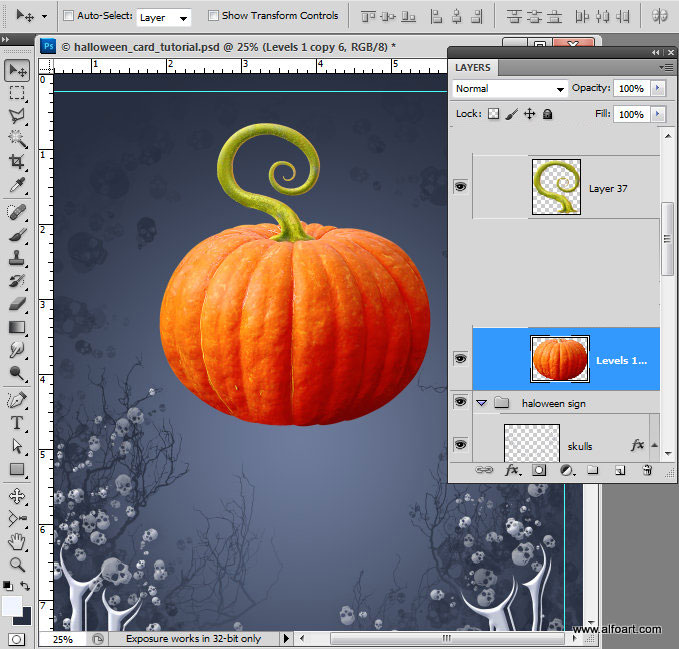
- Duplicate pumpkin layer, keep duplicate for the future actions.
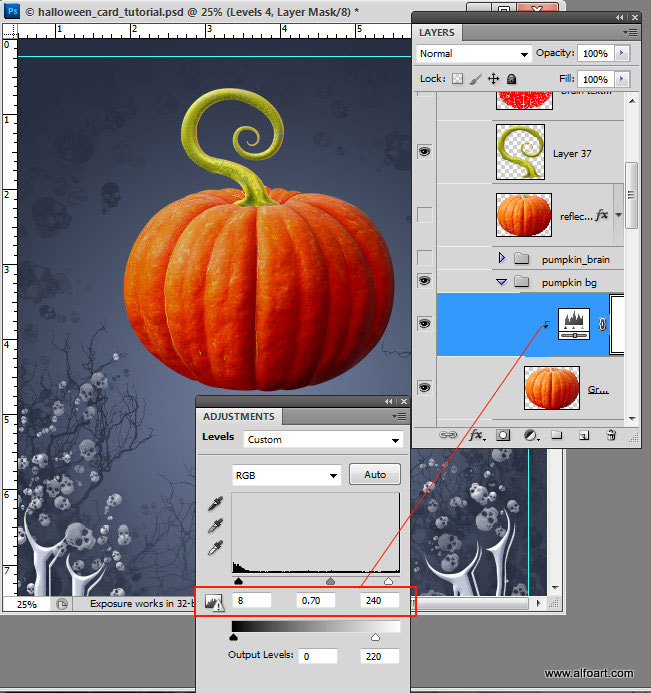
- Apply Levels adjustment to the first one, make pumpkin image darker.
