


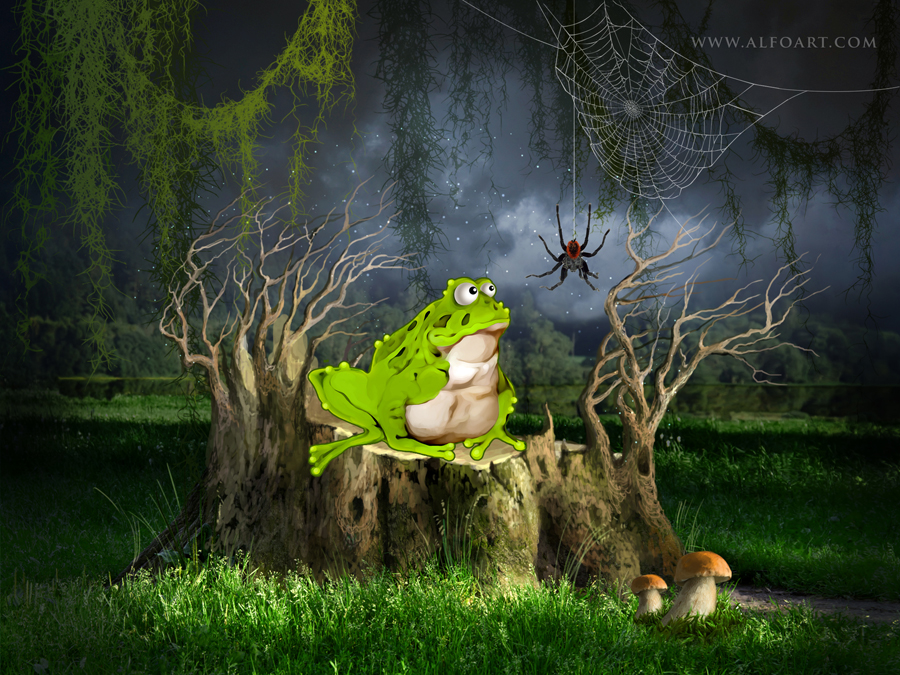
In this tutorial you will learn how to combine different images to create the cartoon background and funny toad character from the real toad picture. You may get .psd* file of "Funny cartoon toad illustration". Photoshop tutorial by making a payment(attn.(!)- the layers with the original stock pictures are watermarked). Put the tutorial title in "Add special instructions to seller" line of PayPal and it will be sent to you shortly.
Click to enlarge the image.
- Spider- author Daniel Andres Forero
- Stump in the grass
- Spider Web
- Sky
- Moss(brushes)
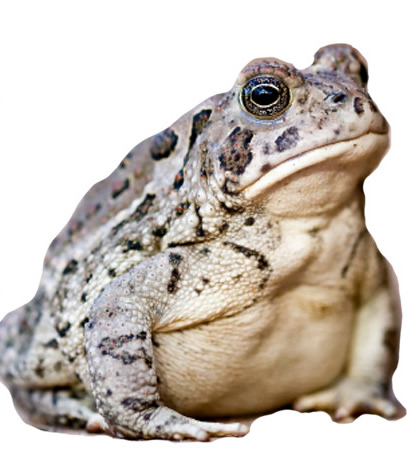
- Toad (or you may use any other toad from free stocks)
- Mushroom (free image for registered users)
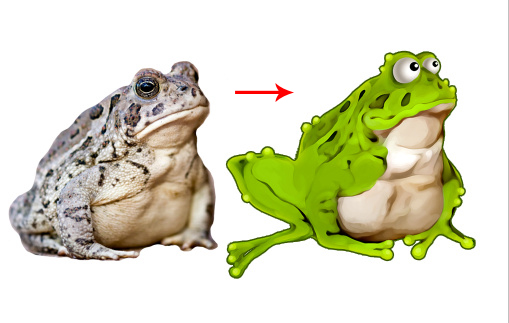
- Lets convert regular toad/frog photo to illustration.
Used images:
- Insert toad image into the Photoshop document 2048 x 1536px and resolution 264px/inch. The size of toad shape should be around 500 x 450px in this case. Erase background with the Eraser Tool
 . Go to Edit > Transform > Flip Horizontal.
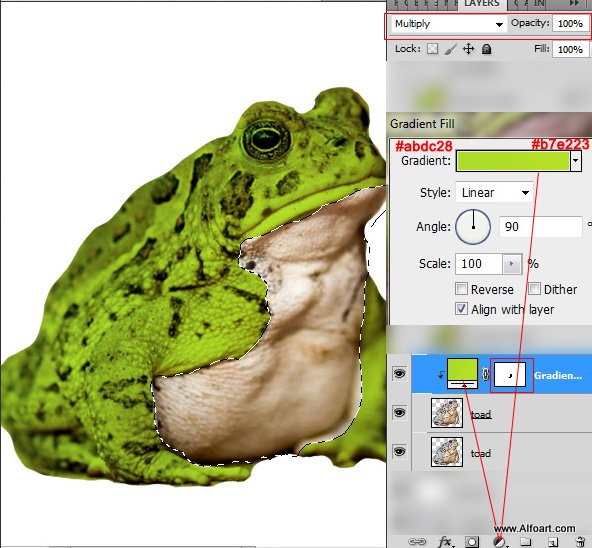
- Add Gradient Adjustment layer to the toad shape and convert this layer to Clipping Mask (right click adjustment layer, choose "Convert to Clipping Mask") Erase paunch area for the adjustment gradient layer.
- Apply Multiply Blending Mode to it.
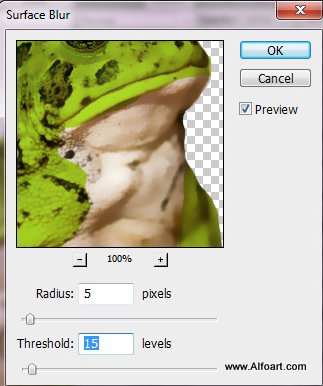
- Apply Surface Blur filter to the toad layer. You may merge it with the Gradient Adjustment layer before applying filter.
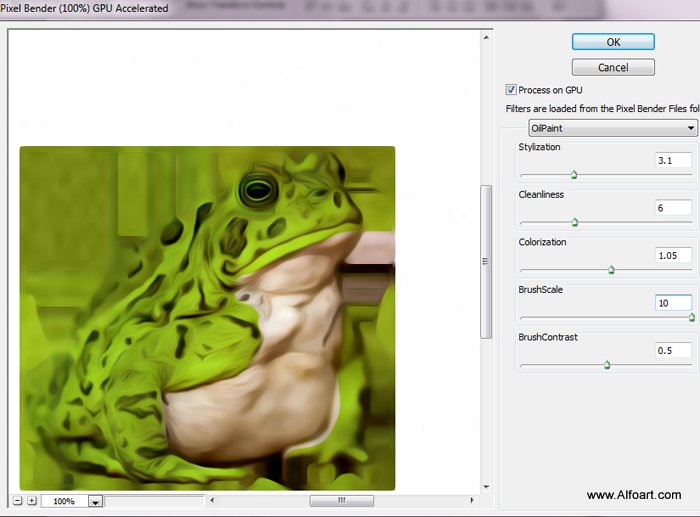
- If you don't have the latest Photoshop CS6 version with the very useful Oil Painting Filter, you may install Pixel Bender plugin from https://labs.adobe.com/technologies/pixelbenderplugin/ with very similar options.
- Duplicate toad layer and apply following settings. You need to duplicate the toad layer to return original toad shape contour.
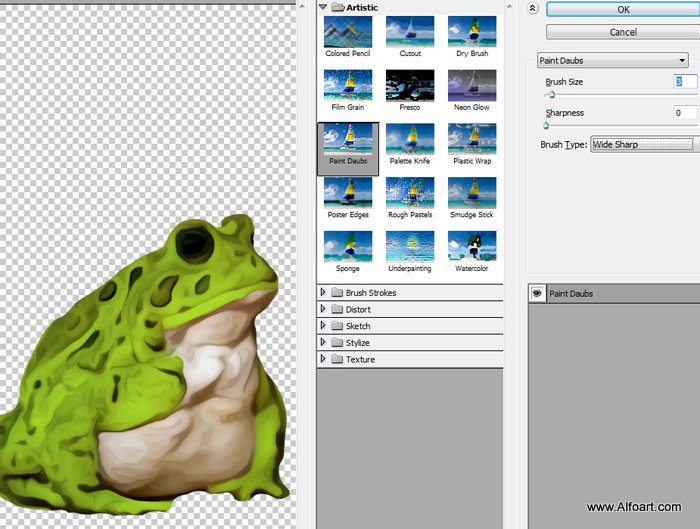
- Load selection to the original toad shape, invert it and remove selected outside area from the layer with the oil painting effect.
- Then apply "Paint Daubs" standard filter, use settings like on the screen shot below.
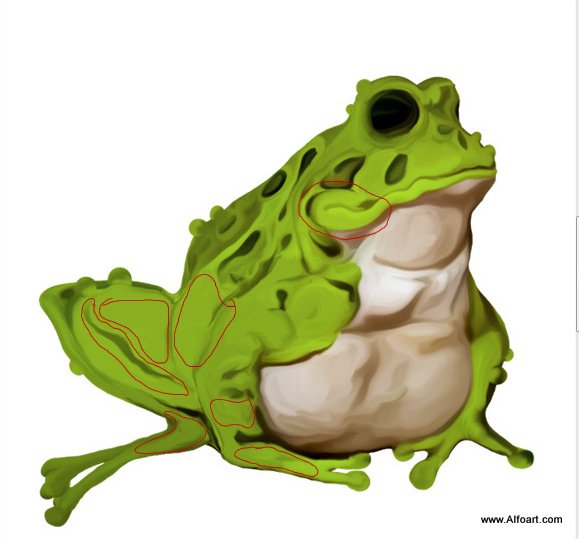
- In order to stylize toad shape and make it like a cartoon character, you may use Liquify filter and Forward Warp Tool with different size. Then correct changes with regular paint brush, choose colors with Eyedropper Tool.
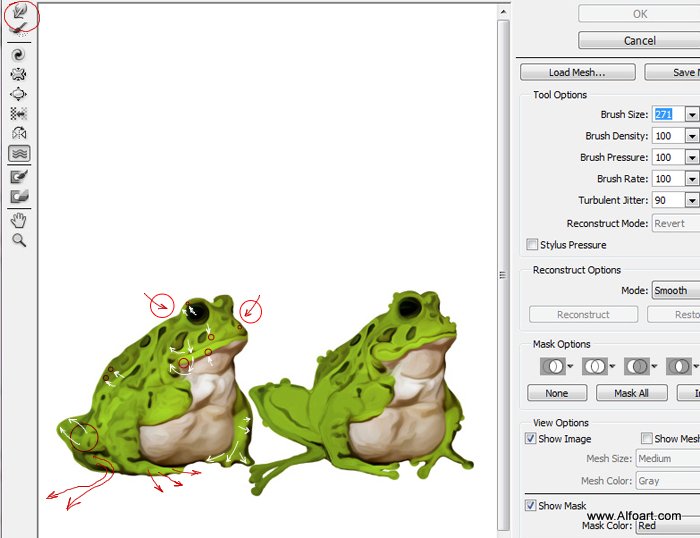
- I corrected marked areas on the screen shot below with the regular paint Brush Tool and green shades.