


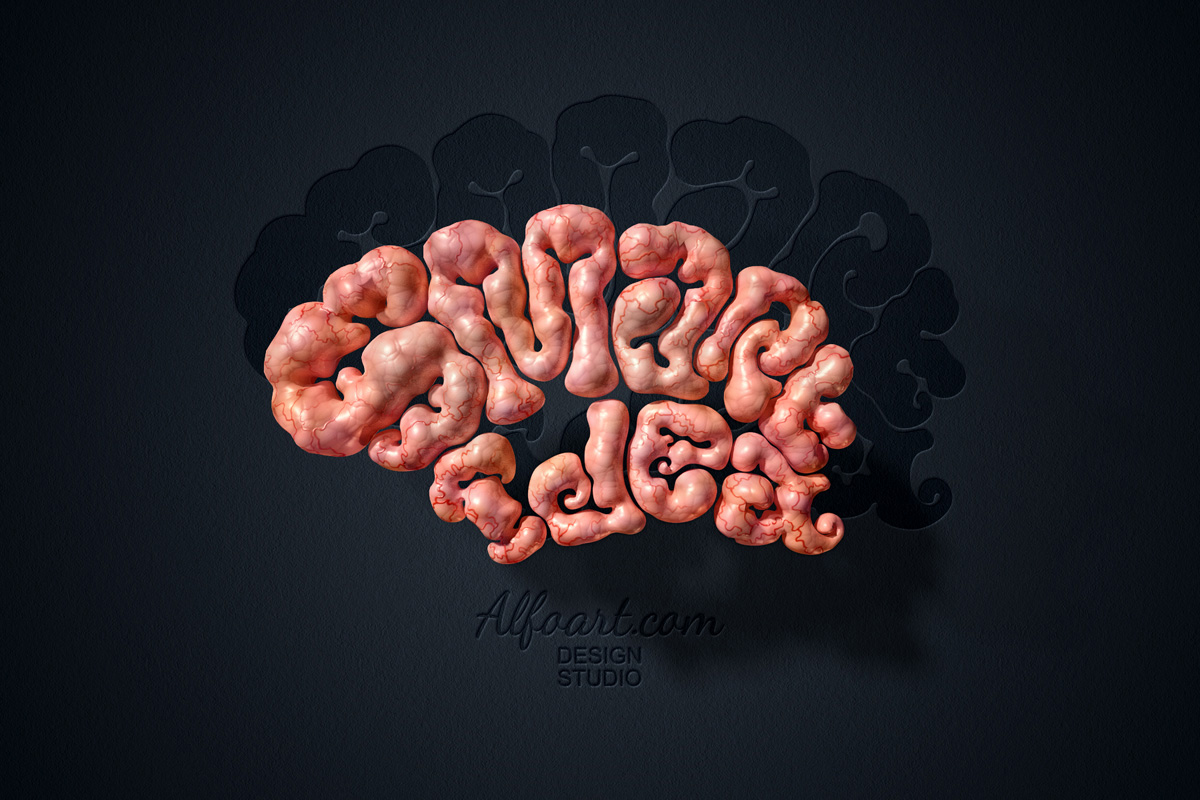
 Learn how to create realistic brain text effect. This Adobe Photoshop tutorial will show how to apply gray cells, blood vessel texture and light reflections to the 3D shapes. You may get large (1800 x 1450 px, 72px/in) editable .psd* file of "Brain text effect" Photoshop tutorial by making a payment.
Click to enlarge the image.

Help Files:
- Create a new Photoshop document 1800 x1457 px and resolution - 72 px/inch. The layer style effects and patterns proportions for 3D letters depend of the shapes size and resolution.
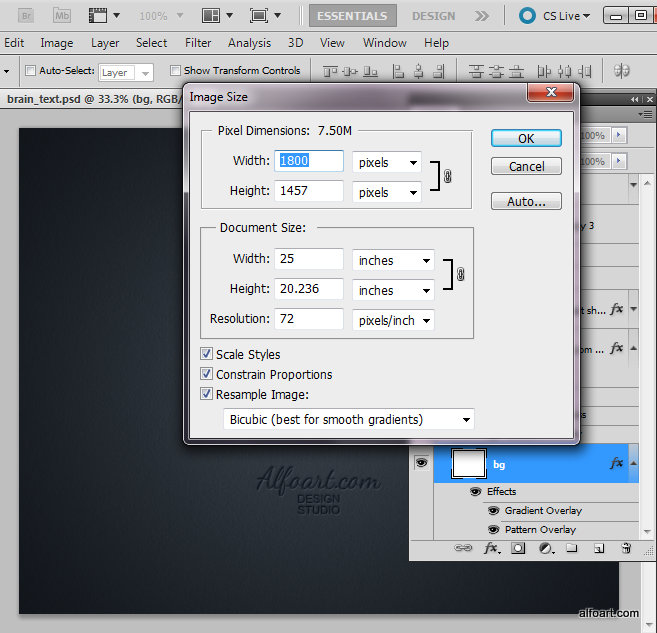
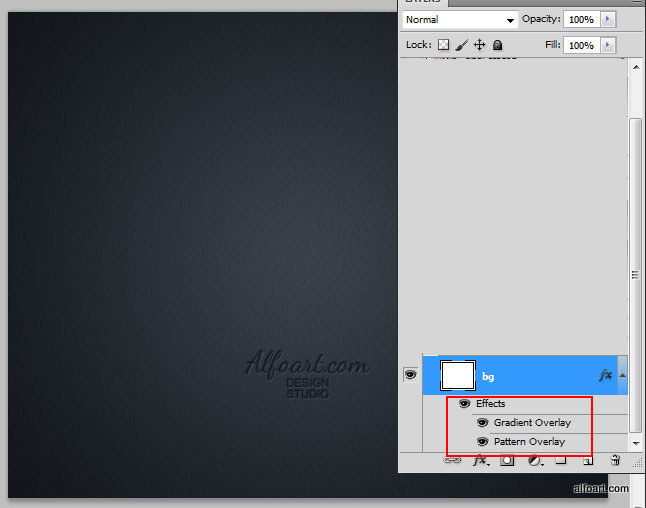
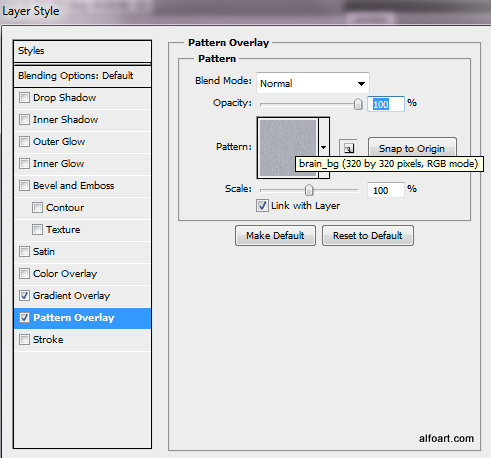
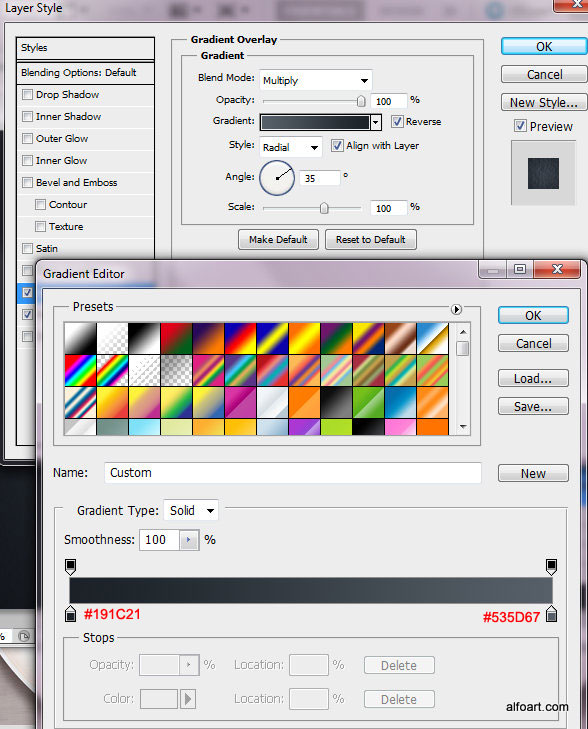
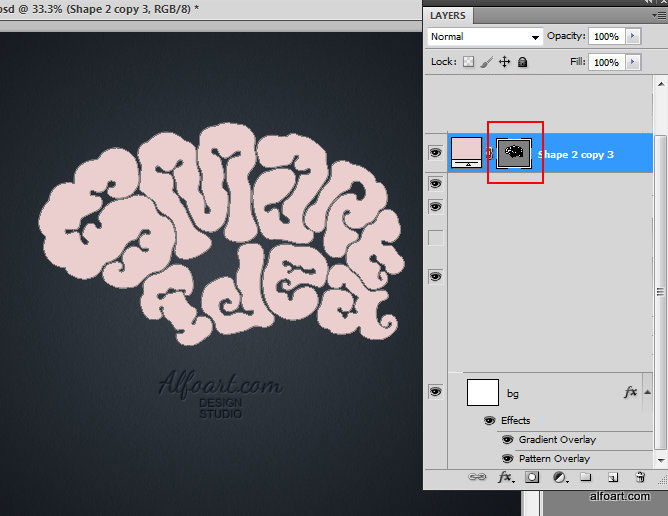
- Unlock "Background layer"(drag "lock" icon to the "Recycle Bin"). Apply layer style effects to the background layer. Download "Paper" pattern to create texture just like on the example.
- I"ve created "Brain" style letters with the regular round "Brush Tool" in Photoshop, then I converted it to the vector shape using Adobe Illustrator (Object > Live Trace > Trace Options). You may download this shape here.
- Insert Brains shape into a new layer. Make active "path" thumbnail.
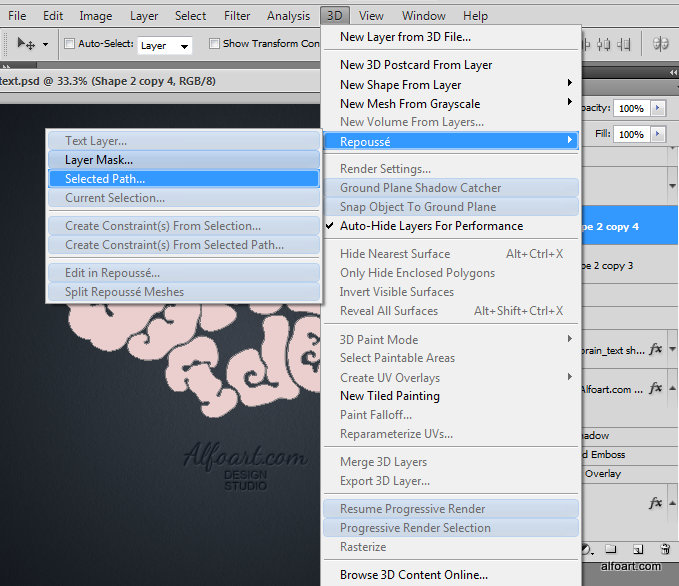
- Go 3D > Repousse > "Selected Path"
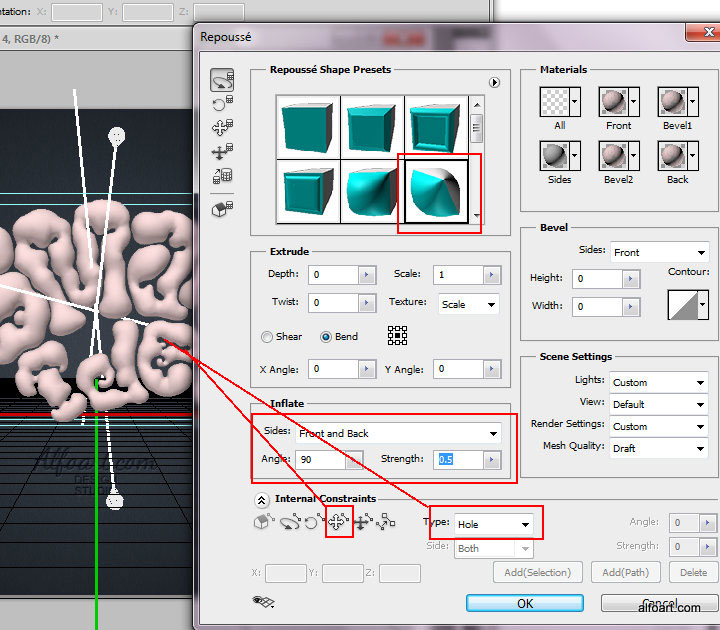
- Choose "Inflate sides" preset, but change "Strength" option to "0.5". Also activate/click path inside of "e" letter to make "hole" effect.
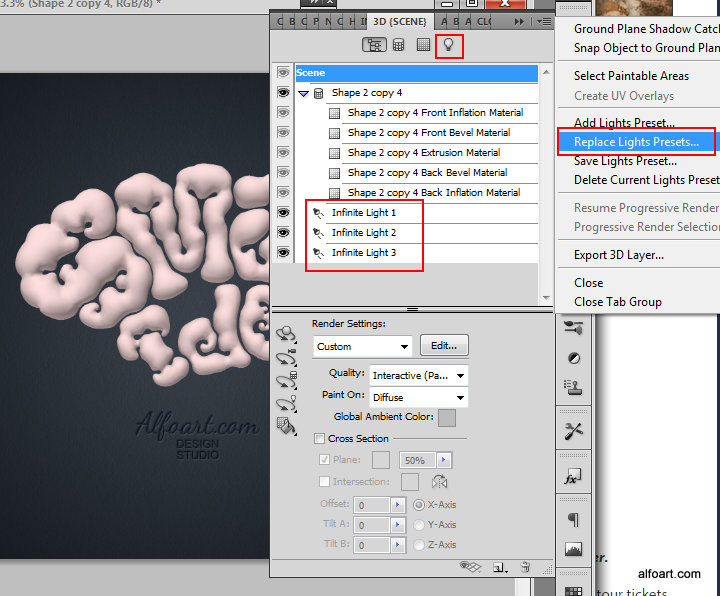
- Then go to 3D materials palette
 . Download and replace Lights Preset.
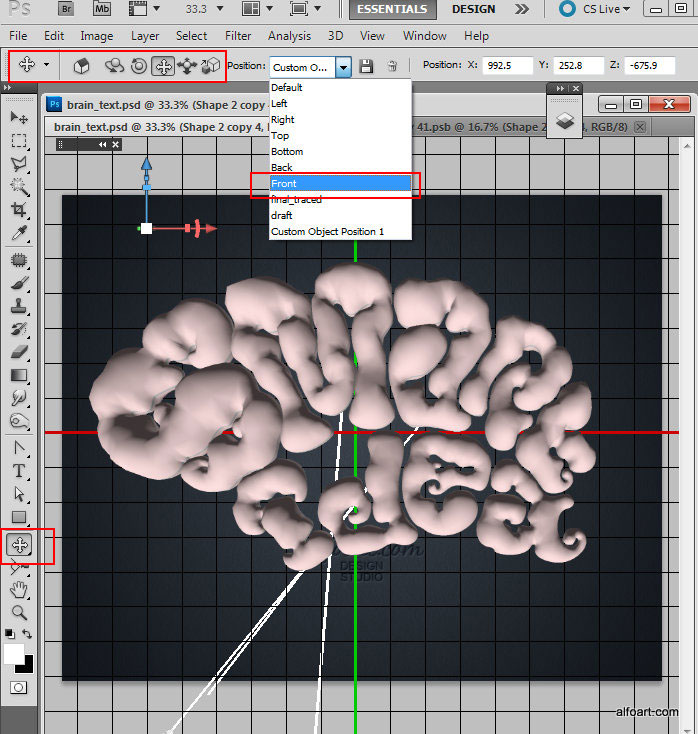
- If you don't need drop shadow effect just like on the final image, you may keep current 3D shape and camera position. But if you would like to have drop shadow behind the shape you need to change object and camera position to set the "3D ground" in the same place as the dark paper background created in the first layer.
- Change Object position from "Default" to "Front".
- You may correct shape position with the tools in the top left corner of the screen.
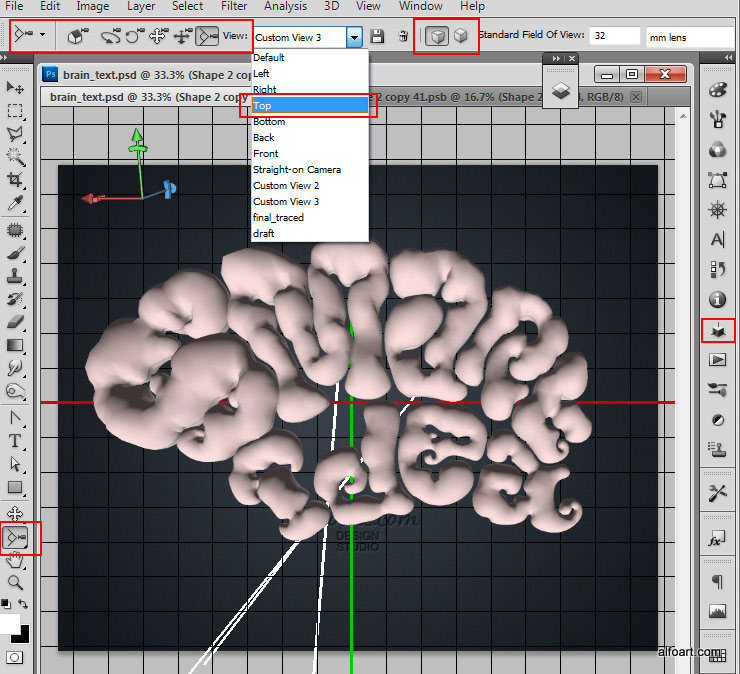
- Also change camera position from "Default" to "Top". You may try "perspective camera" or "orthographic" camera(icons next to Recycle Bin icon) and choose what option is better for you.
- You may correct camera position/angle with the tools in the top left corner of the screen.
- In order to apply materials settings, open 3D materials palette.
- For now, use default "interactive painting" Quality adjustment.
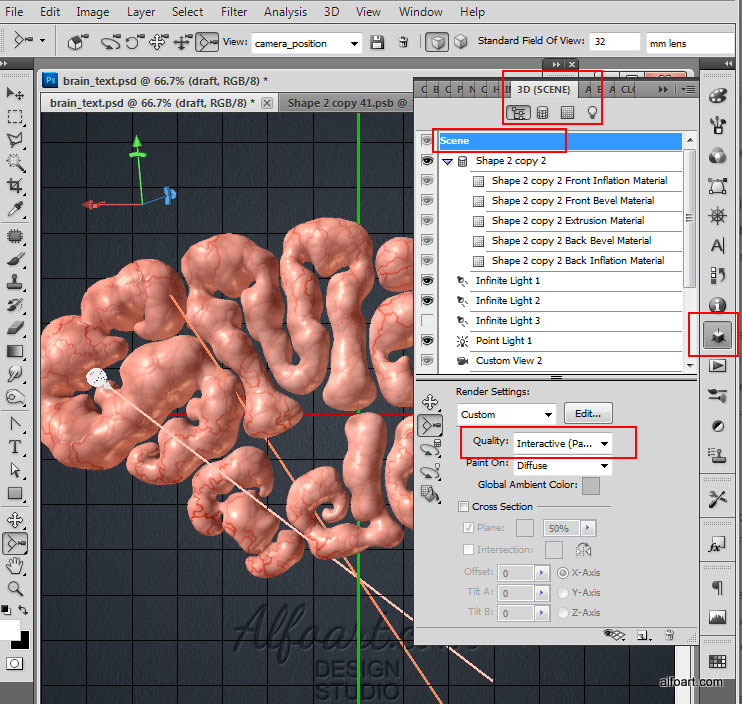
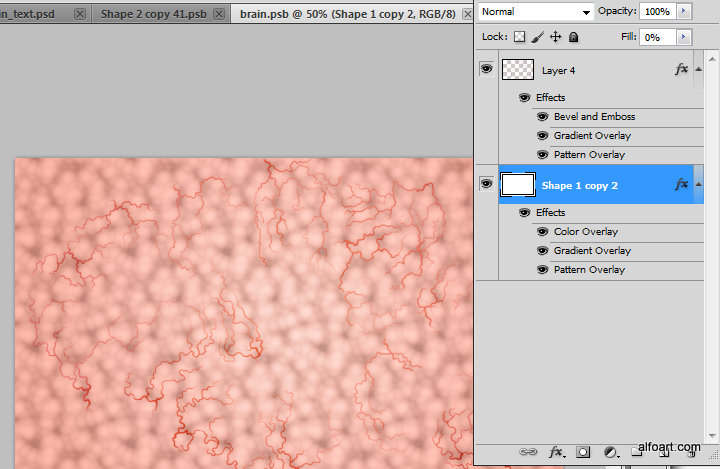
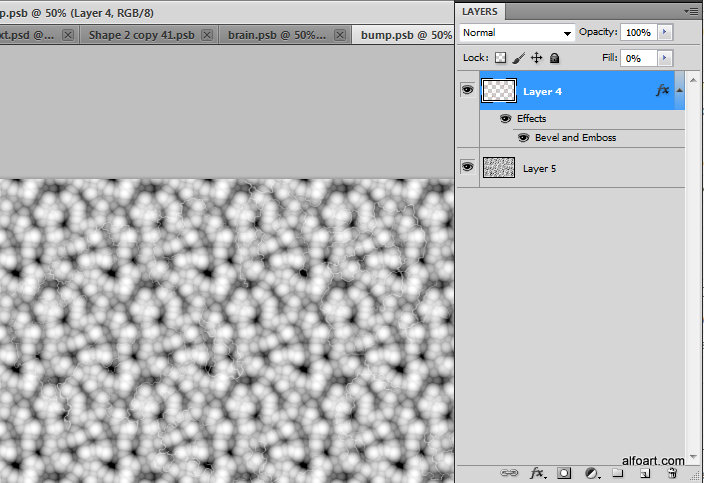
- Apply material adjustments to the Front Inflation Material. Download "Brain pattern" and "bump texture" and upload them to "Diffuse", "Bump" folders.
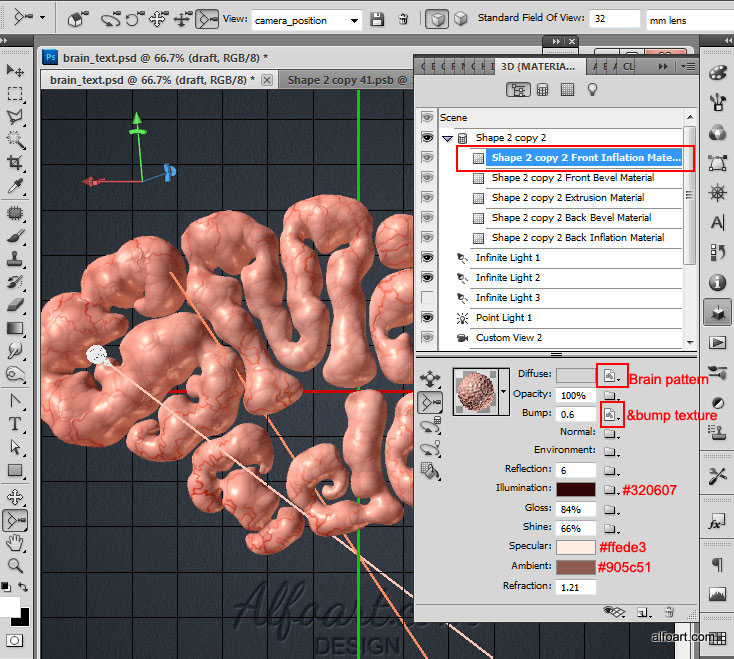
- If you open these textures as the separate documents in the new windows, you may see they are created with the simple layer style effects, preset Photoshop pattern and the image of the blood vessel (created with the regular small round brush).
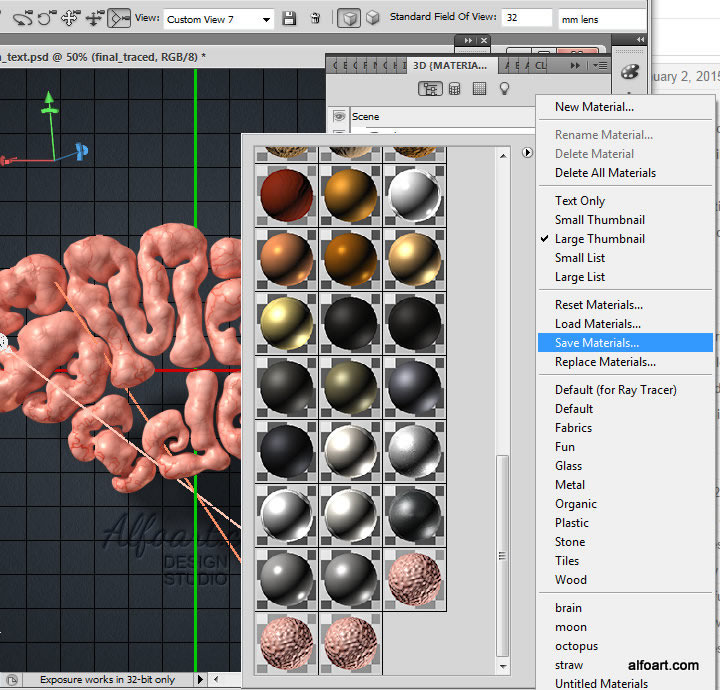
- After applying all these settings to the front material, you may save them as a "new" preset material and use it for other sides of the current Brain shape or for different shapes in the future.
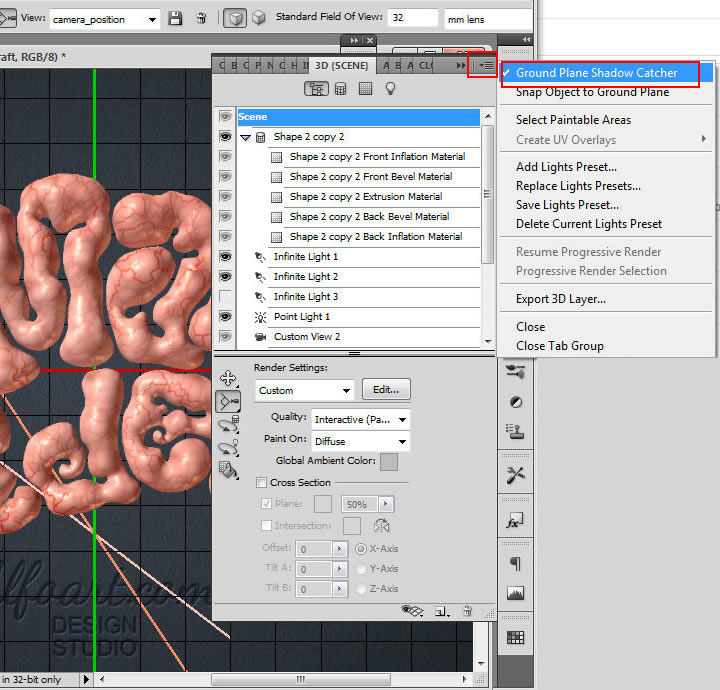
- To create shadow, check "Ground Plane Shadow Catcher" option.
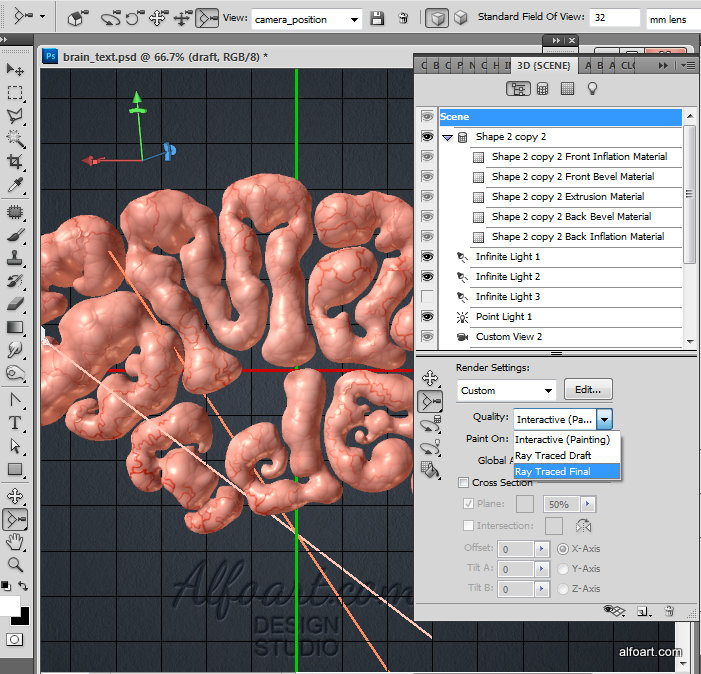
- Then choose "Ray Traced final" quality. This process can take some time. Wait until you will see glossy and smooth texture of the brains and shadow, click somewhere on the screen to stop tracing process. The time of the ray tracing process depends of your computer performance and speed, so it may take time between several minutes and hour.
- Here is the result of tracing process.
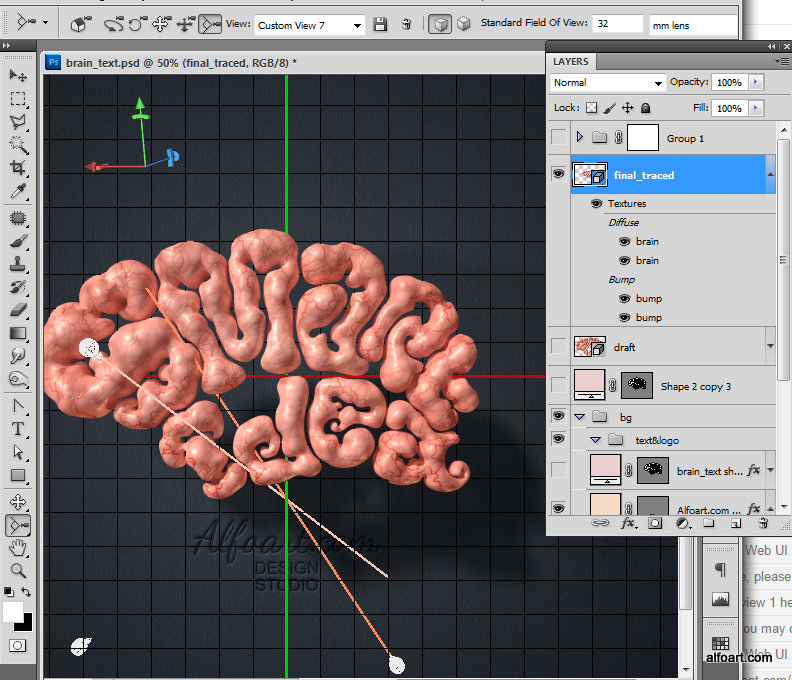
- Return to the regular layers palette. Right click 3D shape layer, choose "Rasterize" option in the bottom. Rasterize 3D layer.
- Go to Image > Adjustments > Auto Contrast.
- Apply Pattern Layer style effect to this layer. Use preset Photoshop pattern "Nebula".

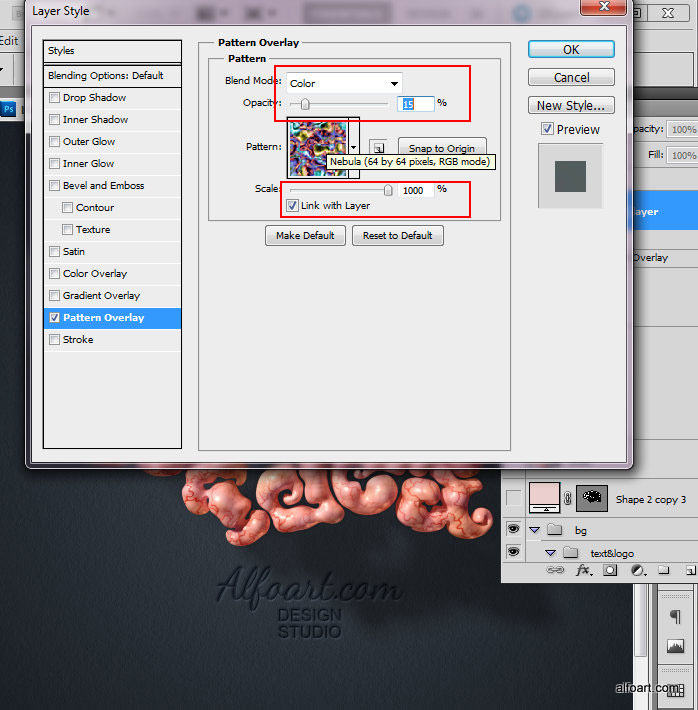
And here is the result!
Pages: 1