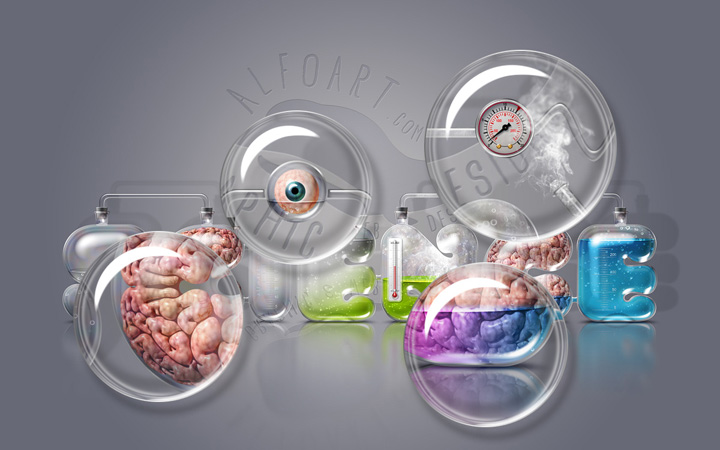
 Learn how to create realistic glass text effect by using very simple tools and techniques such as layer style effects and blending modes. This Adobe Photoshop tutorial teaches how to apply transparent glossy texture to the letter shape, how to fill out laboratory glassware letter with the realistic liquid, water bubbles and steam. Also it shows how to add metric scale to the glass surface, how to make shadows and reflections.
You may get two large, high resolution and fully editable psd files "Laboratory Glassware Letters" with whole English alphabet (4200x4800px, 300px/in) and "Science Text Effect"(4000x2500px, 300px/in) file by making a payment.
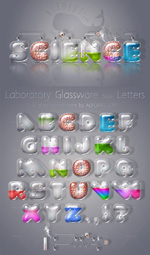
Click image on the left side to see all elements of both files. These files contain layered English letters, glass style pipes, corks, barometer, thermometer, realistic brain texture, eyeball and other elements. You will be able to use letters with different backgrounds for different chemistry laboratory style signs.
- Load selection for the "B" glass shape layer (Ctrl + click shape thumbnail).
- Make active "Liquid" folder.
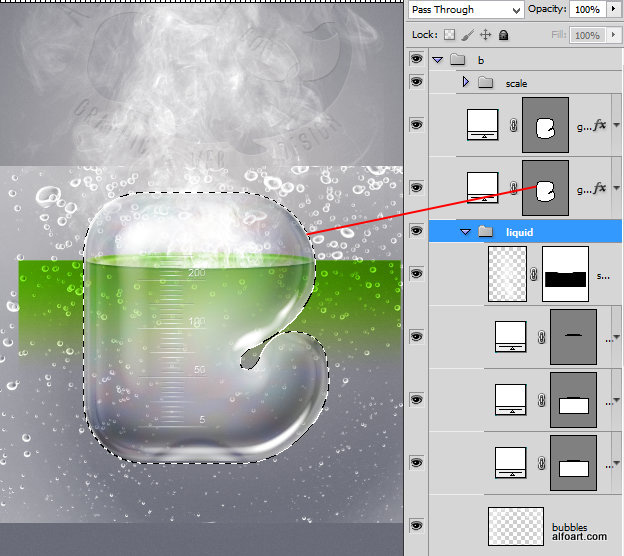
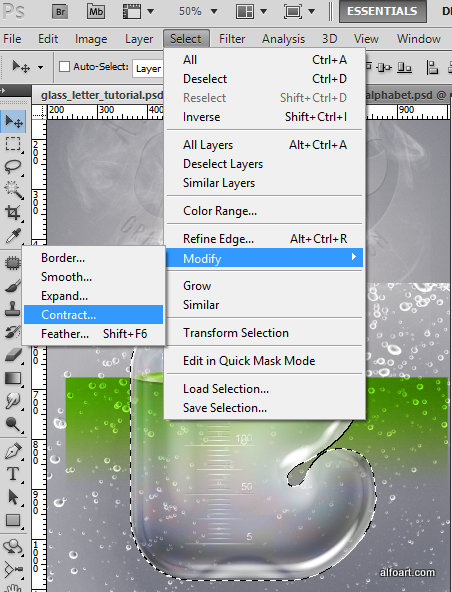
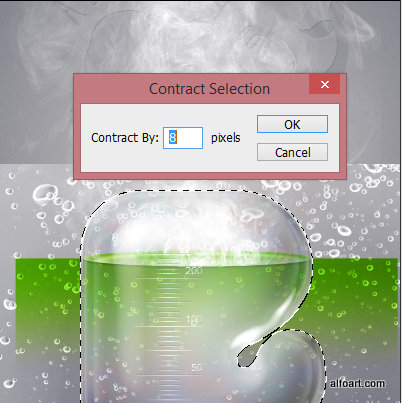
- Go to Select > Modify > Contract. Put "8px" value.
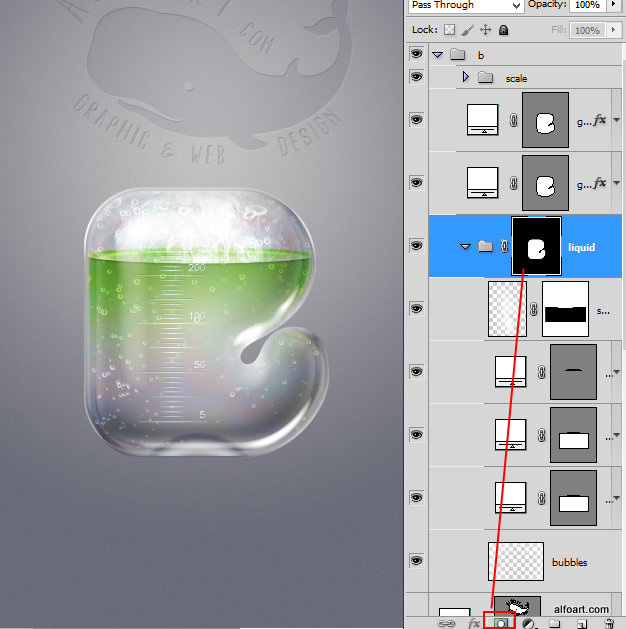
- Click "Layer Mask" icon to remove texture outside of the letter shape.
- If you would like to create shadow and reflection for the glassware letter follow instructions below.
- Load selection for the "B" shape once again.
- Go to Menu > Edit > Copy Merged
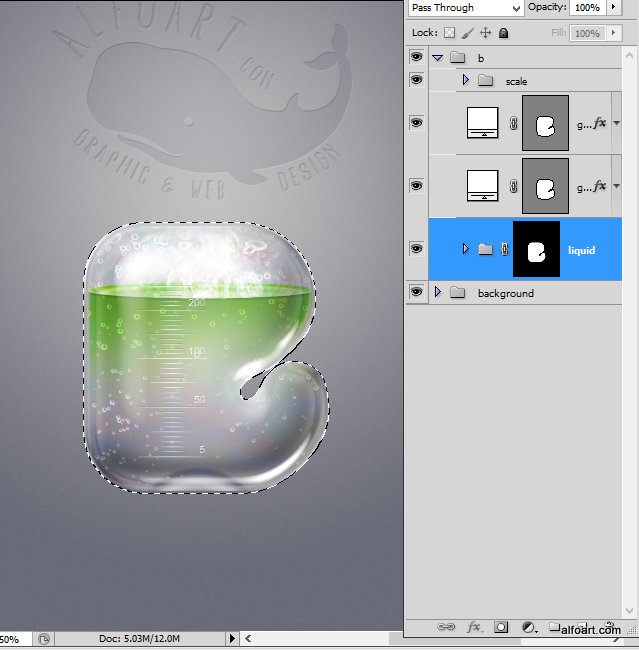
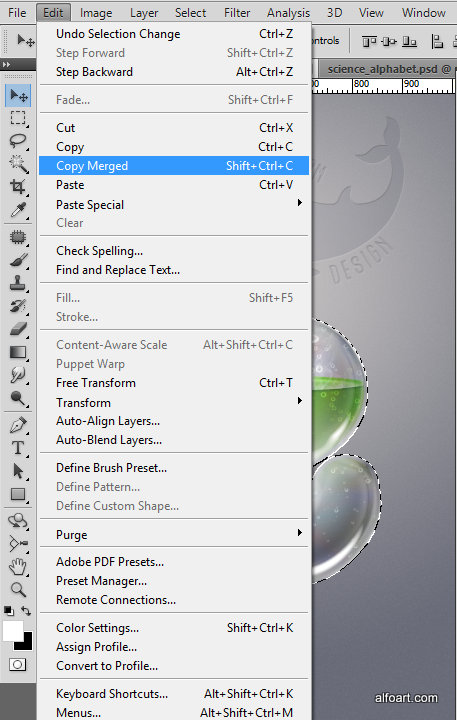
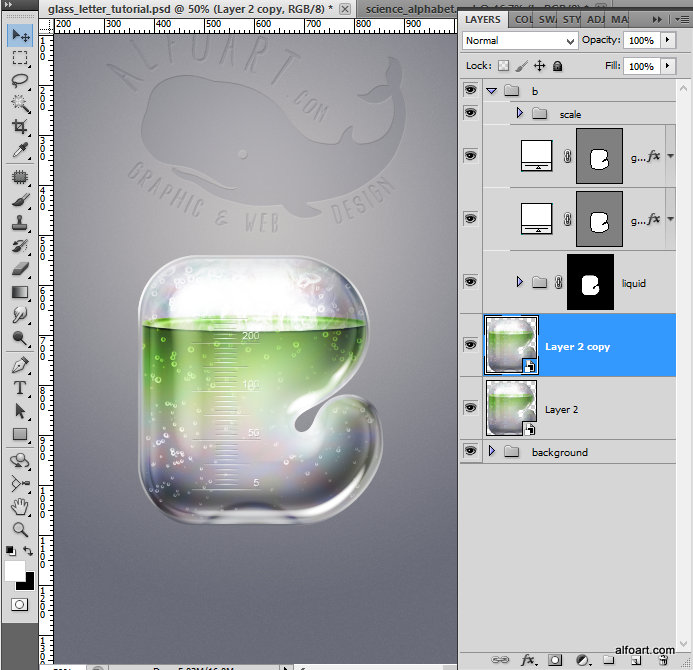
- Paste merged letter below of all letter layers but above background.
- I've converted merged letter to "Smart Object" (right click layer, choose "Convert to Smart Object")
- Duplicate created object. We will use one smart object layer to create the shadow and another one to create reflection.
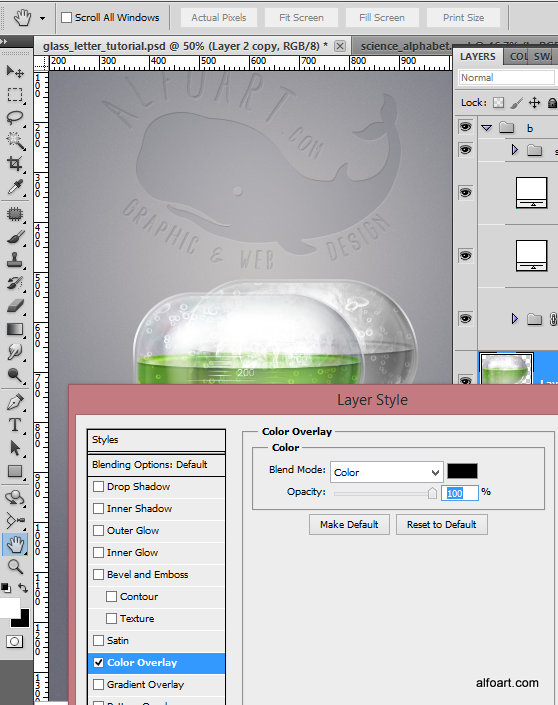
- Let's make shadow effect. Apply Black Color layer style effect to the one of the smart objects to make it Black and White.
- Move it a little bit.
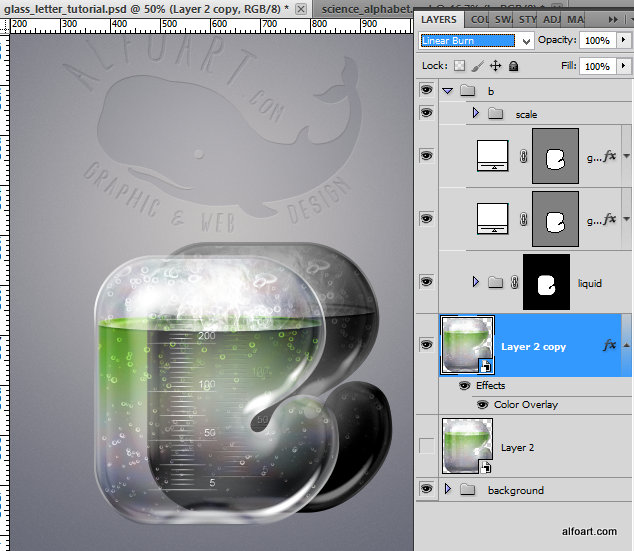
- Go to Filter > Blur > Gaussian Blur. Apply amount between 3 - 10 px.
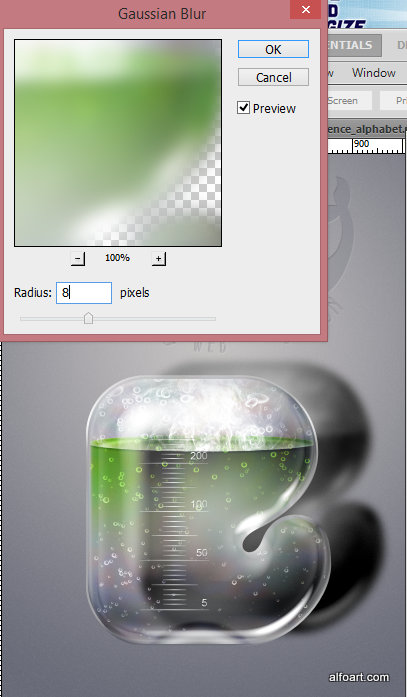
- Choose "Linear Burn" Blending Mode for this layer and Opacity 10-15%.
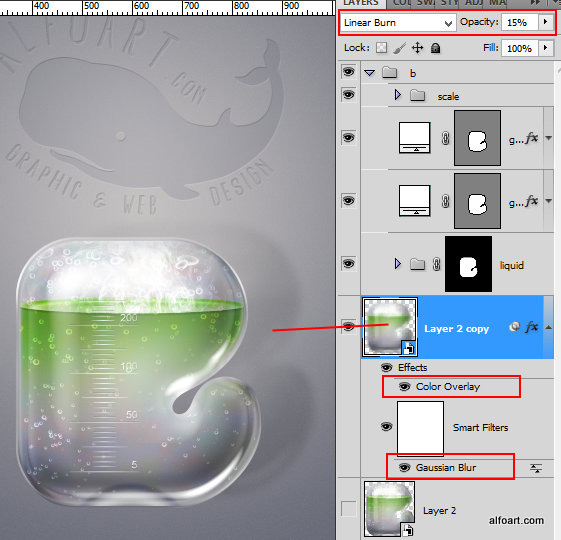
- Make active second "Smart Object" layer.
- Go to Transform > Flip Vertical. Move this layer down.
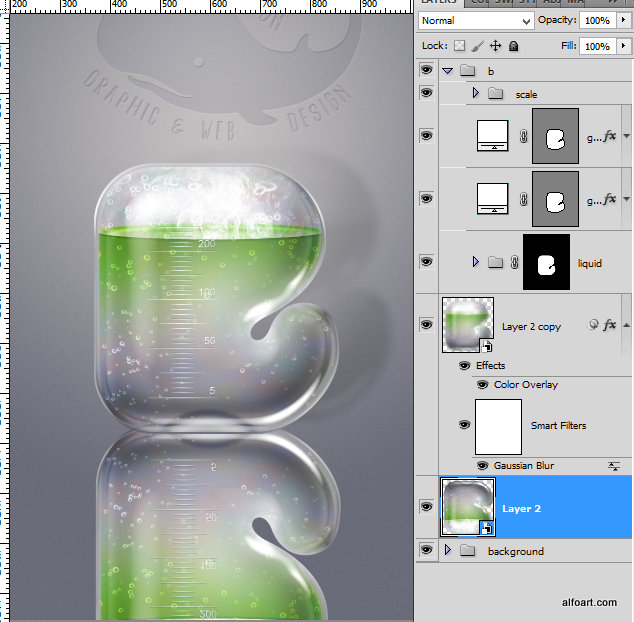
- Play with layer Opacity settings.
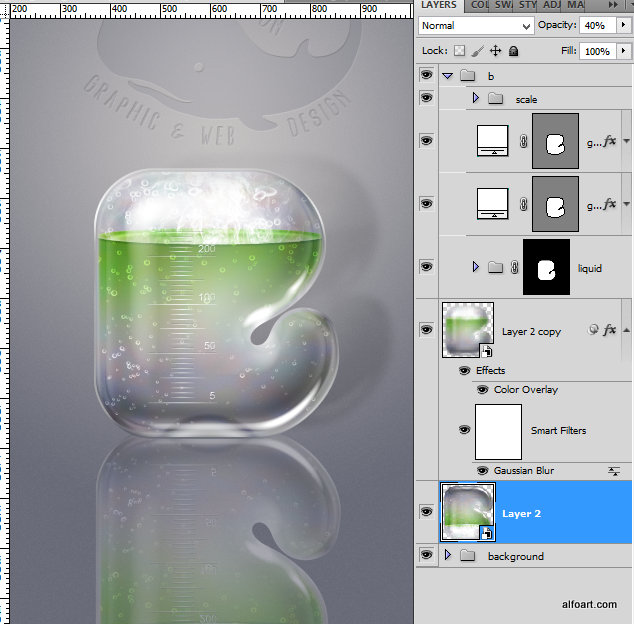
- Add Layer Mask to the "Reflection" layer.
- Fill it with the Black and White Linear Gradient in the bottom part.
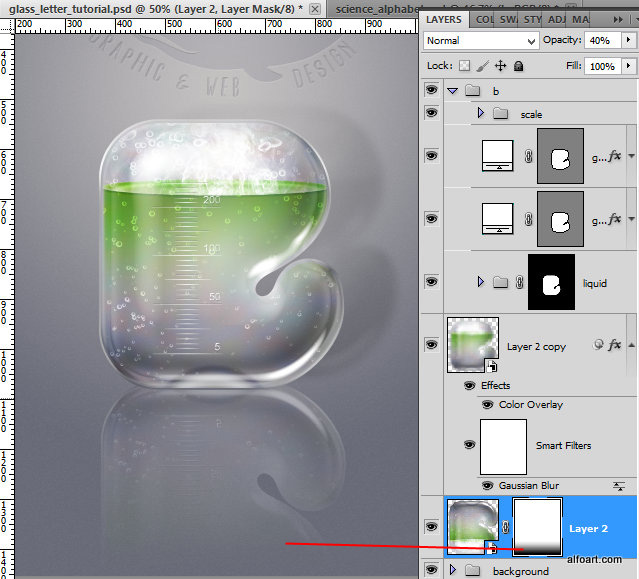
- Activate Quick Mask Mode (icon in the bottom of screen shot).
- Choose Black and White gradient. Fill area with the gradient just like on the screen shot below.
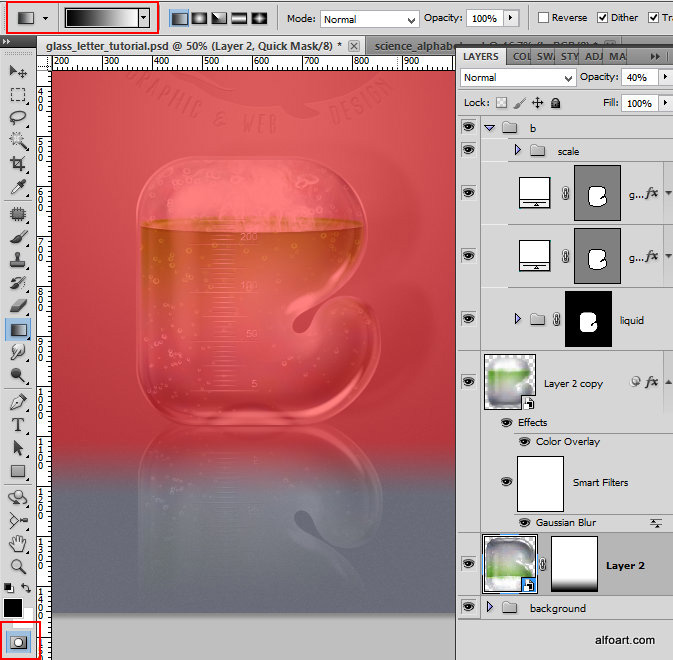
- Release Quick Mask and apply Gaussian blur filter to the selected area.
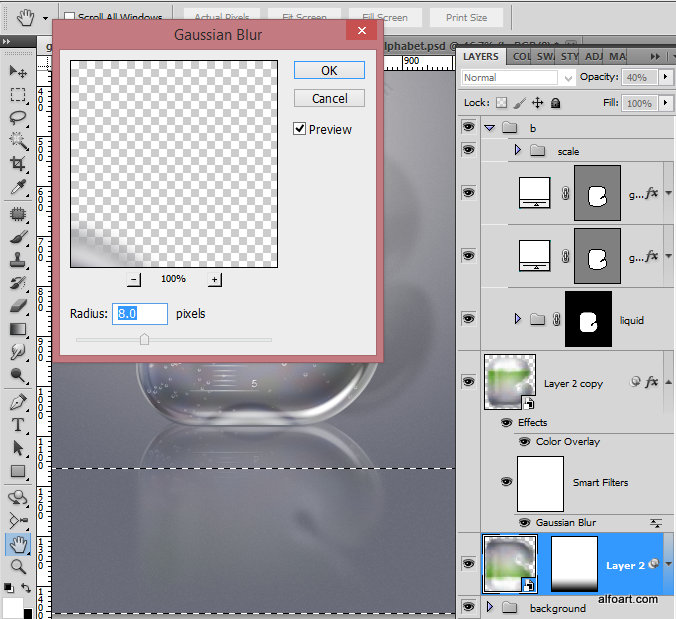
- Then go to Filter > Blur > Motion Blur.
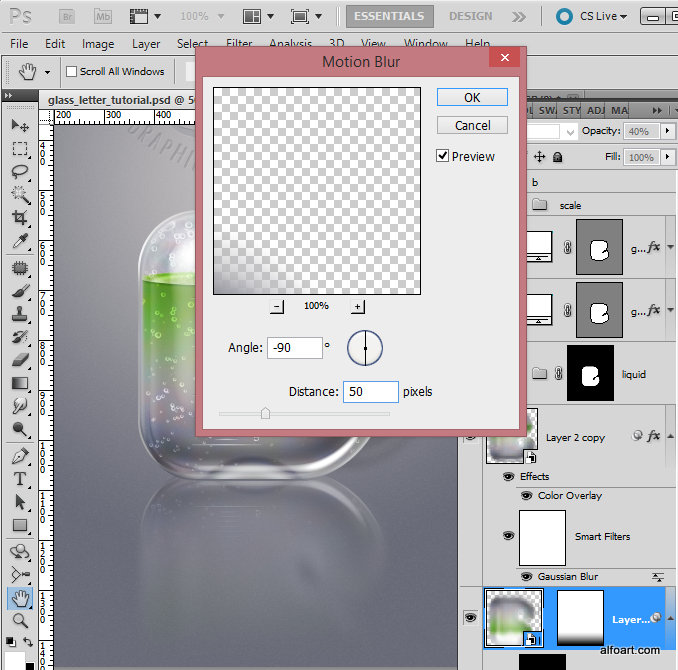
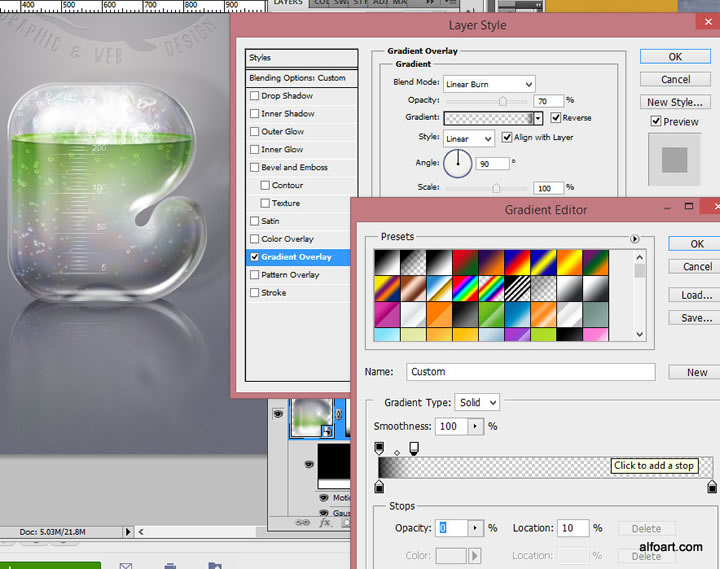
- Add Gradient Overlay Layer style effect.
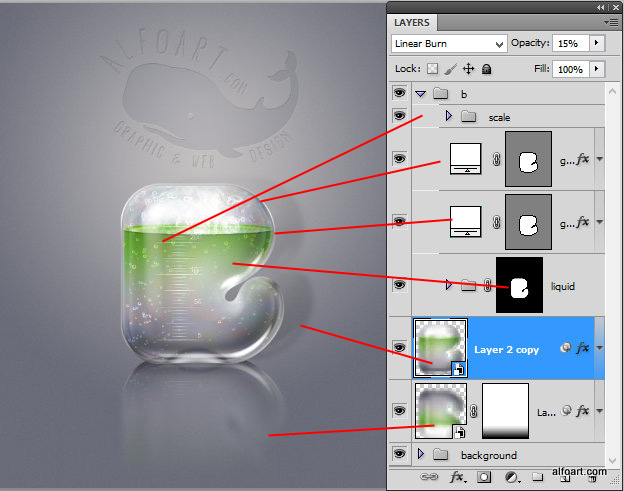
- Here is the order of created layers and groups.
And here is the result!
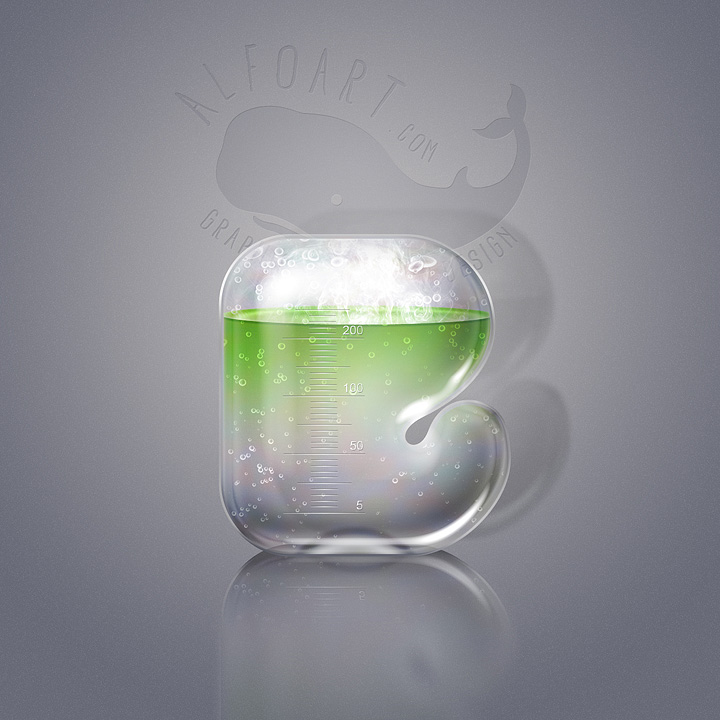
You may use this tutorial to create glassware signs like on the example below.


