


You may get .psd* file of "Halloween Text Effect". Photoshop tutorial by making a payment. Put the tutorial title in "Add special instructions to seller" line of PayPal and it will be sent to you shortly.
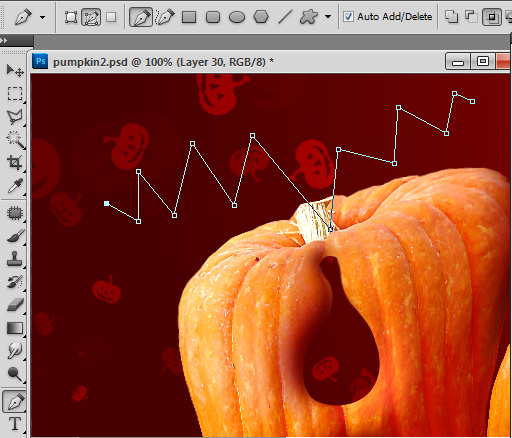
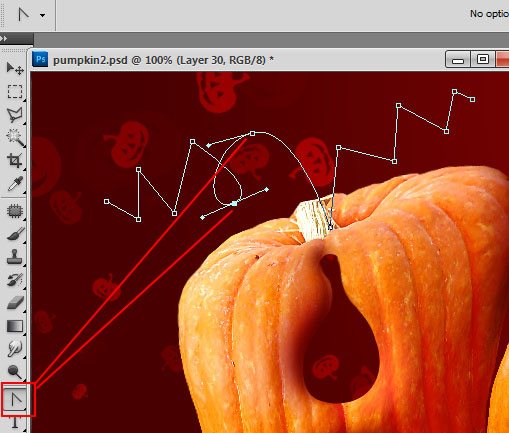
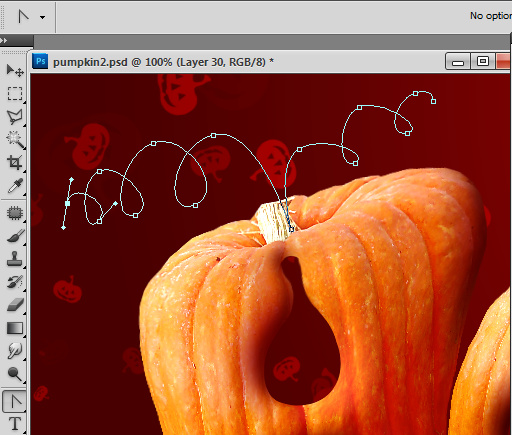
- In order to create pumpkin tendrils, choose Pen Tool and make twists and turns, make corners smoother with the Convert Point Tool.
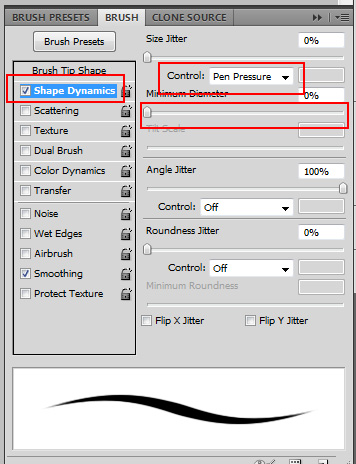
- Then make active Brush Tool choose small 8-10px round brush and apply Shape Dynamics setting to it.
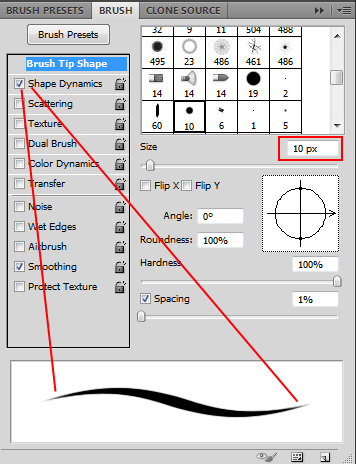
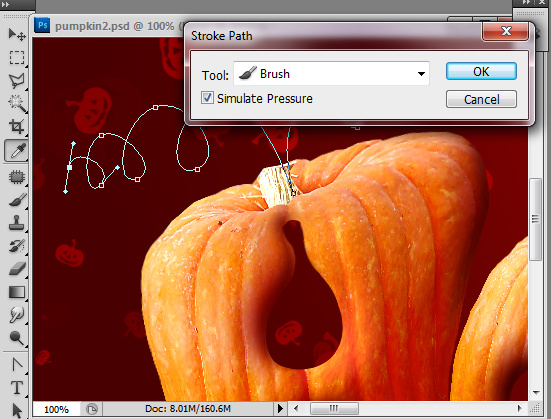
- Then make active Pen Tool and path active again, right click to path > choose Stroke Path, check box Simulate Pressure.
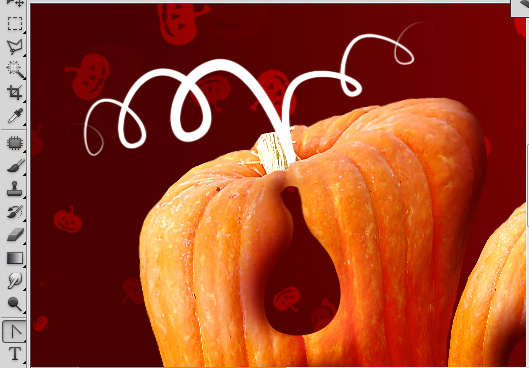
- You will get tendrils with the thin twisted tips.
- Process connections between tendrils and original pumpkin stalk with the very small brush using short strokes.
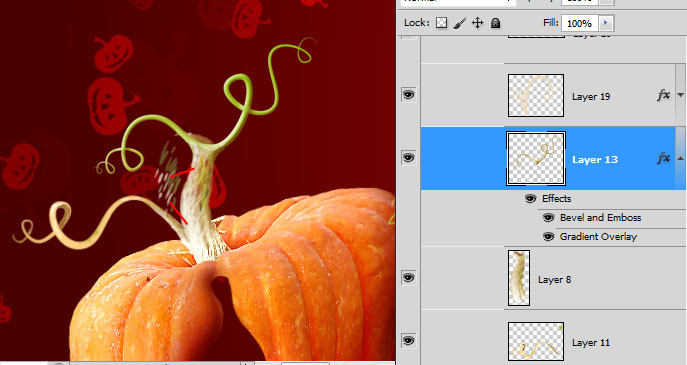
- Apply Gradient Overlay and Bevel Emboss effects to tendrils.
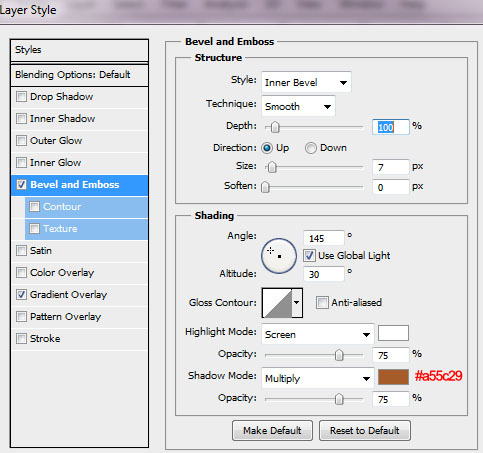
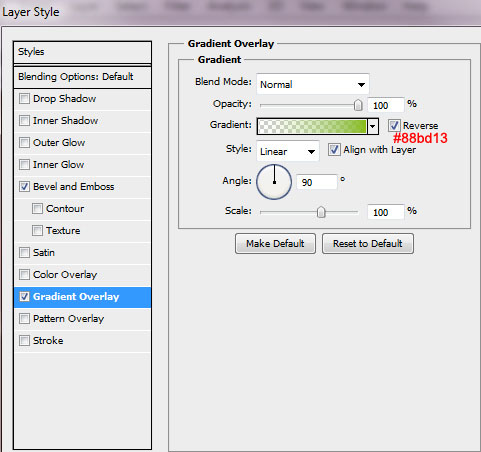
- Here is result of Gradient and Bevel and Emboss effects:

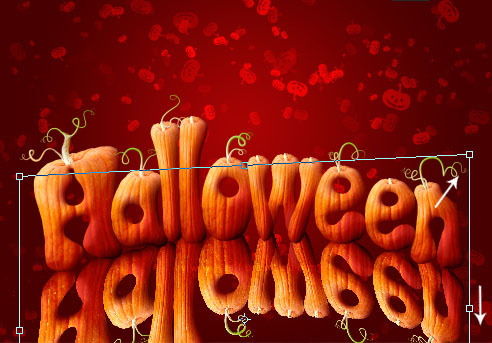
- Group all layers with pumpkin letters and tendrils, merge them and duplicate the merged layer.
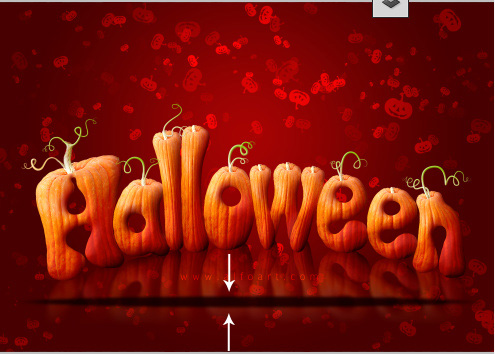
- Go to Edit > Transform > Flip Vertical. Move turned upside down layer bottom, below the original pumpkin text bottom edge.
- Go to Edit > Transform > Warp > Arch, move arch center point top.

- In order to transform reflection closer to the original bottom edge, choose Edit > Transform > Distort. Drug transformation corners to correct reflection position.
- Apply Gradient Overlay effect to the reflection layer.
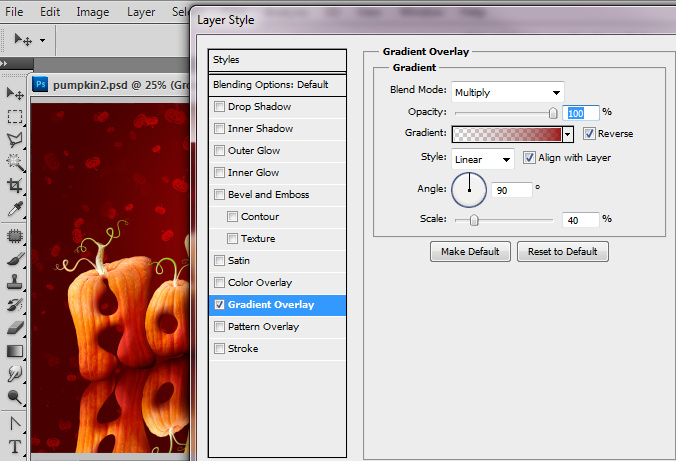
- Add Layer Mask to the reflection layer and fill bottom part of Layer Mask with the linear black and white gradient:
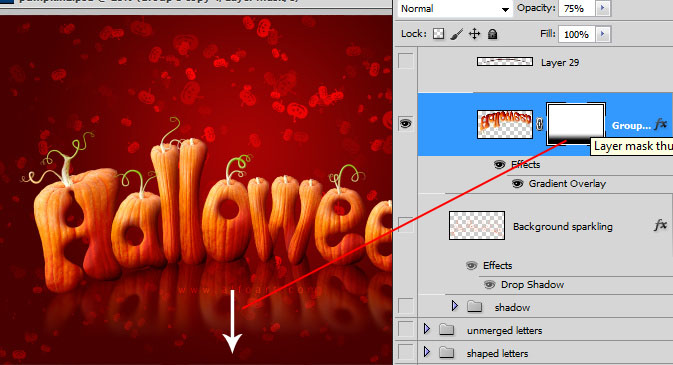
- Ctrl plus click Layer mask to load selection of the "white/visible" area of layer mask.
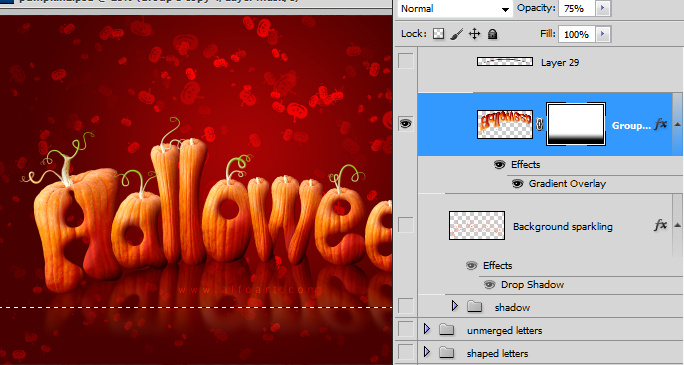
- Go to Select > Inverse , make active main layer thumbnail.
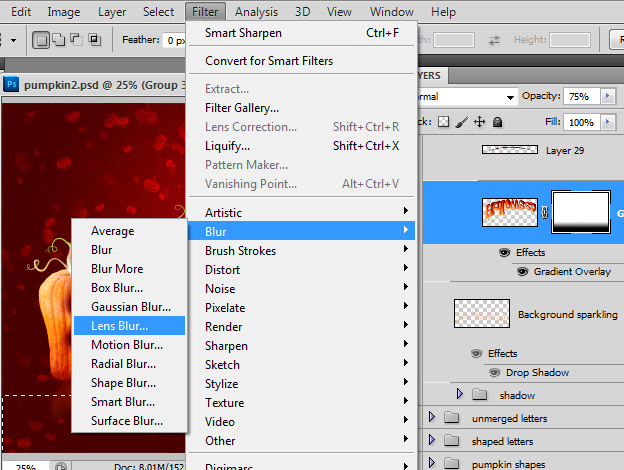
- Apply Lens Blur Filter to selected part of reflection.
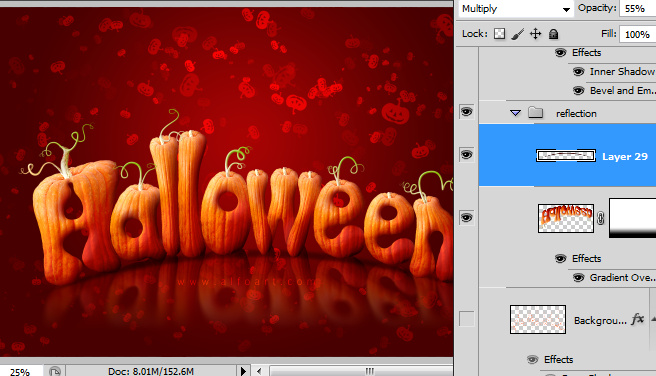
- Choose Ellipse Tool and create Large round shape on the new layer between pumpkin text and reflection layer.
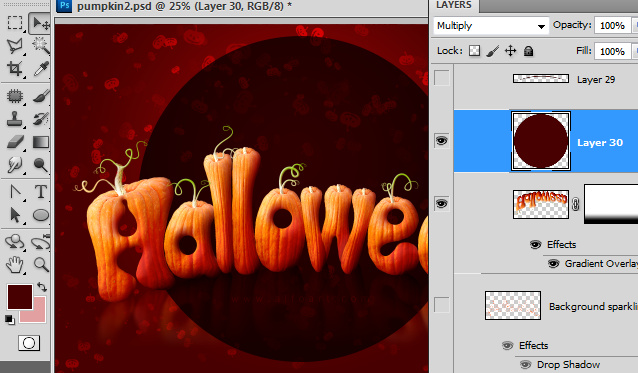
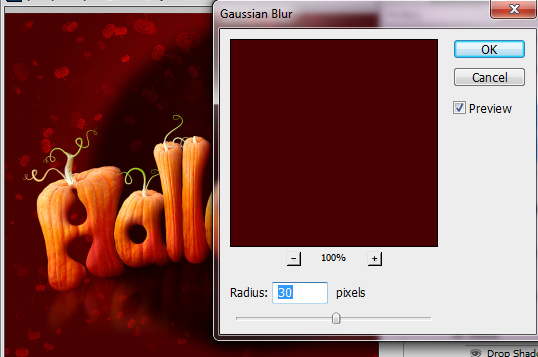
- Apply Gaussian Blur filter to created shape:
- Transform Blurred shape by vertical using Free Transformation.
- Then go to Edit > Transform > Warp > Arc

- Apply Multiply Blending Mode to the layer and Opacity 55%.
- Duplicate pumpkin text layer twice and place both duplicates above the gradient background layer and below the layer with the small pumpkins pattern.
- Apply Fill = 0% for both duplicates.
