


| You may get .psd* file of "Flying Saucer" Photoshop tutorial by making a payment. Put the tutorial title in "Add special instructions to seller" line of PayPal and it will be sent to you shortly. |
- Create light glare.
- Create path using Pen Tool and Convert Point Tool.
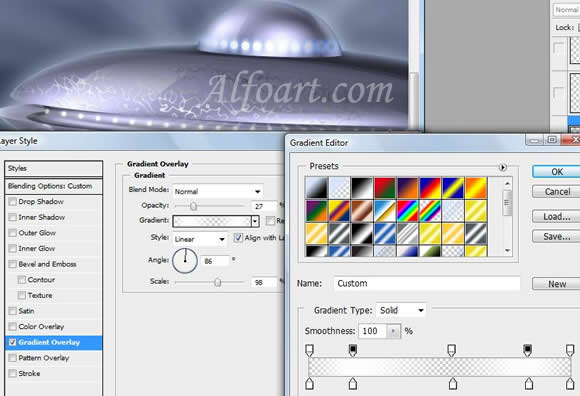
- Ctrl + Enter to load selection, fill it with any color.
- Apply Overlay Gradient to this layer.
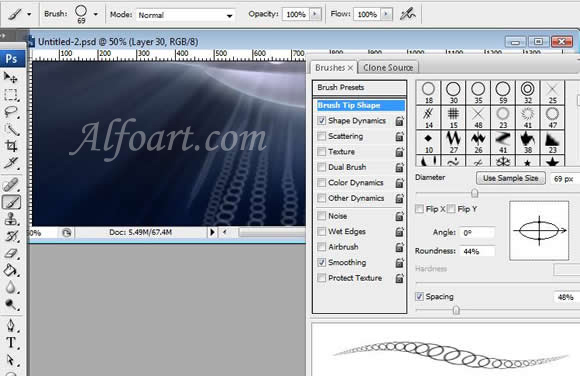
- Create a new layer.
- Add some light beams using Shape Dynamic Circle brush.
- Choose Flilter > Blur Gaussian Blur (1,5).
- Create a path just like in the example below.
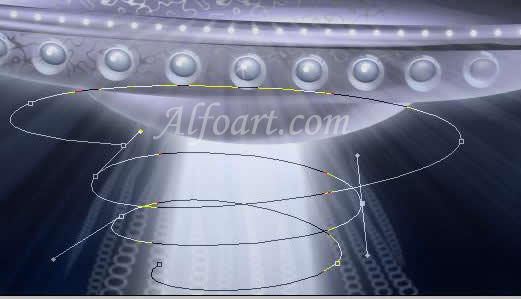
- Right click on the path, choose Stroke Path > Brush (Simulate Pressure).
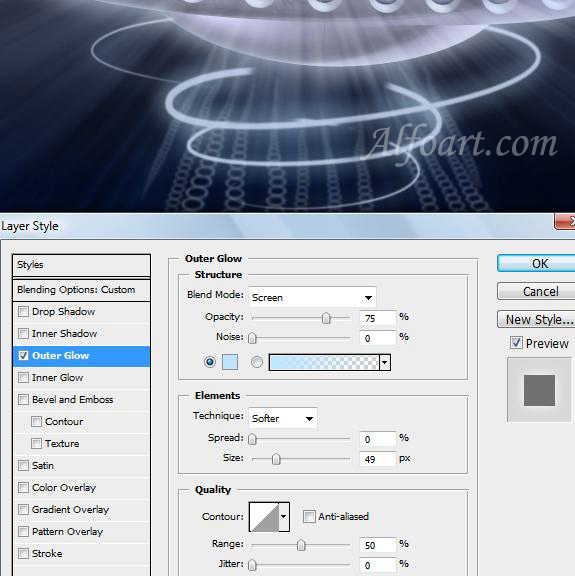
- Apply Outer Glow.
- Go to Filter Blur > Gaussian Blur (2).
- Erase backside of the spiral.
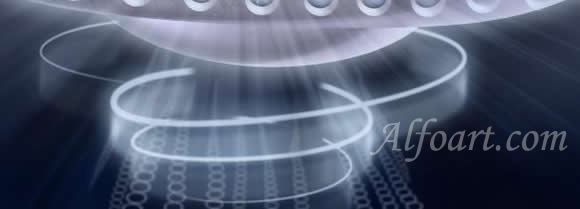
- Duplicate this layer.
- Move it down a little bit.
- Go to filter Blur > Motion Blur 40-50.
- Draw several vertical strokes using round white brush.
- Go to Filter > Blur > Gaussian Blur (30-40).
- Choose Screen Blending Mode to this layer.
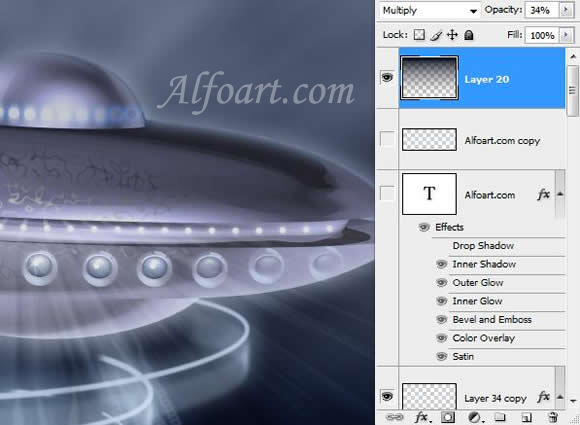
- Create a new layer (Multiply Blending Mode, Opacity 15-20%), fill it with black/transparent linear gradient.
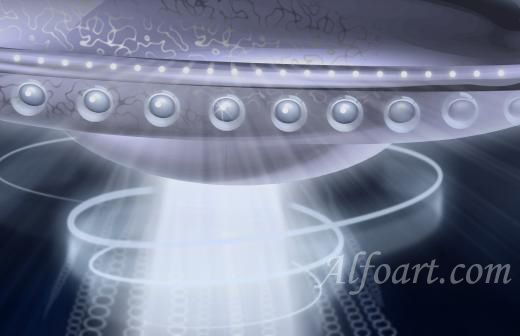
And here is the result! Click for larger view!
