


| Learn how to increase the quality of the regular photo and make it more artistic by using Photoshop tools, settings and photo manipulation skills. You may get .psd* file of "Fisheye & HDR toning effects" Photoshop tutorial by making a payment. Put the tutorial title in "Add special instructions to seller" line of PayPal and it will be sent to you shortly. |
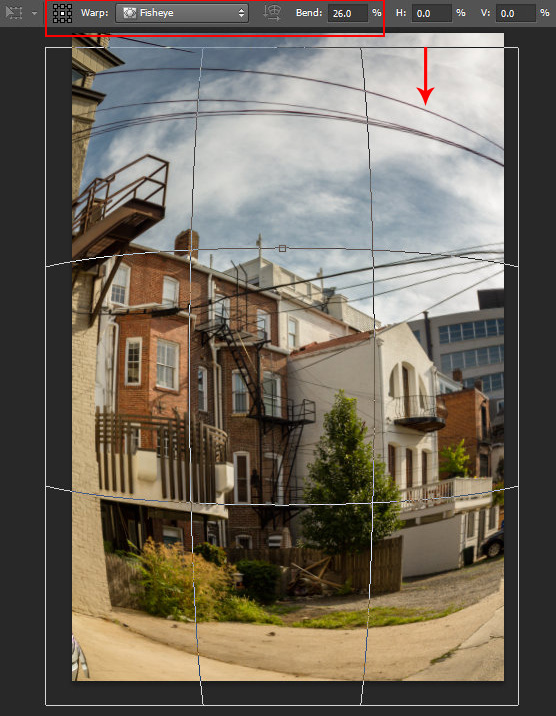
- Move this layer little bit down to increase sky space, you should see original background layer in the top part. Go to Warp transformation again. Choose Fisheye transformation this time. Apply settings like on the example below.
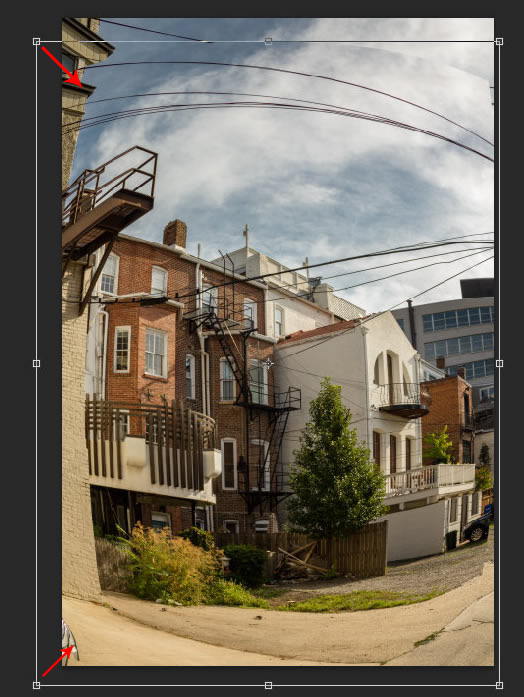
- The photo after Warp transformation. Shrink image a bit to fit left and right edges to document area after Inflate transformation. Don't pay attention to empty corners, we will fill them with Content-Aware tools.
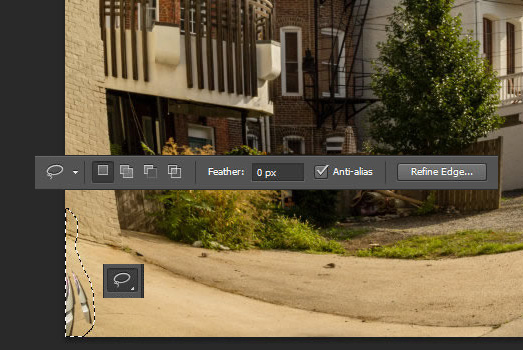
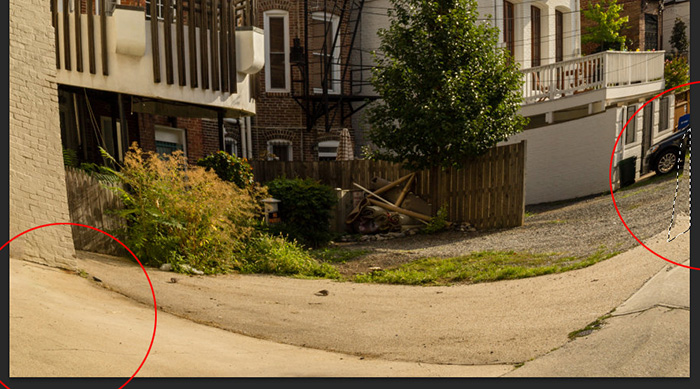
- Merge lens corrected image with the background layer. Correct bottom corners. Select the area you need to fix (you may use Lasso Tool).
- Go To Edit > Fill > Content- Aware. If you are using older Adobe Photoshop version, you may use Patch Tool or Stamp Tool.
- Do the same thing for other bottom spots.
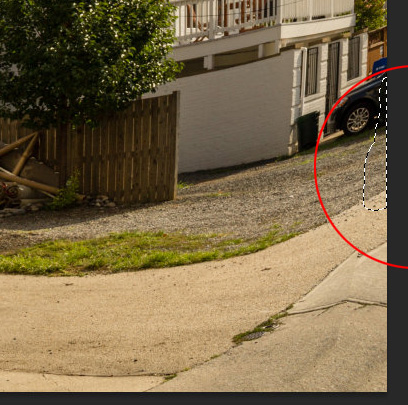
- Let's fix the top part. All These tricks are not necessary if you have a good photo composition, but may be they will be helpful in some cases.
- Choose Spot Heal Brush Tool in Content-Aware Mode and hide unwanted spots and hard edges.

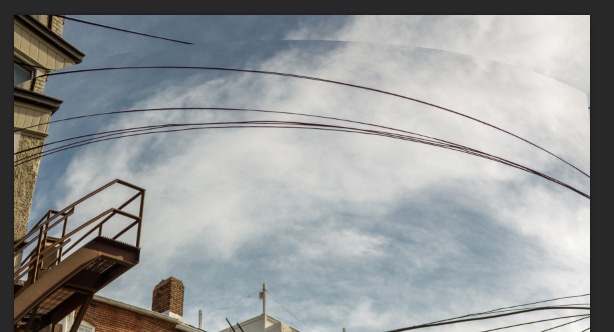
- You should have something like this:
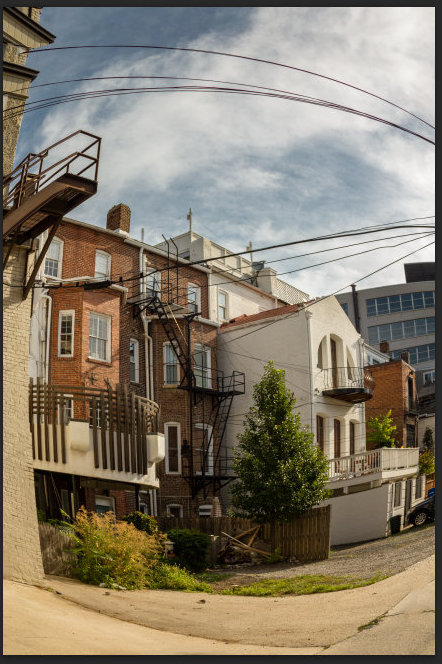
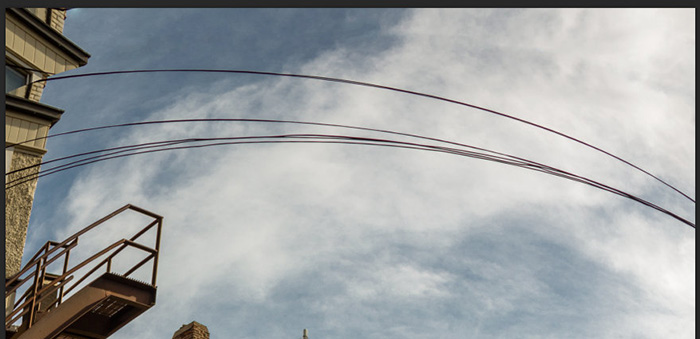
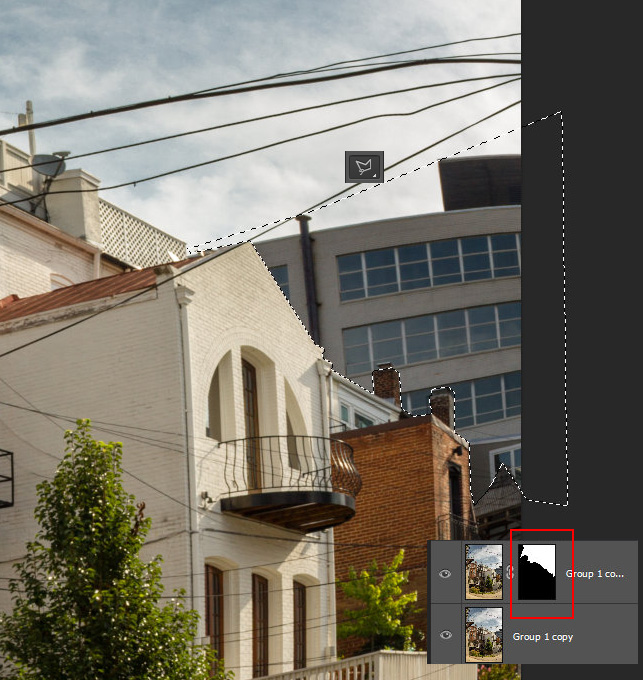
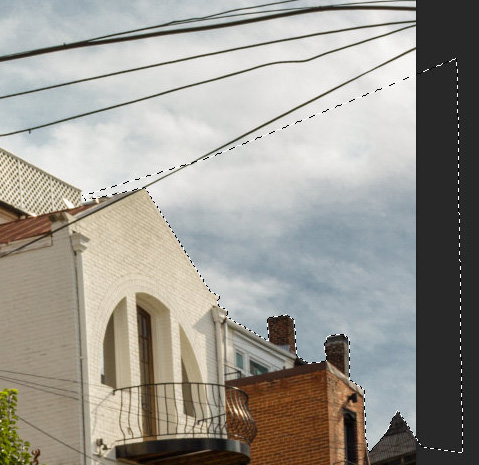
- I don't like very much the gray building on the background. In order to remove it, duplicate current layer(the layer with lens and all other corrections). Add Layer Mask to the duplicated layer and erase all objects except the sky with the black brush. If you make the bottom layer (layer without mask) invisible, you will see something similar to the second screen shot.
- Make active masked layer, select gray building with Polygonal Lasso Tool. Then fill selected area with the Content-Aware, Edit > Fill > Content-Aware. The Layer Mask is protecting selected area from buildings and ground "content-aware".

- This is the result of Content-Aware filling:
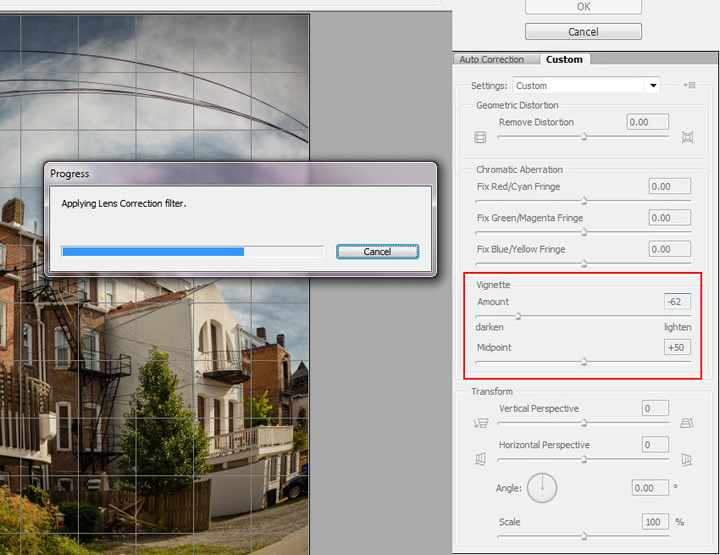
- Merge layers, then go to Filter > Lens Correction, and apply Vignette filter.