


Learn how to create magic photo manipulation with big curly mountain top using Content-Aware fill tool and digital painting techniques. You may get large (2000 x 2600 px, 72px/in) editable .psd* file of "Christmas Wonderland." Photoshop tutorial by making a payment. Put the tutorial title in "Add special instructions to seller" line of PayPal and it will be sent to you shortly.
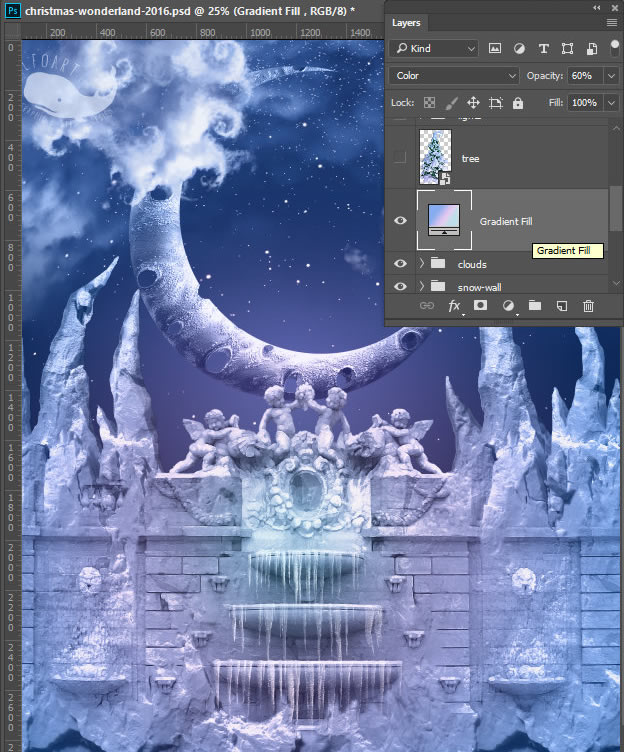
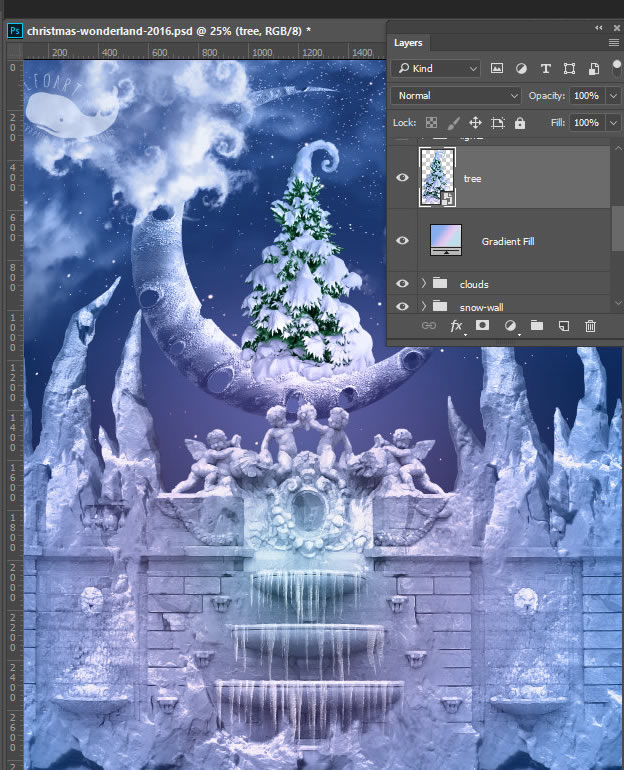
- Add Gradient Map adjustment layer above all created layers. Apply Opacity around 60% to this layer.
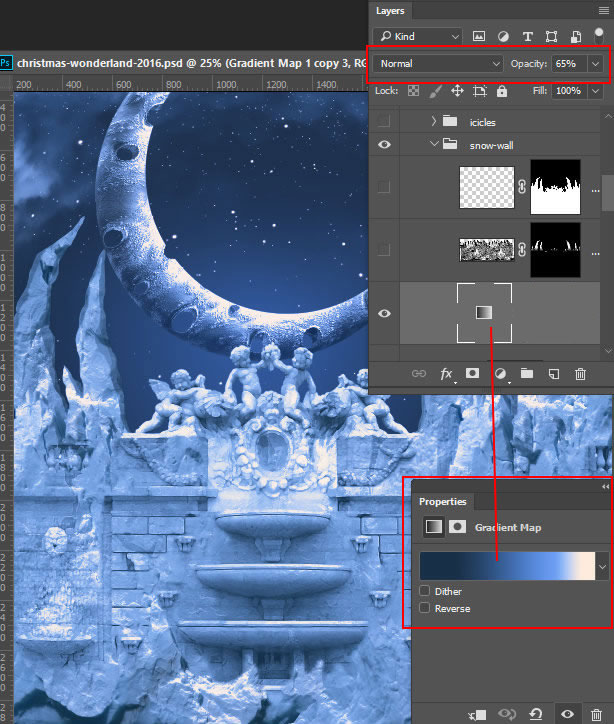
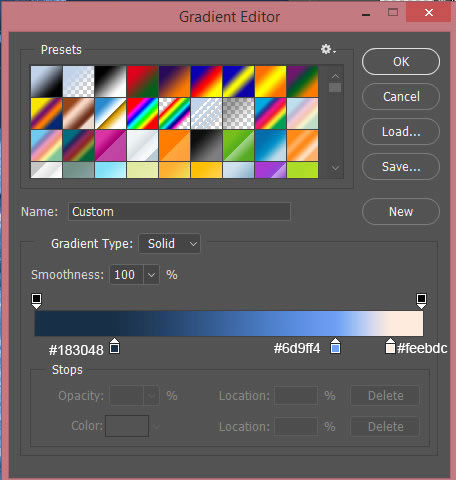
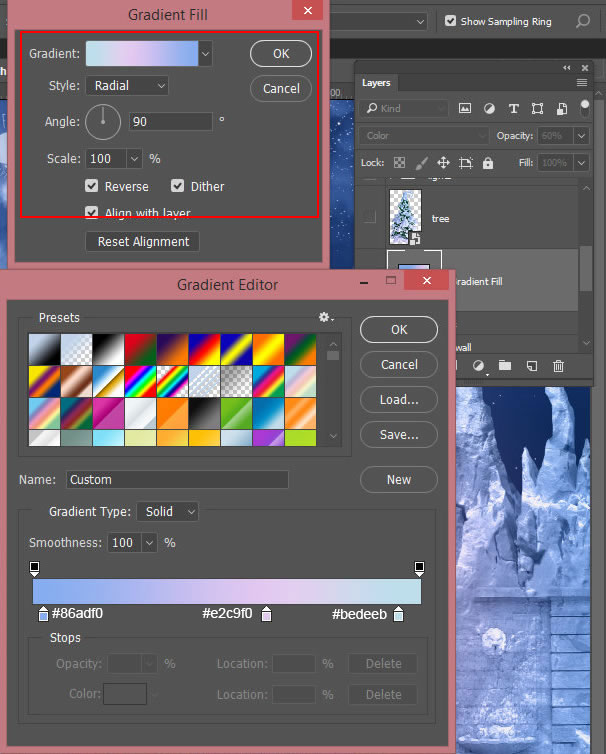
- Use these colors for gradient.
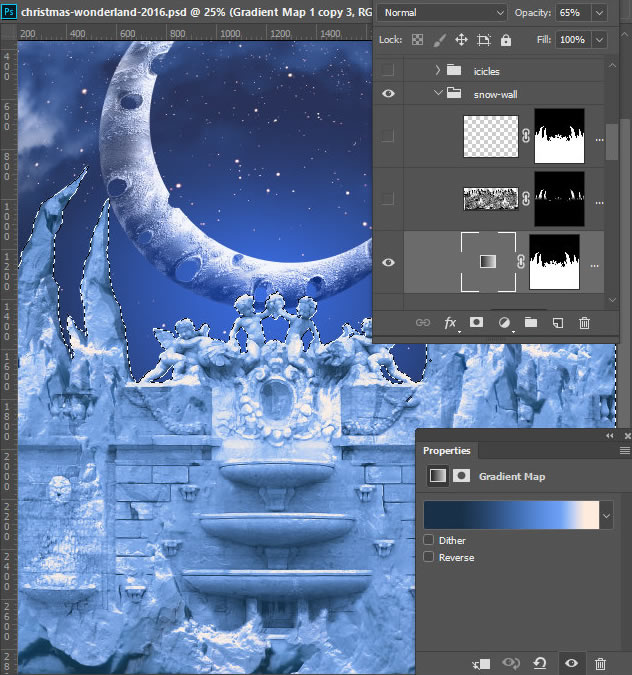
- In order to apply this gradient layer only to the fountain and snow wall area, load selection for both objects. Ctrl+Click snow wall layer, Ctrl+Shift+Click fountain layer.
- Add Layer Mask to the Gradient Map layer with the active selection. You should get Layer Mask with the white cliffs area and black background.
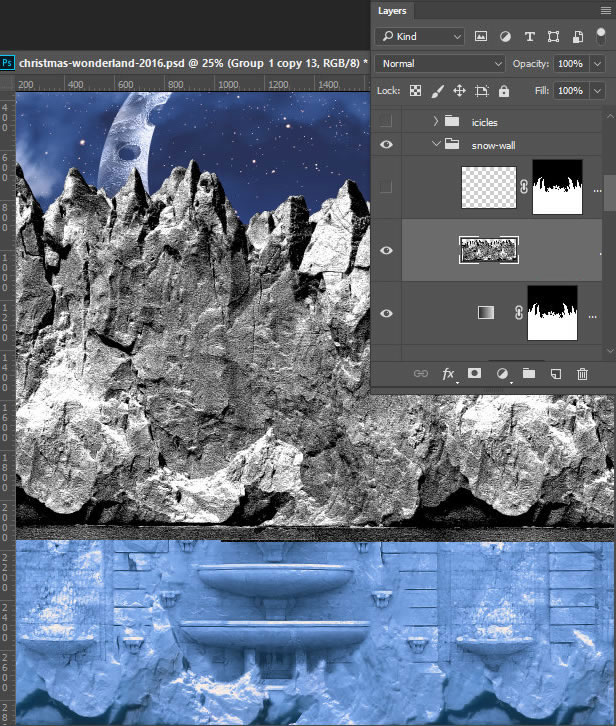
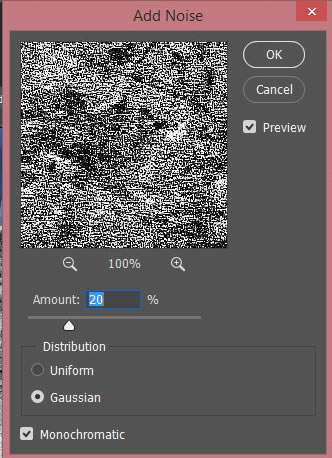
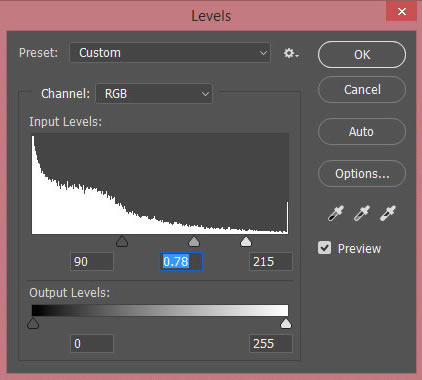
- You may add more white snow texture to the tops of cliffs. Insert original snow wall image, make it black and white (Image > Adjustments > Black and White), then increase contrast (Image > Adjustments > Levels, move black and gray markers right a bit and white marker left), add noise (Filter > Noise > Add Noise (16-20).
- Add Layer Mask to texture image, fill it with black color, then process some areas above the cliff tops with white bush.

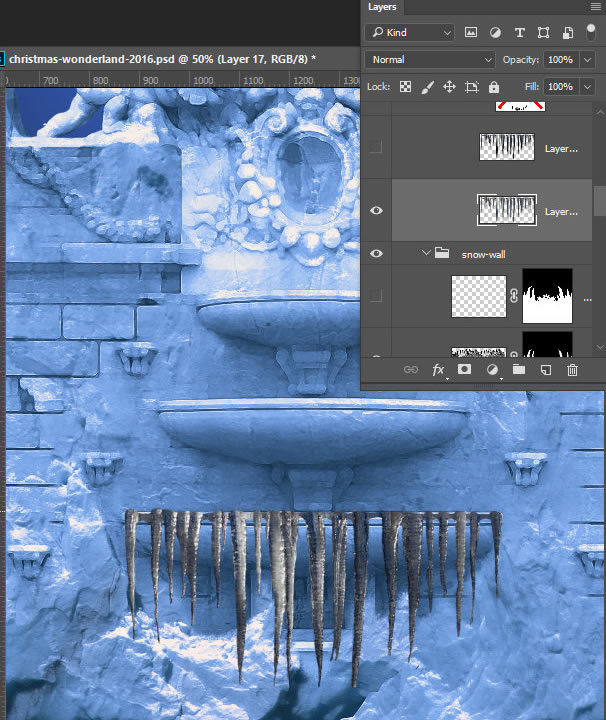
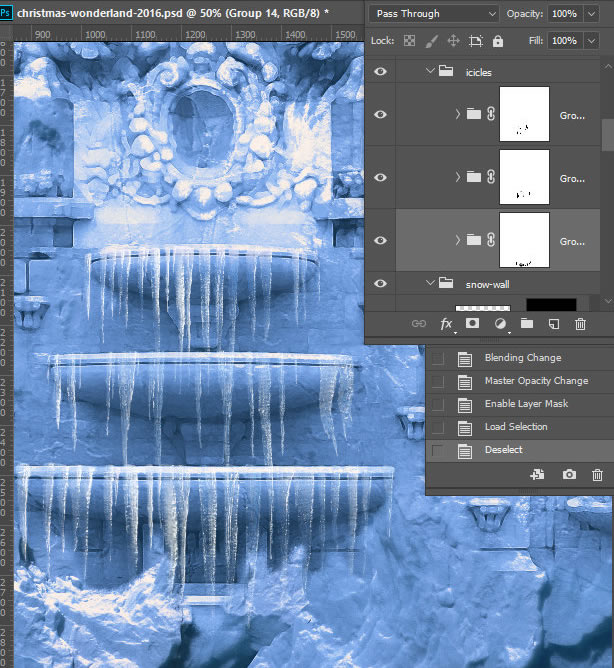
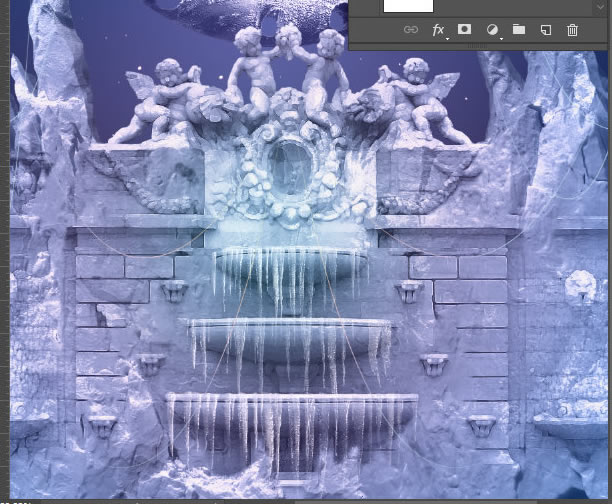
- There are three different icicle textures. Here is example how to use them.
- Insert the icicle image. You may correct it's shape if needed by using Warp and Free Transformation.
- Duplicate icicle layer.
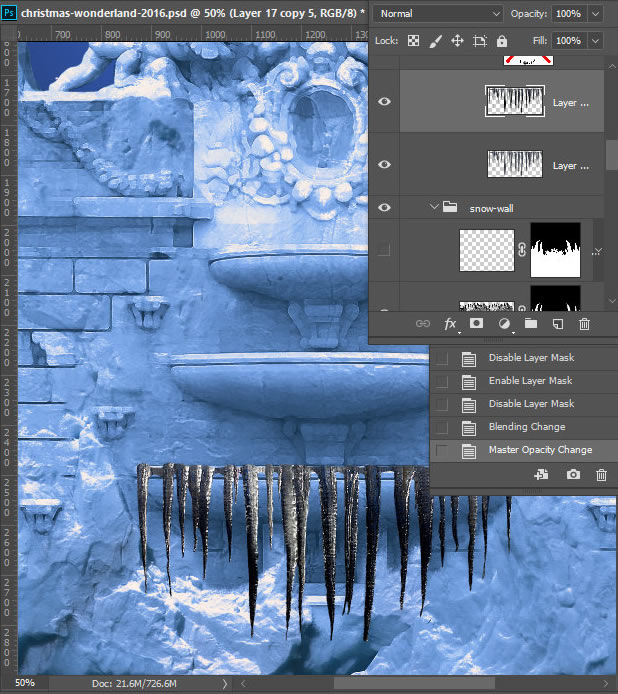
- Change levels setting for the duplicated layer. Image > Adjustments > Levels
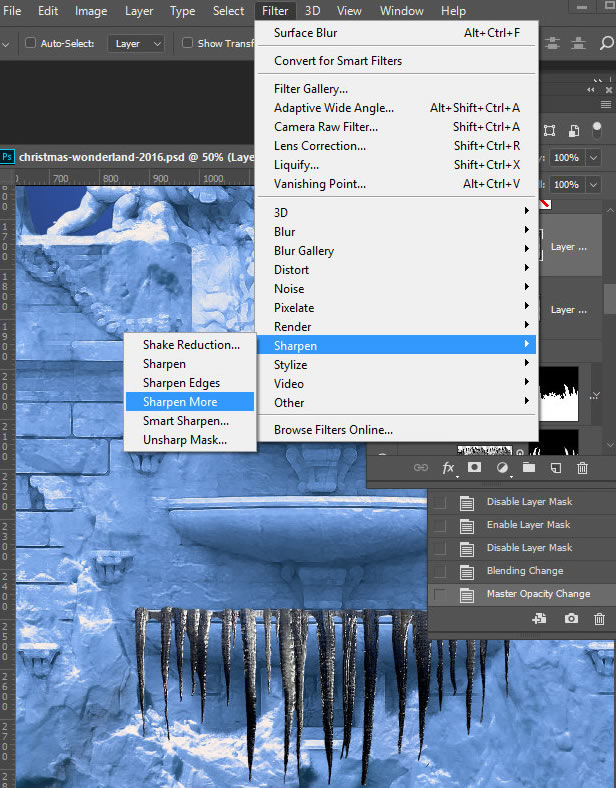
- Also add Sharpen filter to the duplicate.
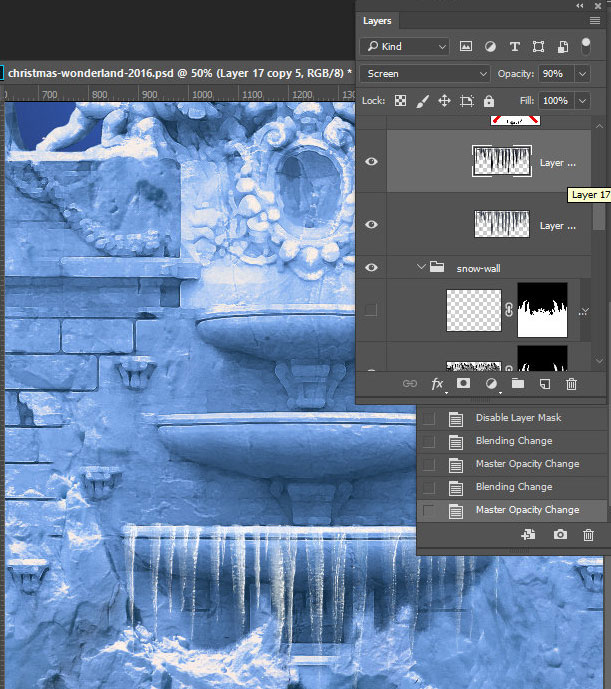
- Apply Screen Blending Mode to the duplicated layer, you may play with Opacity as well to get more natural result.
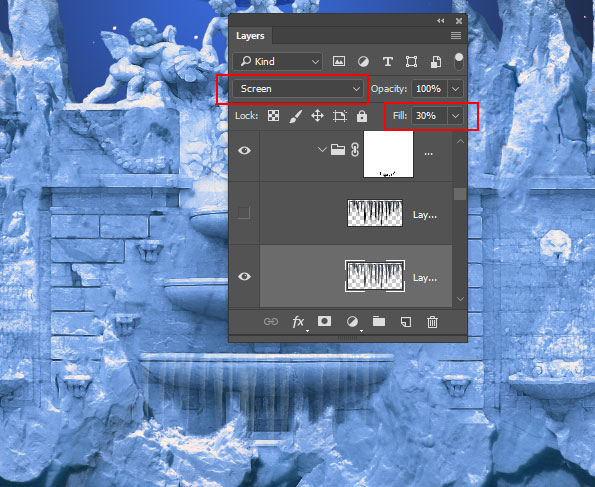
- For the bottom icicle layer use Screen Blending Mode and low Opacity.
- Repeat the same actions for other icicles images.
- You may see on the example below I grouped icicles layers and added Layer Masks to groups in order to erase some icicles or make some of them shorter. You may do it with simple round black brush.
- Insert clouds images.
- In order to add some additional shades to the composition add Gradient Map which covers whole composition.
- Play with opacity to find best amount of shades intensity.
- Correct levels for this layer with the "Levels" adjustment layer.
- Insert Christmas Tree image.
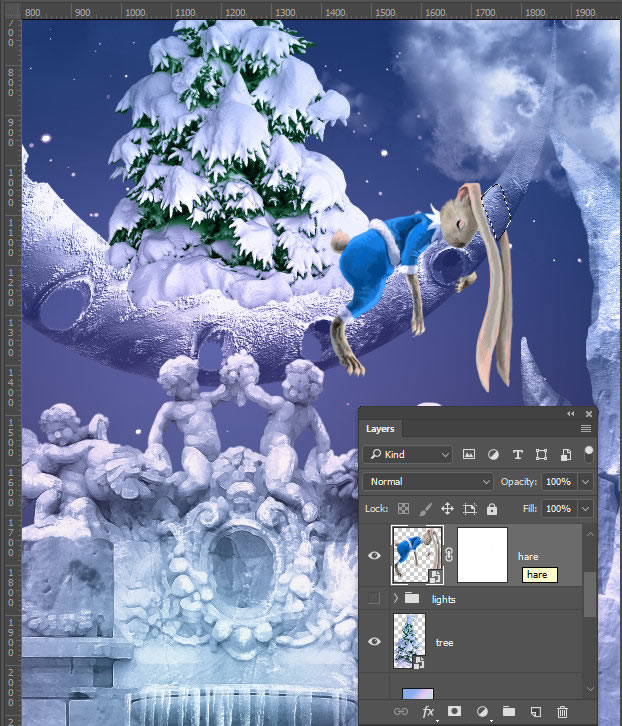
- Insert sleeping hare image. Erase the the area above the crescent on the right ear.
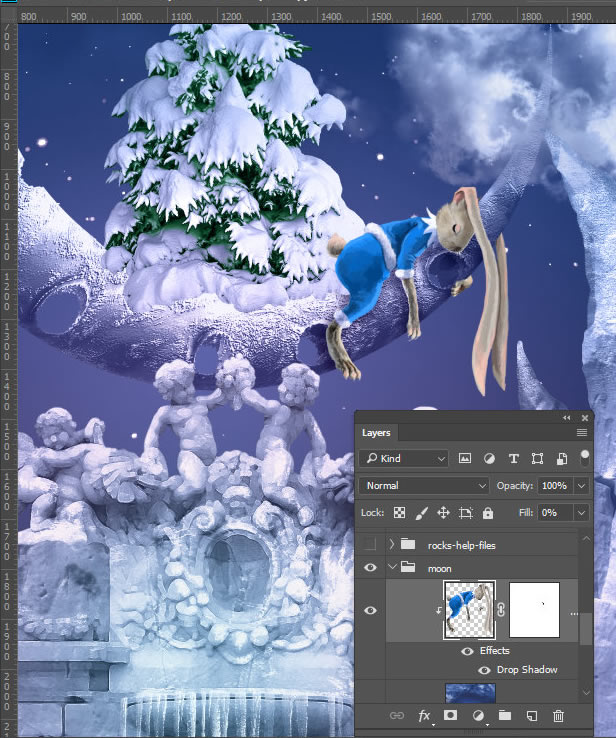
- In order to create shadow from the hare on the Crescent, duplicate hare layer and place it above the Crescent adjustments layers, make Clipping Mask for this layer as well. You need to convert this layer to Layer Mask to apply shadow only to the Crescent shape.
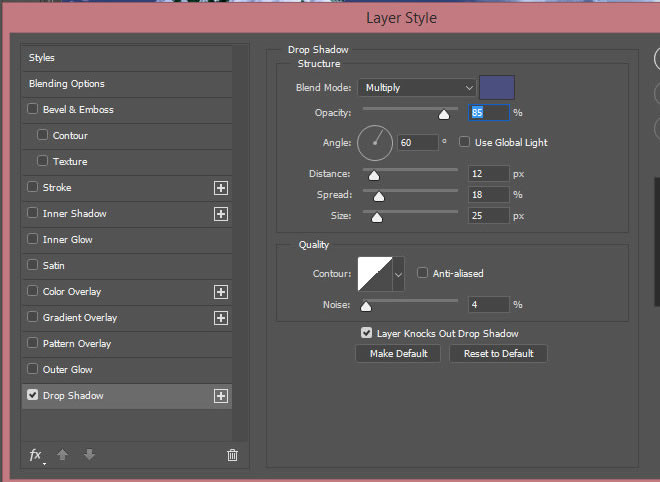
- Add Drop Shadow layer style effect to the duplicated hare layer.
- Use some dark blue shade for the shadow settings.
- Create paths with the Pen Tool for the future Christmas lights. You may create one path, then copy and paste it several times, then correct size and shape of each path.
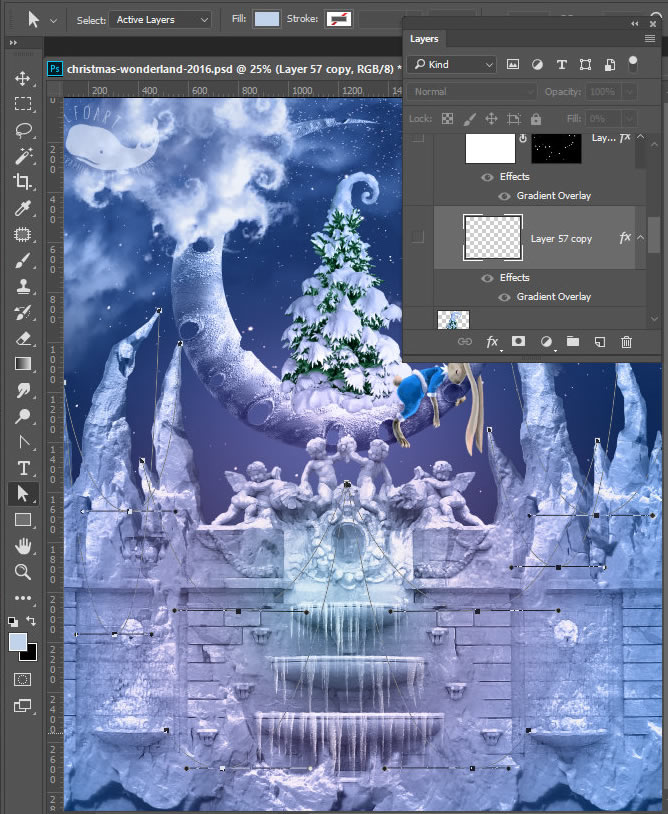
- I've added white layer below the paths to make paths visible.

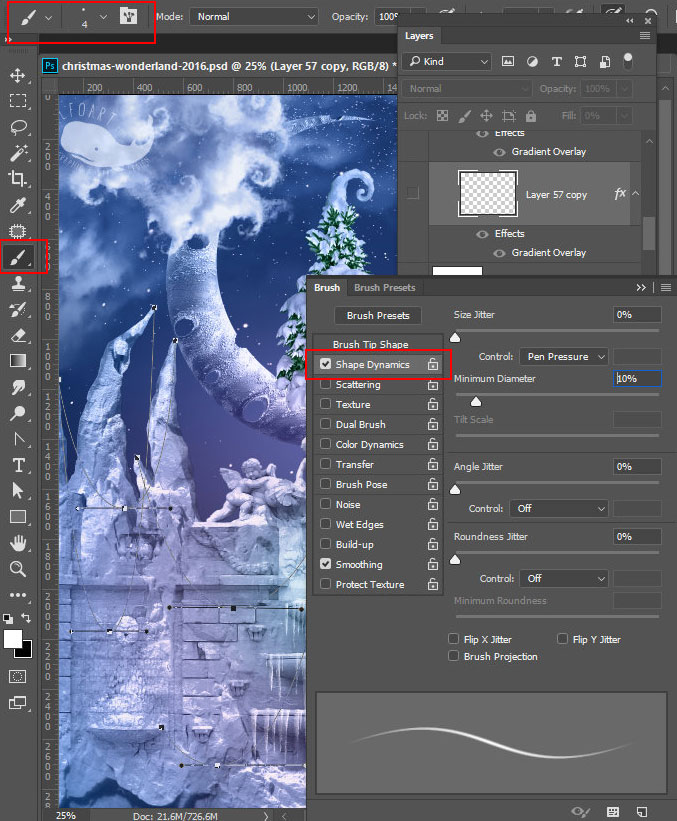
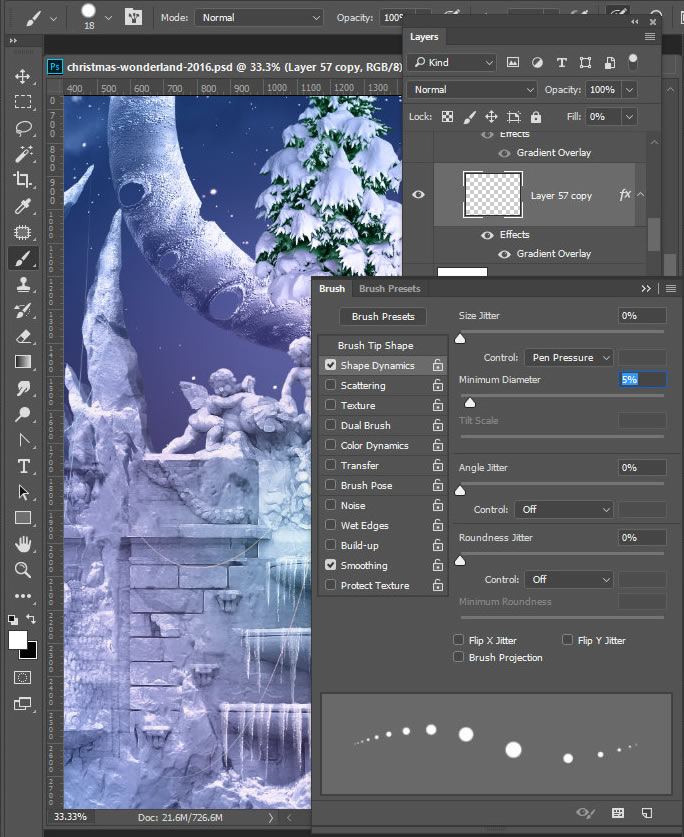
- Choose Brush Tool, apply settings from screen shot below.
- Stroke path with the Brush Tool. Take any path related tool, right click above each subpath, choose Stroke Subpath
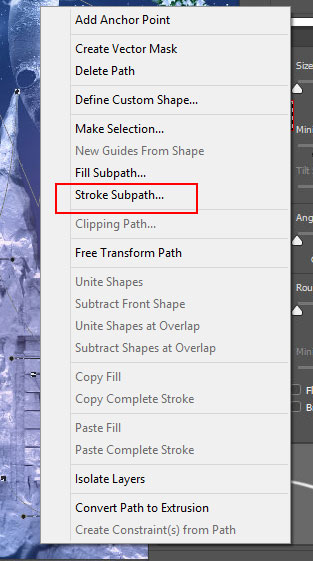
- Check "Simulate Pressure" function.

- Here is the result of applying the brush. Do not remove the paths. We need them to add light bulbs.
- Download lights brush or use similar settings for your own brush.
- Stroke paths again but with the new brush in a new layer.
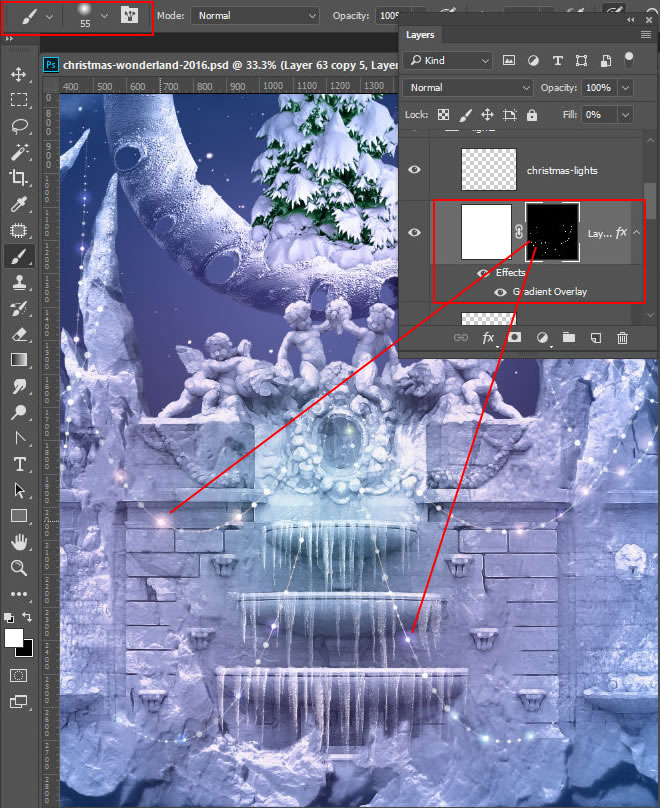
- Let's add some glow to the lights.
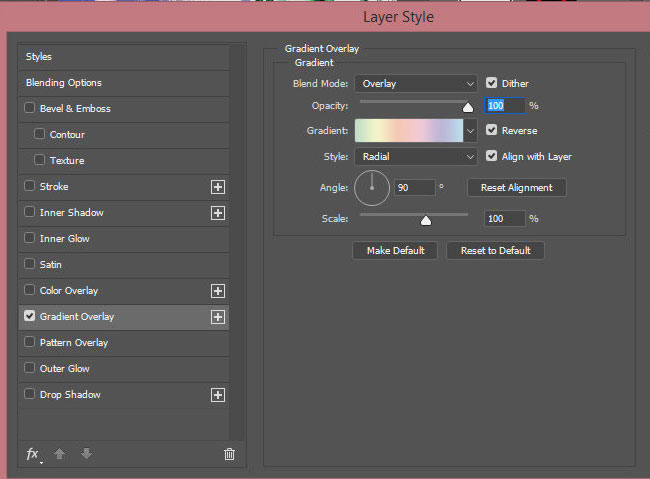
- Create a new layer, fill it with any color (apply Fill =0%), add Gradient Layer style effect. I used rainbow style preset "Light spectrum" gradient.
- Choose round soft Brush Tool.
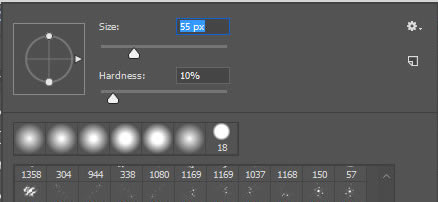
- Add Layer Mask to layer with spectrum gradient. Fill Mask with the black color.
- Then touch several light bulbs with white soft brush in Mask Mode to create soft glow effect.
- I would like to correct photo manipulation colors one more time.
- Select whole image (Select > All)
- Copy Merged.
- Paste merged layer above all created layers.
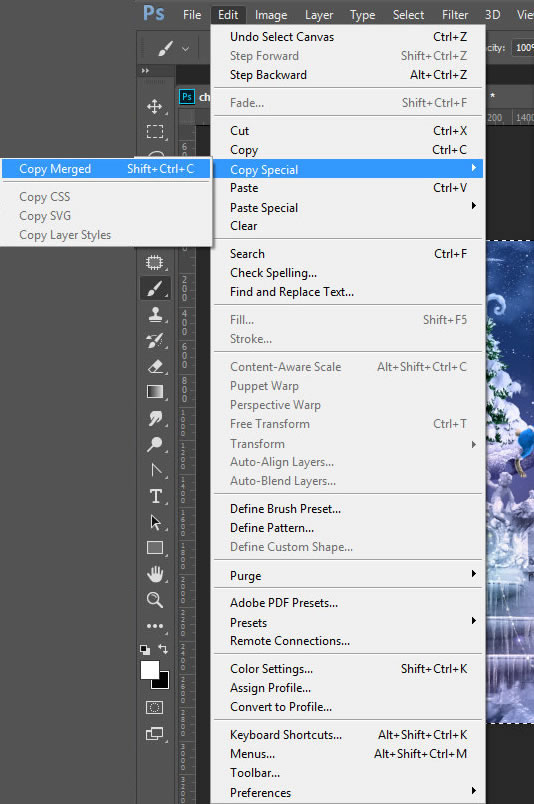
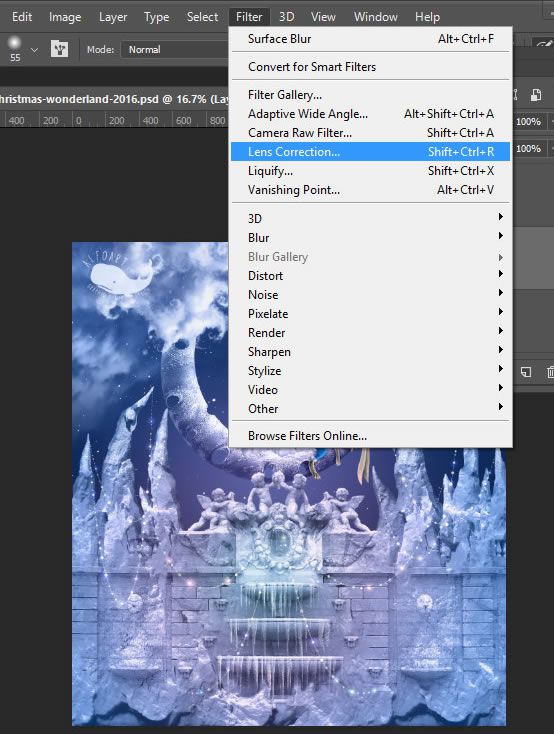
- Go to Filter > Lens Correction.