


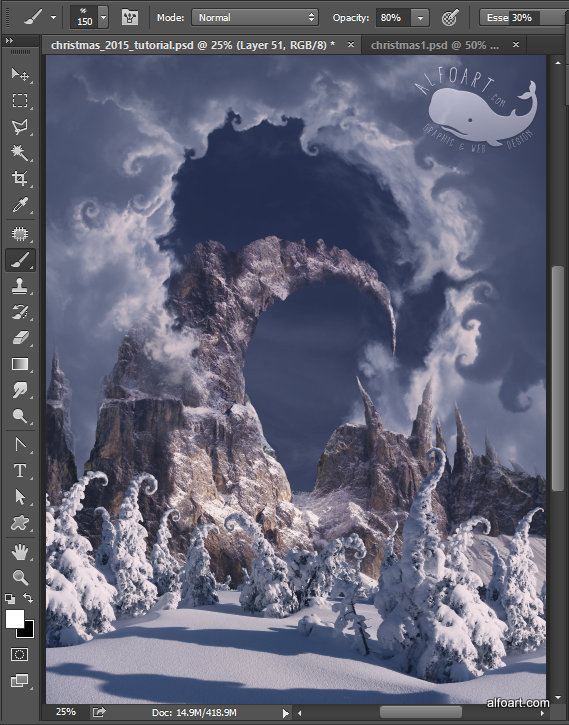
Learn how to create magic photo manipulation with big curly mountain top using Content-Aware fill tool and digital painting techniques. You may get large (2000 x 2600 px, 72px/in) editable .psd* file of "Christmas Gifts Mountain." Photoshop tutorial by making a payment. Put the tutorial title in "Add special instructions to seller" line of PayPal and it will be sent to you shortly.
- Let's cover the mountains with some white clouds.
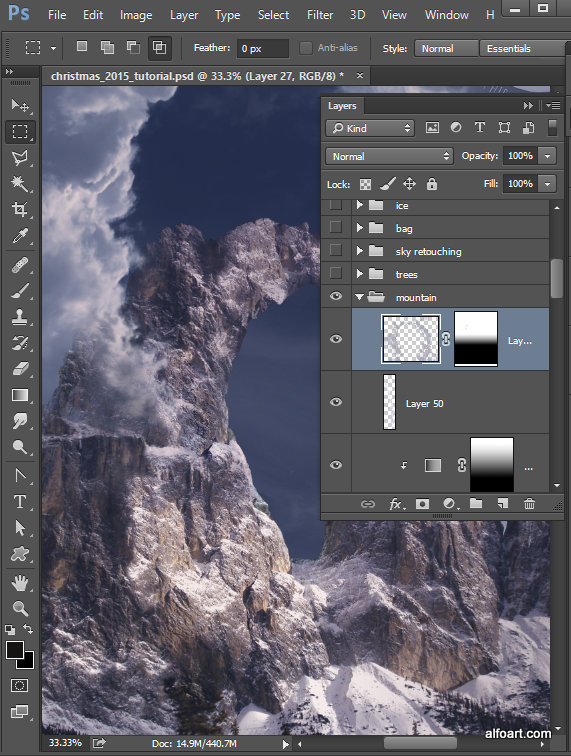
- Make mountain layer invisible temporary. If you make the original mountain layer invisible, the clipping masks layers should become invisible automatically.
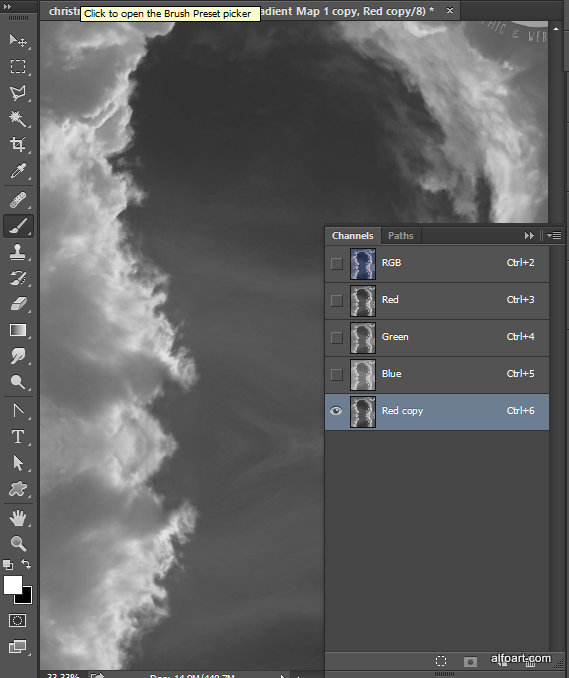
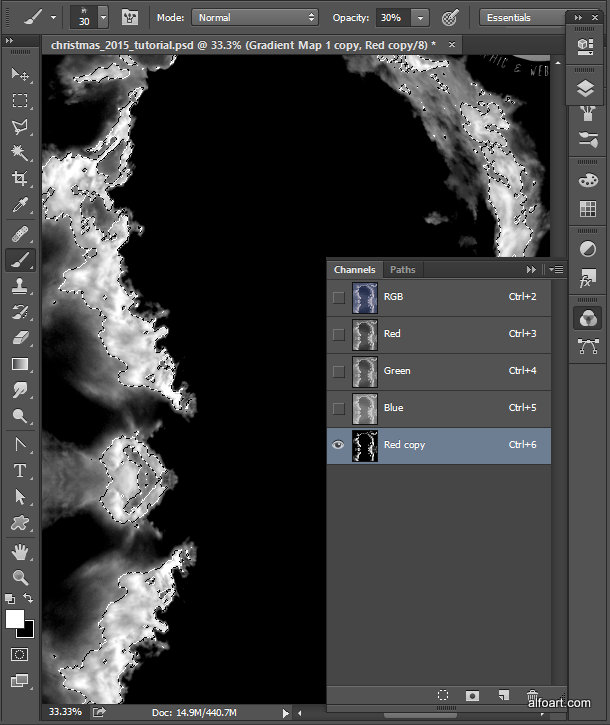
- Go to Channels palette and duplicate "Red" channel.
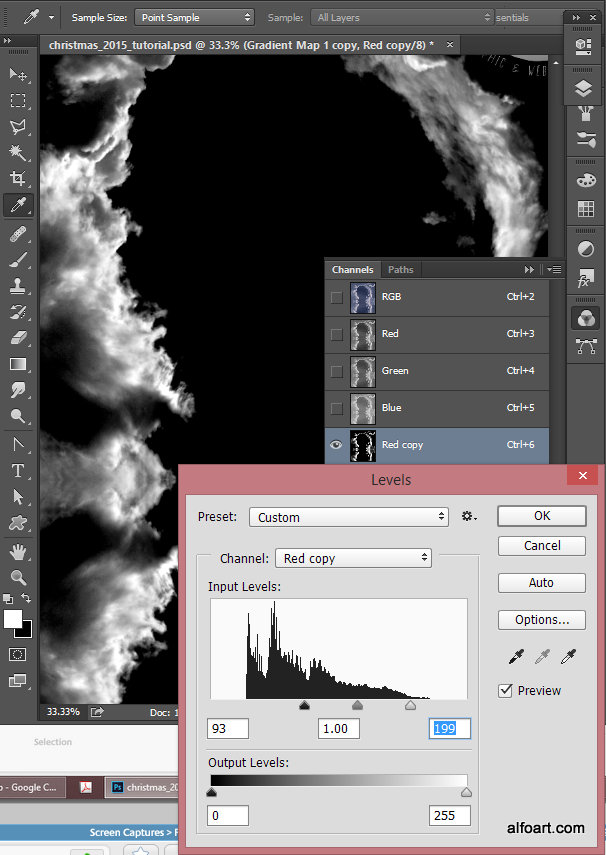
- Increase contrast of this channel by using Levels setting. Go to Image > Adjustments > Levels.
- Ctrl + click channel thumbnail to load selection of white area.
- Keep selection, make active RGB channel to return to the regular colors mode. You should see regular colored sky image. Then go to Edit > "Copy merged". You should copy selected white area of the clouds.
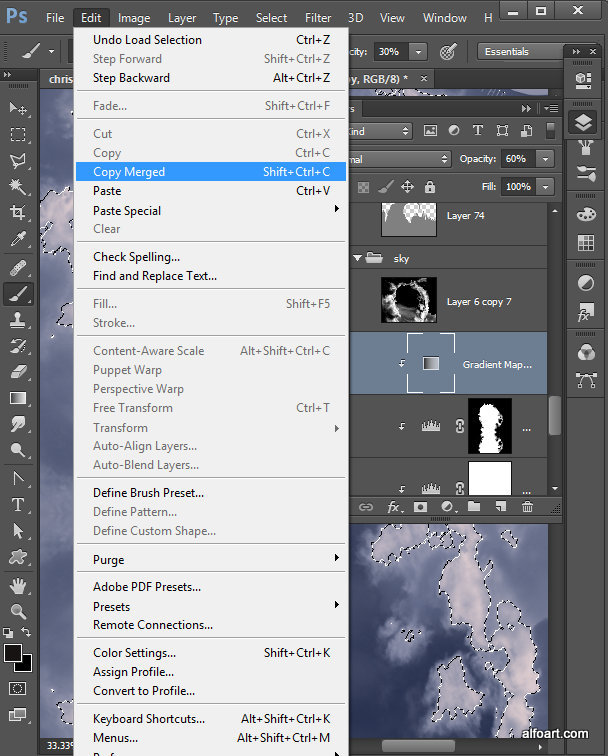
- Make Mountains layers visible again. Paste copied clouds above all mountains adjustments layers.
- Add layer mask to the clouds layer and fill it with black and white linear gradient (vertically) to make visible only top part of white clouds.
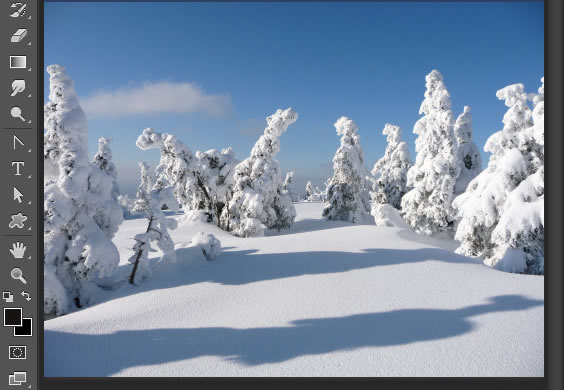
- Open trees image, you may do it in the different document.
- I've increased the land area and quantity of trees by repeating the image.
- Select sky area with the Magic Wand and erase it or clip it with the Layer Mask.

- Hide connection between two images with the "Patch Tool".
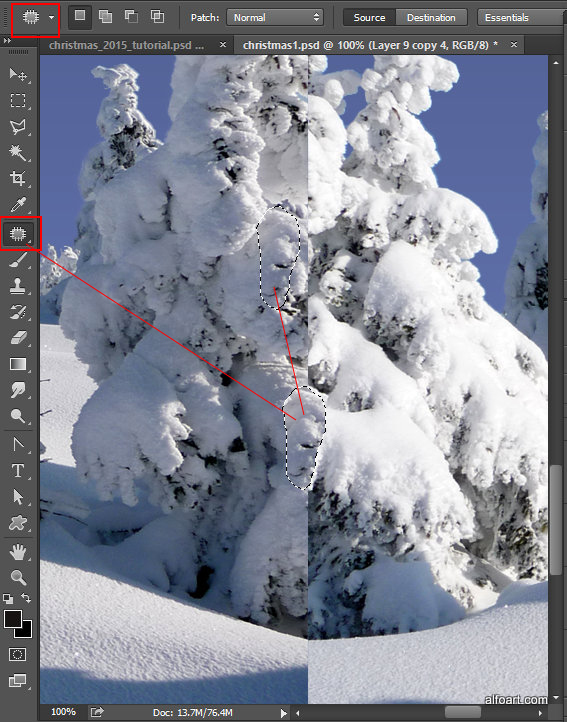
- Here is the result of applying Patch Tool.
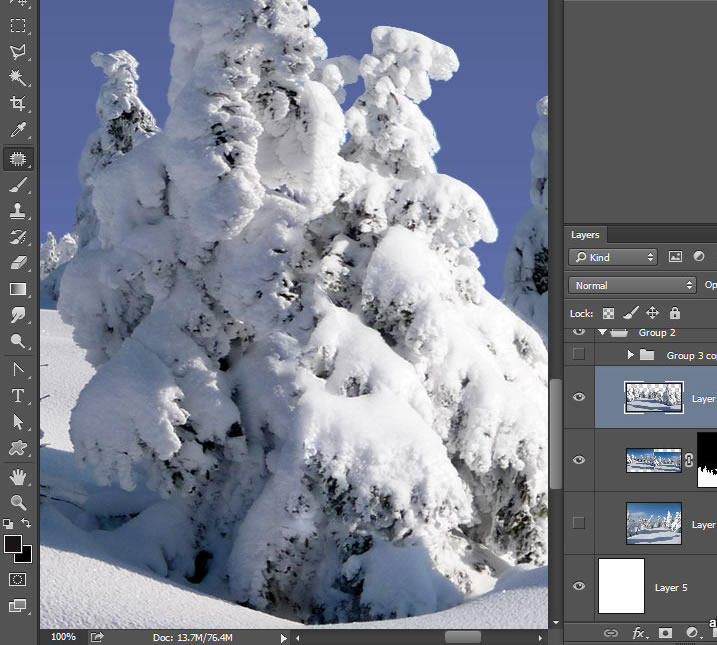
- Place trees image to the artwork above the mountains layer.
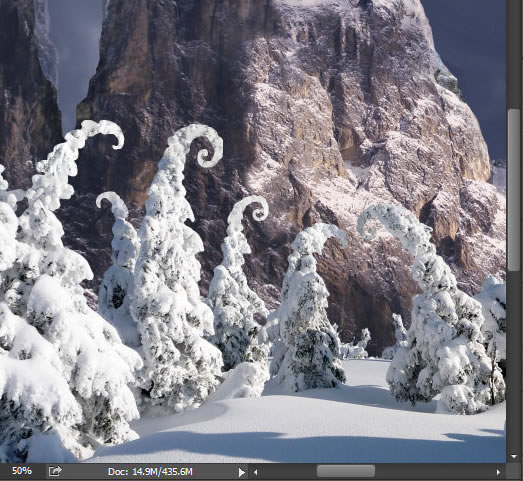
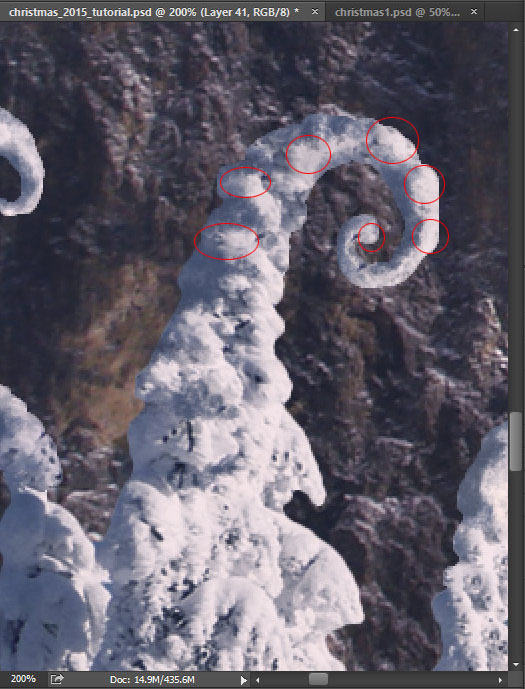
- Create a new layer and draw the curly trees tops with the regular brush and any solid color. Use the same way as for the mountains tops.

- Then load selection for each tree top and fill it with Content-Aware. Make it for each curly element separately. The result looks better when you fill out each element separately.
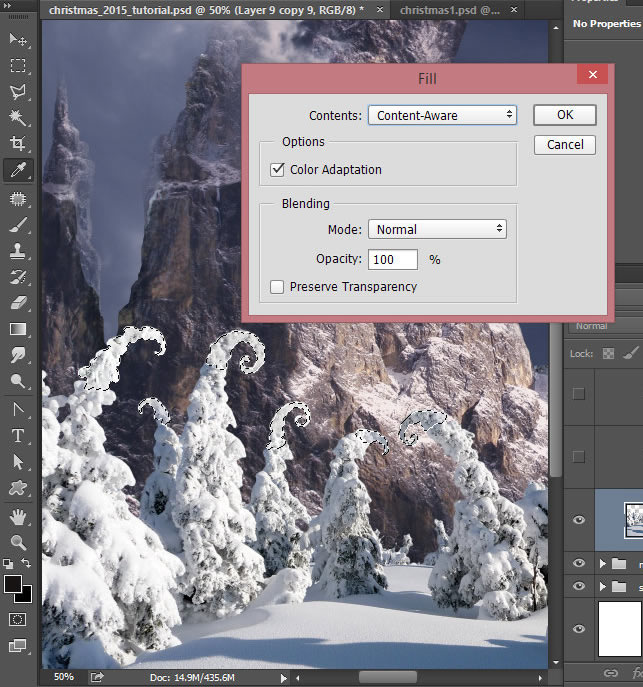
- Here is the result of applying Content-Aware filling.
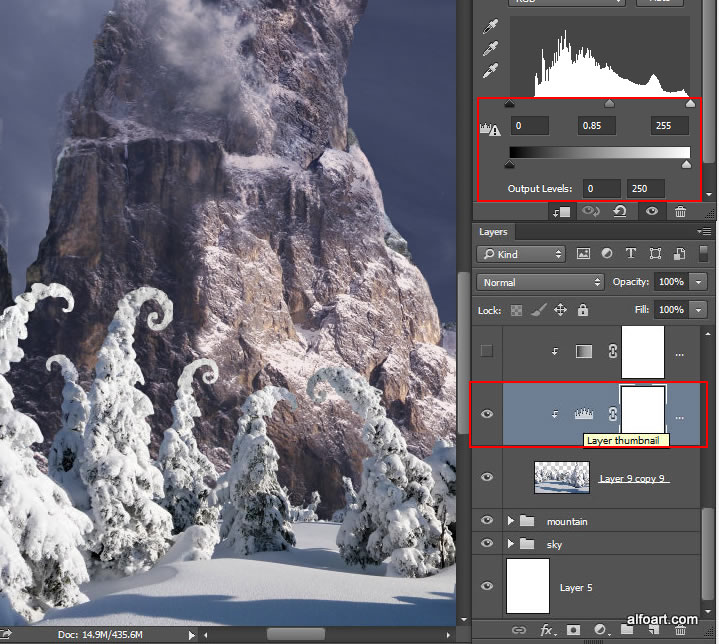
- Correct levels for this layer with the "Levels" adjustment layer.
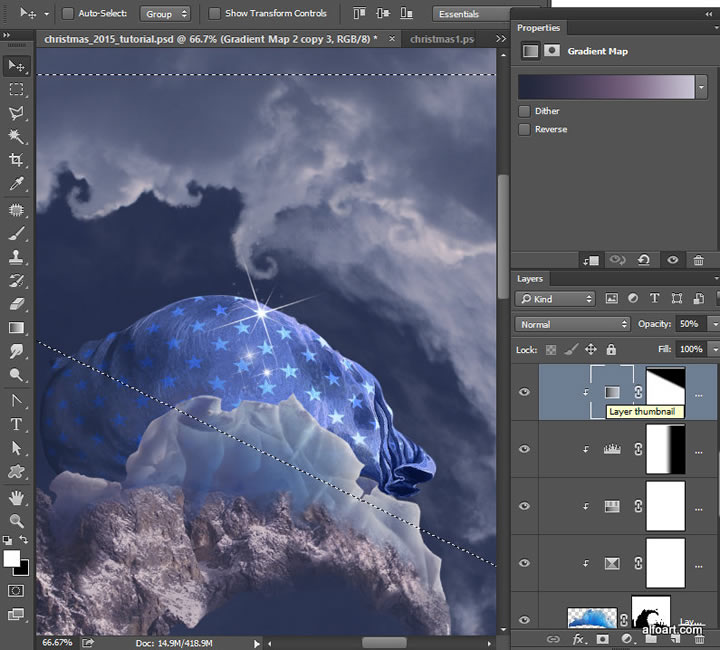
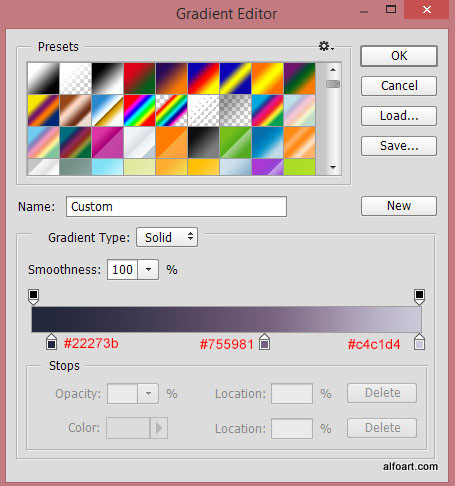
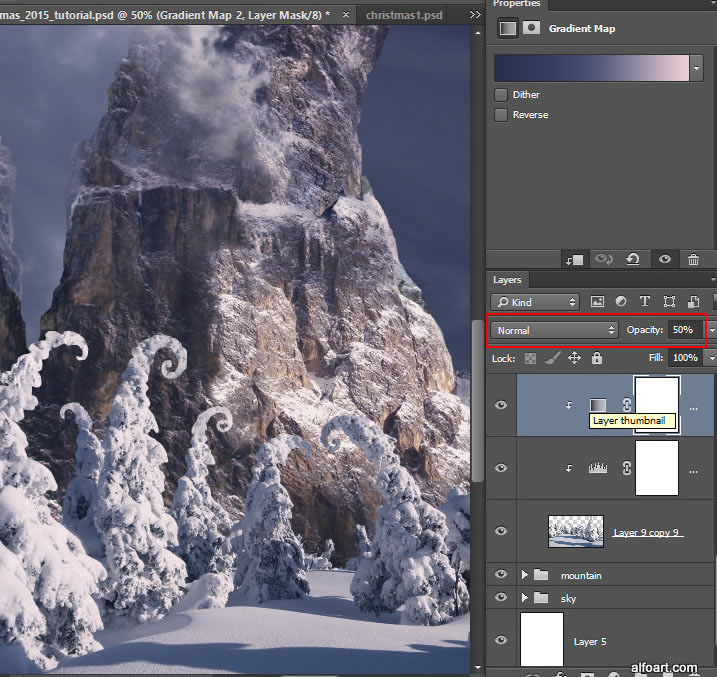
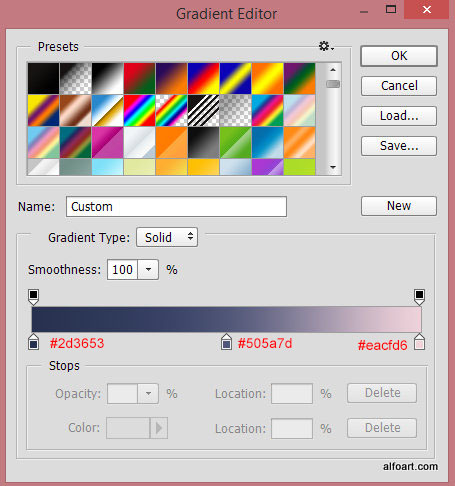
- Apply "Gradient Map" adjustment layer. Set Opacity 50%.
- You may correct the tops of the trees with the same brush as a mountains snow in previous steps.
- Use light color brush for the right side of the trees and darker one for the left side of trees.
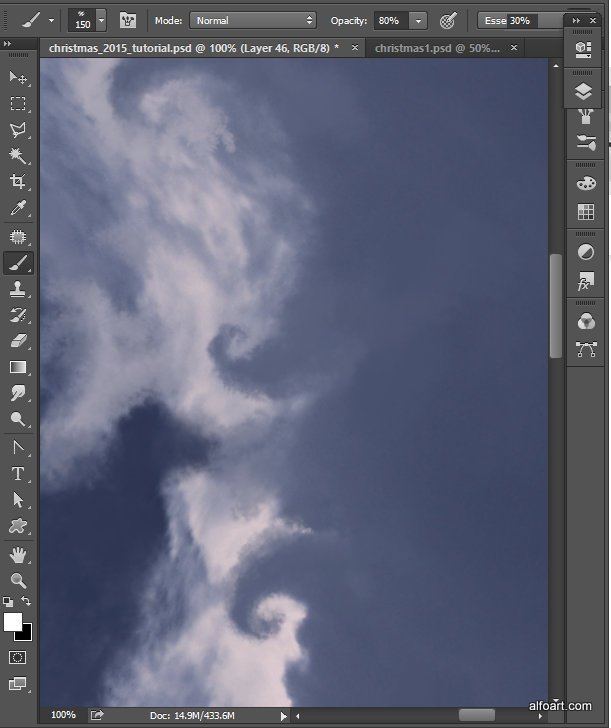
- Download Clouds brushes and use them to create curly clouds elements: In order to get smooth and realistic clouds use Opacity and Flow setting of the brush around 80%. To pick up the right color for the curly cloud Alt + click next to the place of creating the new cloud element.
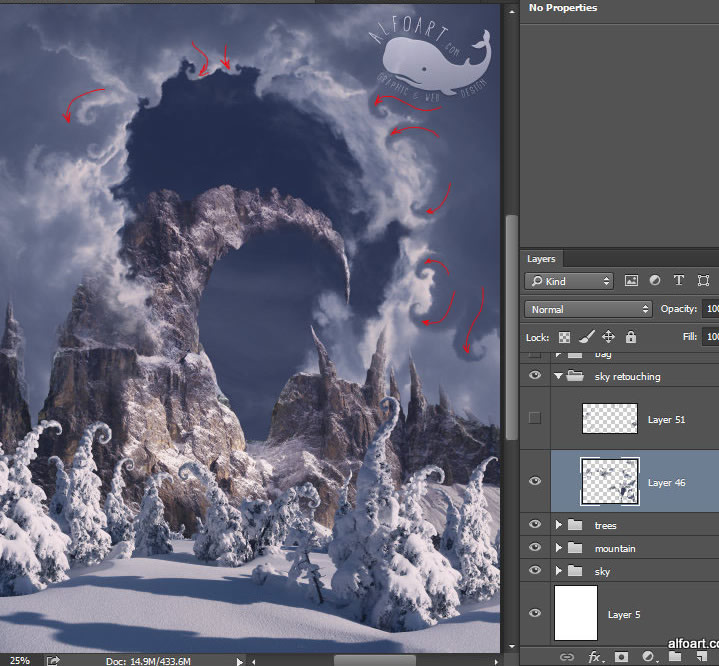
- Here are the settings of one brush from clouds brushes set.

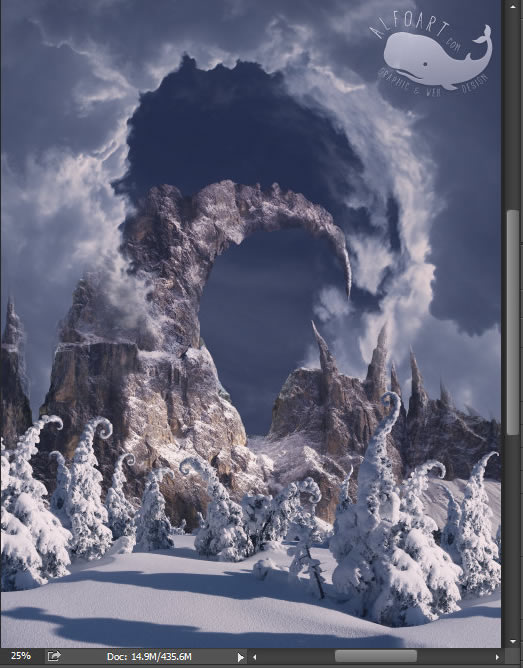
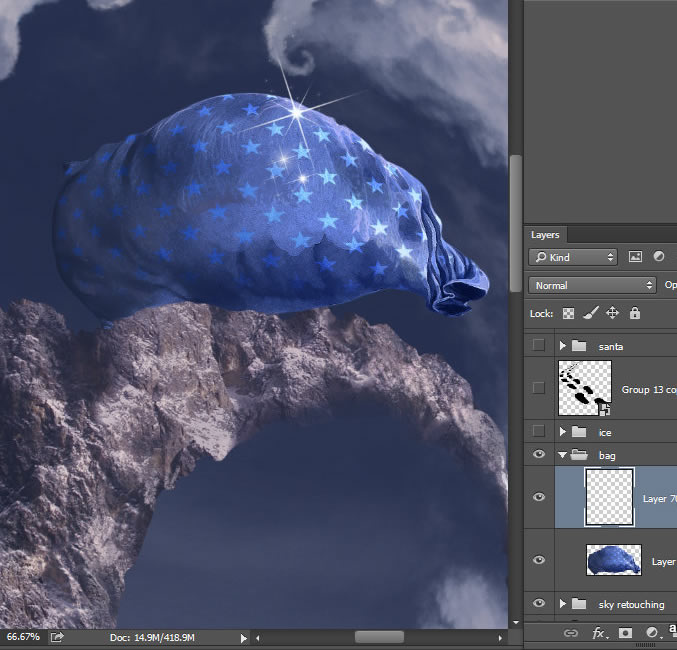
- Insert Gifts Bag image. I put sparkling star above the bag with the PS brush from here.
- Insert ice image. Separate it from background.
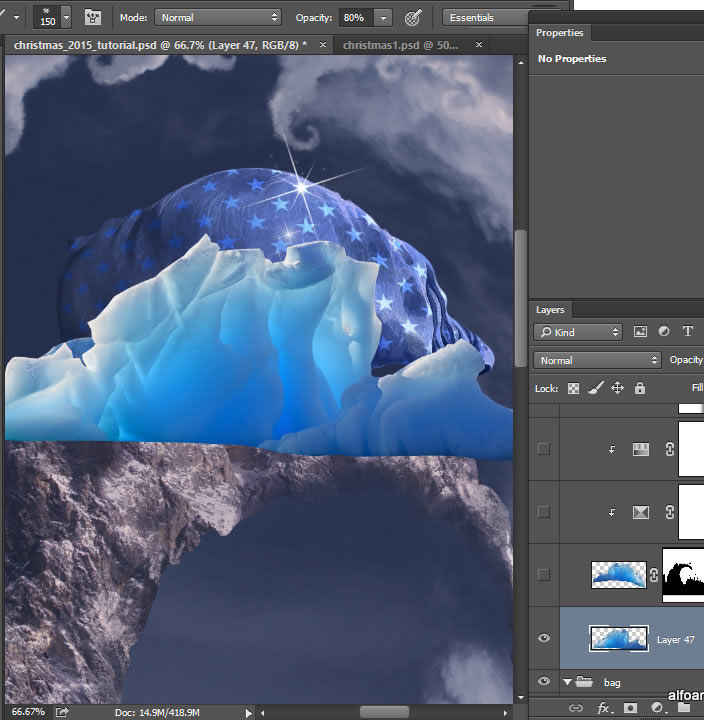
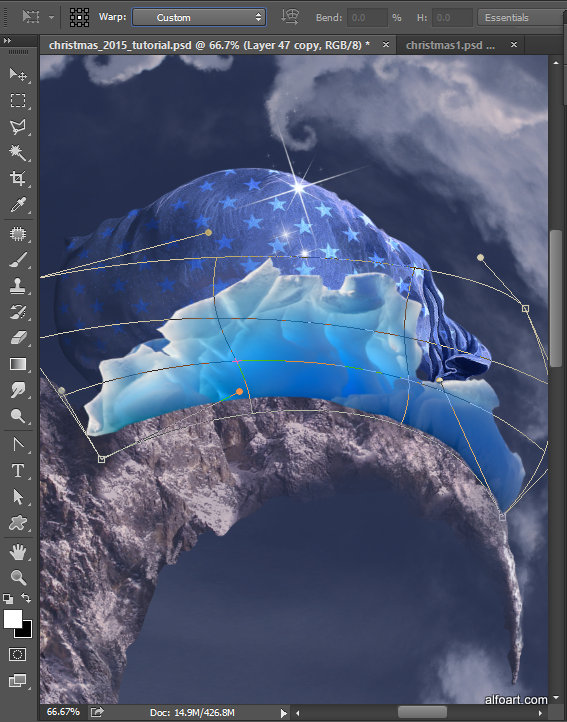
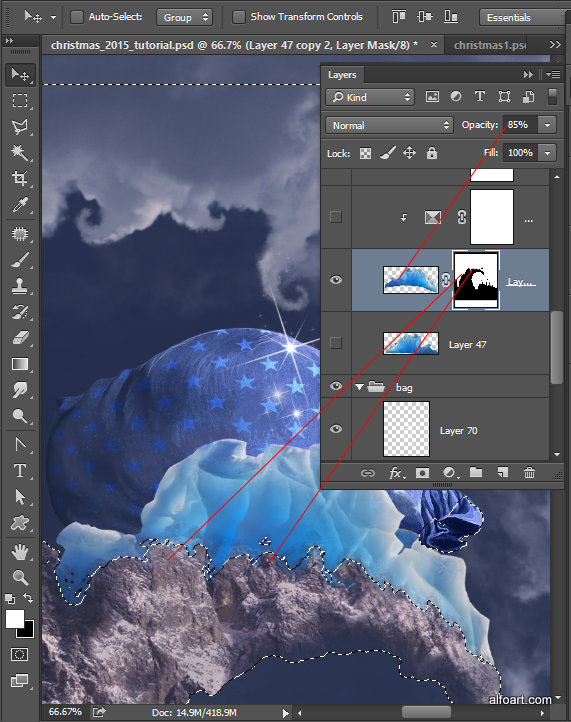
- Reshape the ice element with the Warp transformation to put it above the curly mountain top. Edit > Transform > Warp.
- Then correct the shape with the Liquify Filter.
- Add Layer Mask and process bottom edge of the ice to blend it with the mountain. Use translucent brush next to connection between ice and stone to create translucent effect of the ice. Also apply Opacity ~85% to the ice layer.
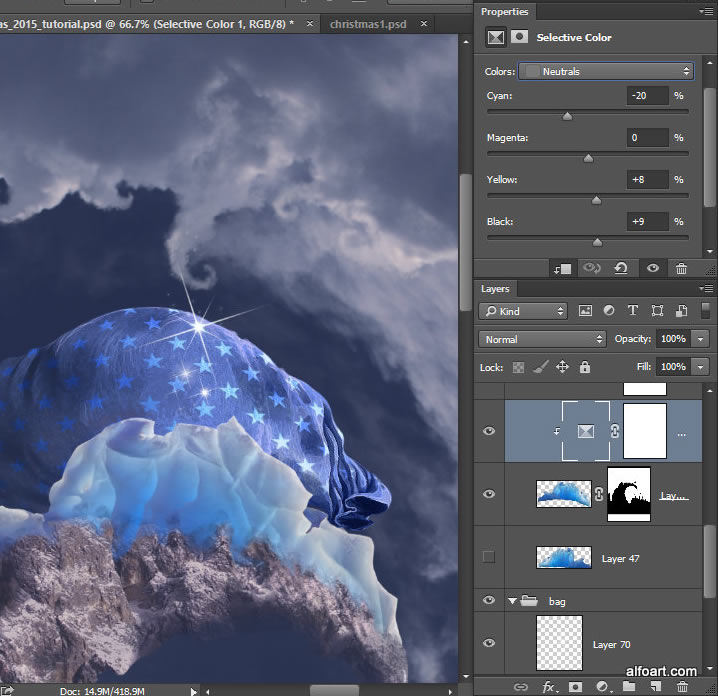
- Apply Selective Color adjustment layer clipping mask to the ice layer:
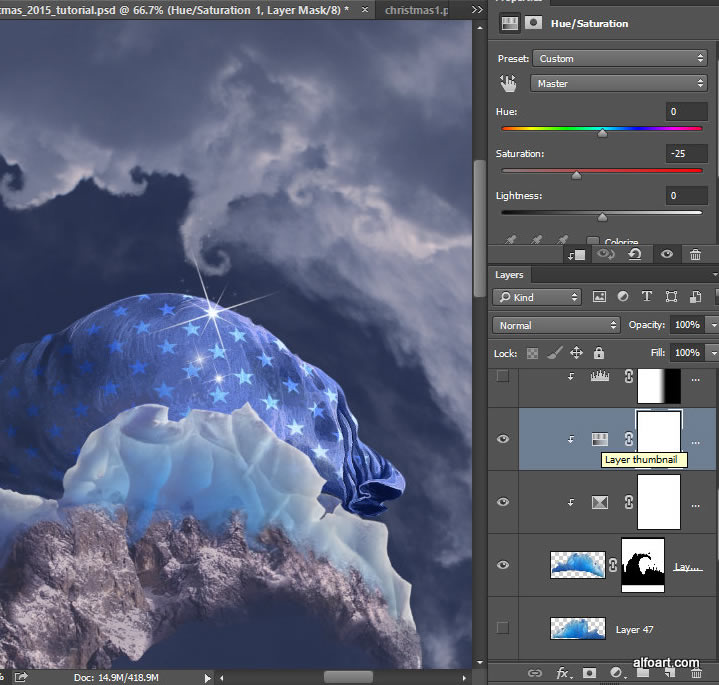
- Decrease saturation with the Hue/Saturation adjustment layer clipping mask.
- Make the left part of the ice darker using "Levels" adjustment layer and linear gradient in layer mask. The left part of the mask should be white (visible).
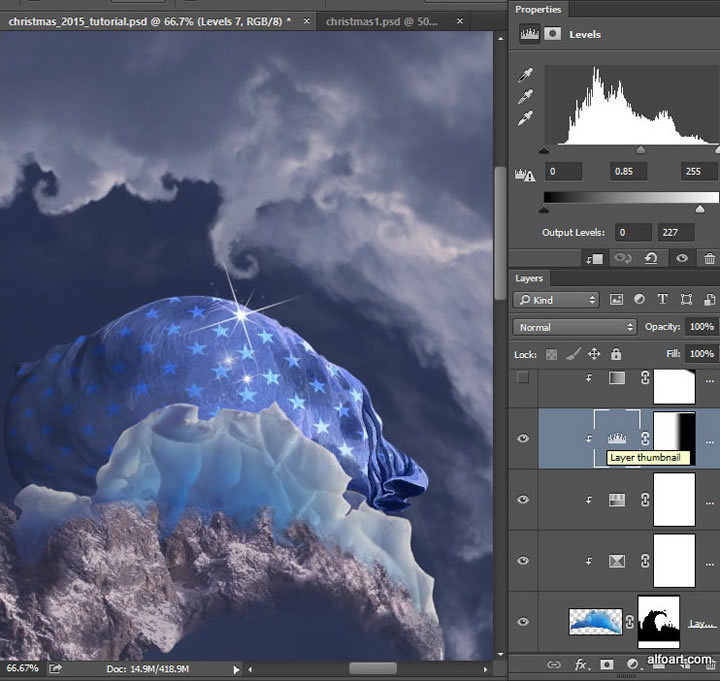
- Create one more adjustment layer for the ice shape, add "Gradient Map", set Opacity 50% for it. Apply linear gradient effect to the Layer Mask to apply effect only for the bottom left part of the ice image.