


|
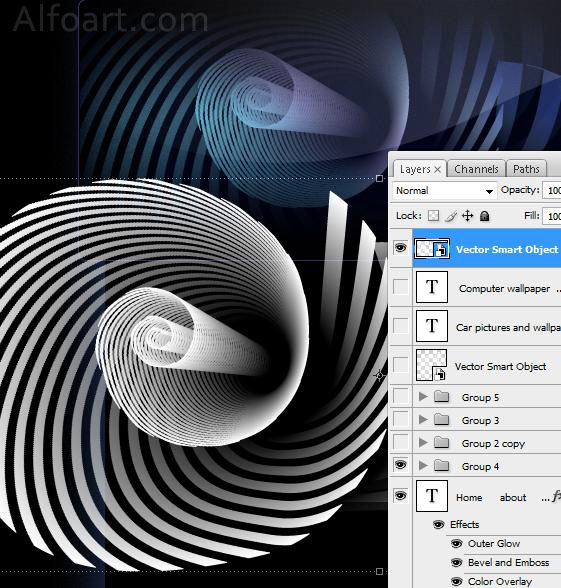
- Copy created 3d spiral shape from Illustrator and paste it in Photoshop document.
- Create a path using Rounded Rectangle
 Tool. Click Ctrl + Enter to load selection.
 - Choose Select > Inverse. Remove superfluous areas of the spiral shape.
- Fill selection with black color in a new layer.
- Add layer Mask to Spiral layer, fill it with reflected black and white gradient.
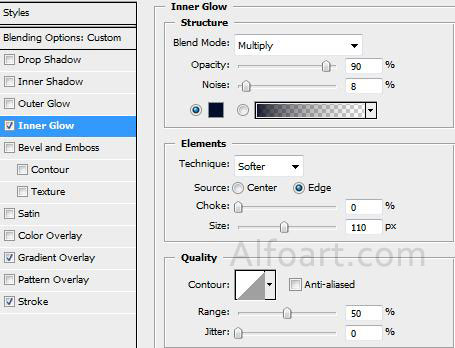
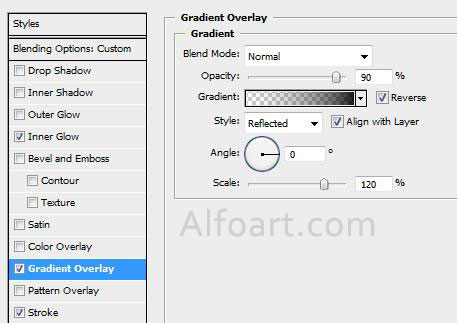
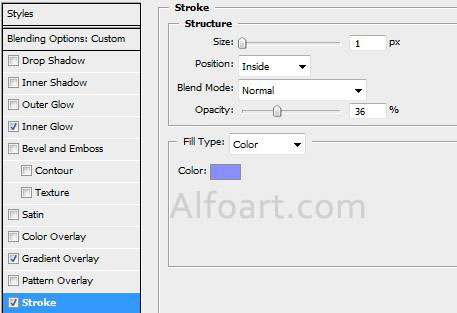
- To another shape (Black rounded rectangular) apply the following layer style effects.
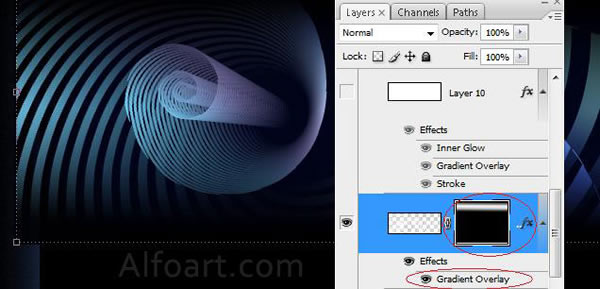
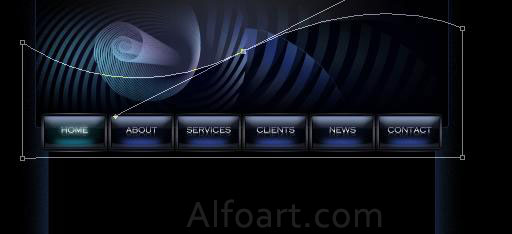
- Duplicate previous rectangular, fill it with reflected transparent/white gradient, create a path just like in the example below using Pen Tool.
- Click Ctrl + Enter to load selection, and remove selected area.
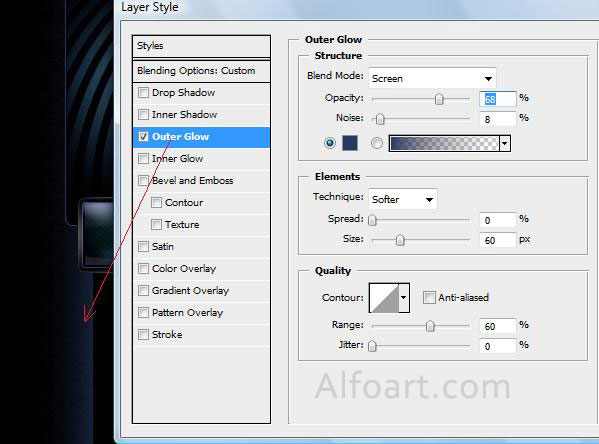
- Use Outer Glow effect for background shapes.
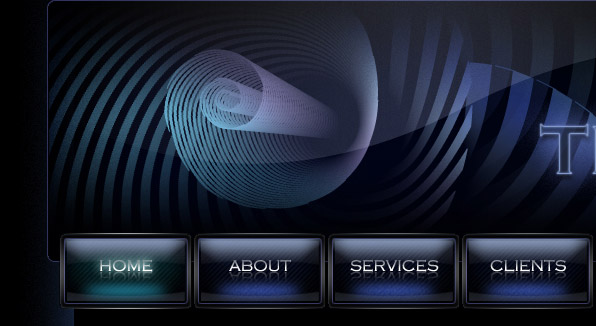
And here is the result!