Restore old damaged photo in Photoshop
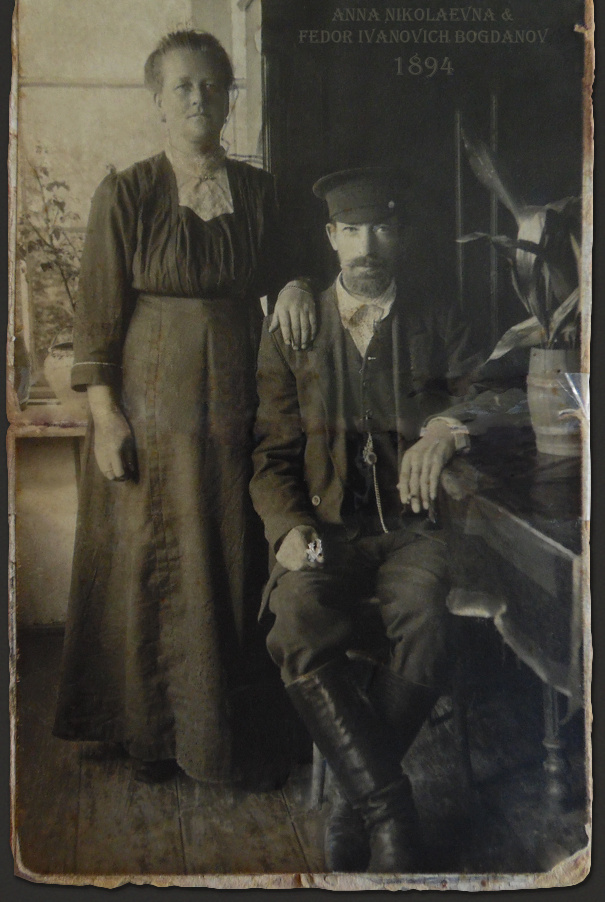
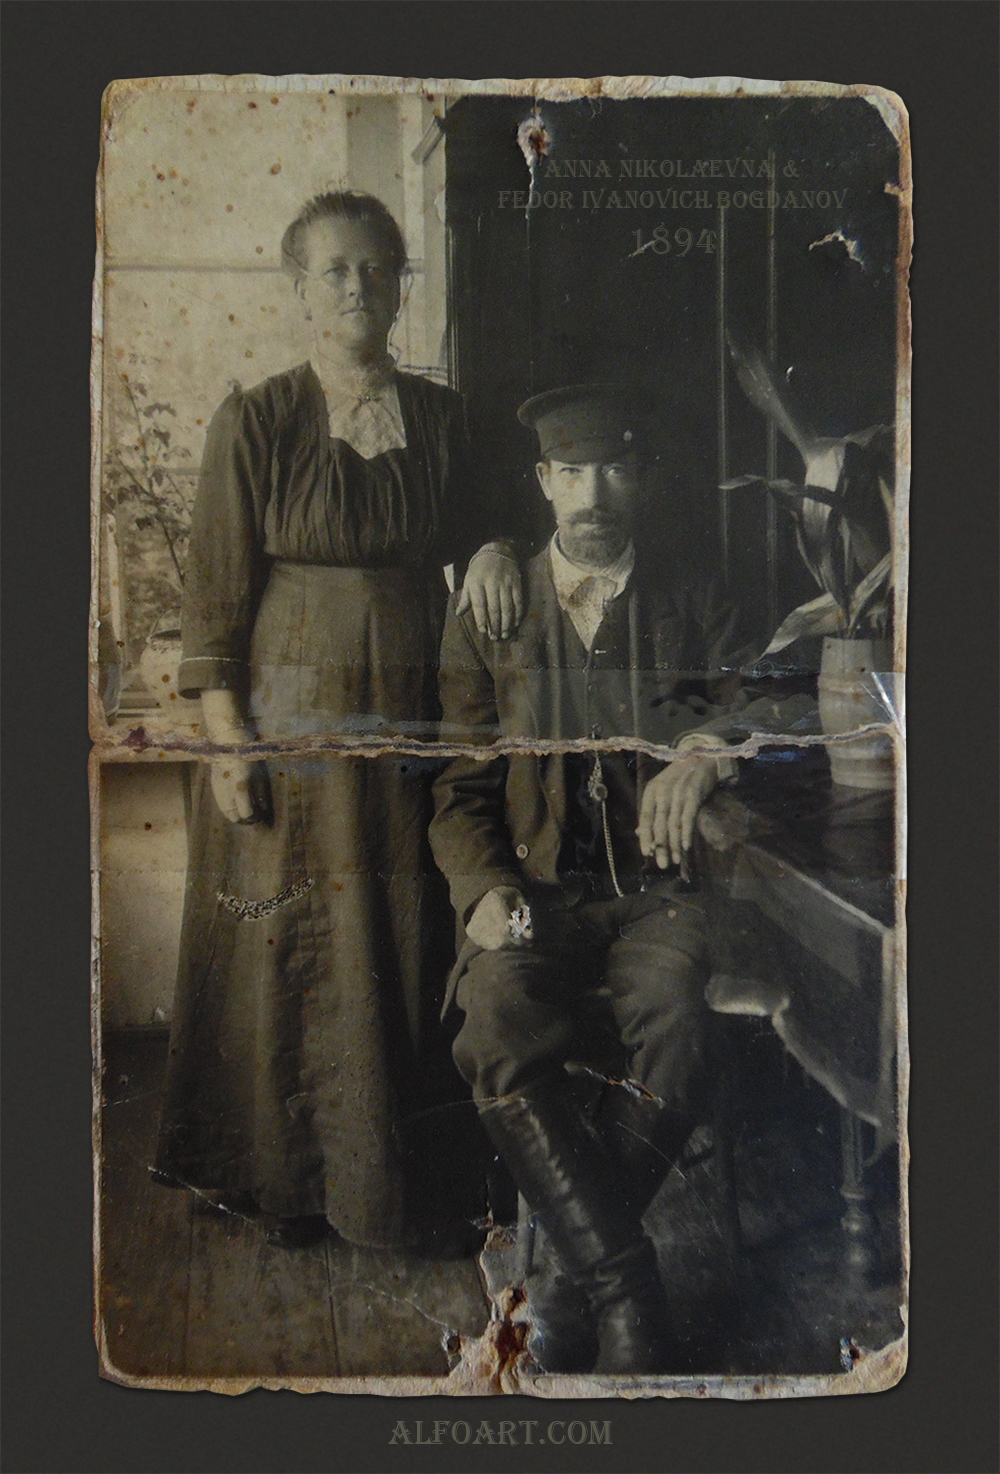
Learn how to restore old, damaged, ripped in half photo with simple Adobe Photoshop tools. Here is "before and after" example of repaired photograph:

- Open old, damaged photo in Photoshop. I used photo of my great-great-grandparents. Here is the announcing animation, you may see all stages described in the tutorial:
- First remove all small spots and defects with the
 Spot Healing Brush tool. We will use some of these cleaned areas to restore bigger damages.
- Let's remove large damaged floor area in the next step. Choose Lasso selection Tool
 and select undamaged part of the photo
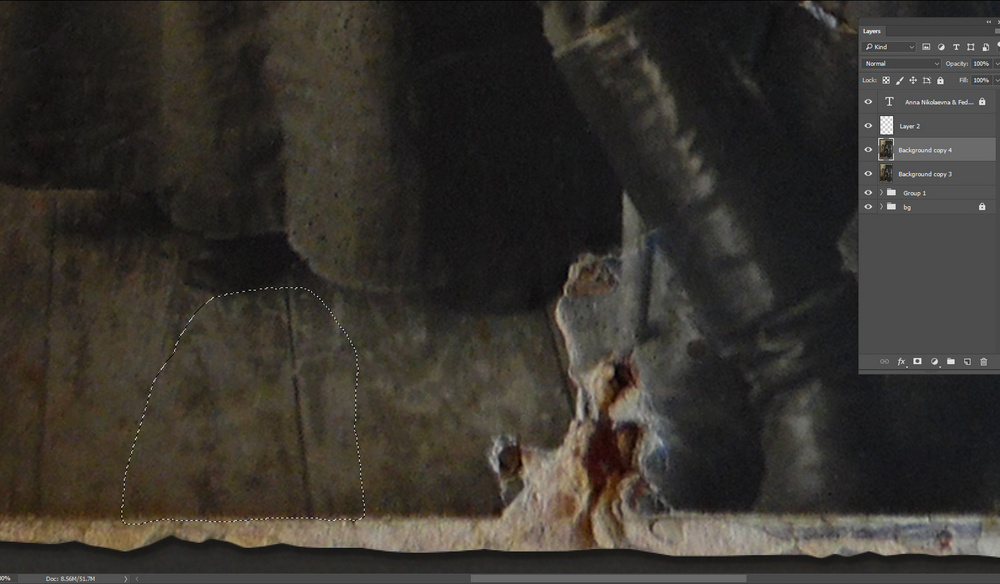
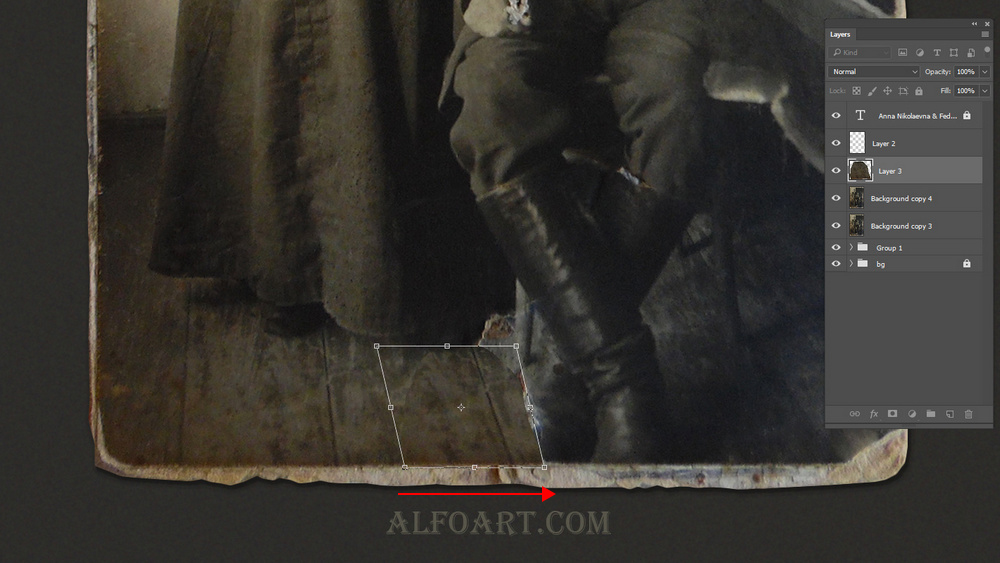
- Copy and paste selected area into a new layer. Then go to Edit > Transform > Distort Transformation. Move corners of the floor piece, try to apply natural perspective. Merge this layer down to the main photo layer. Process/hide edges of the inserted shape with the Spot Healing Brush tool; touch noticeable contours.
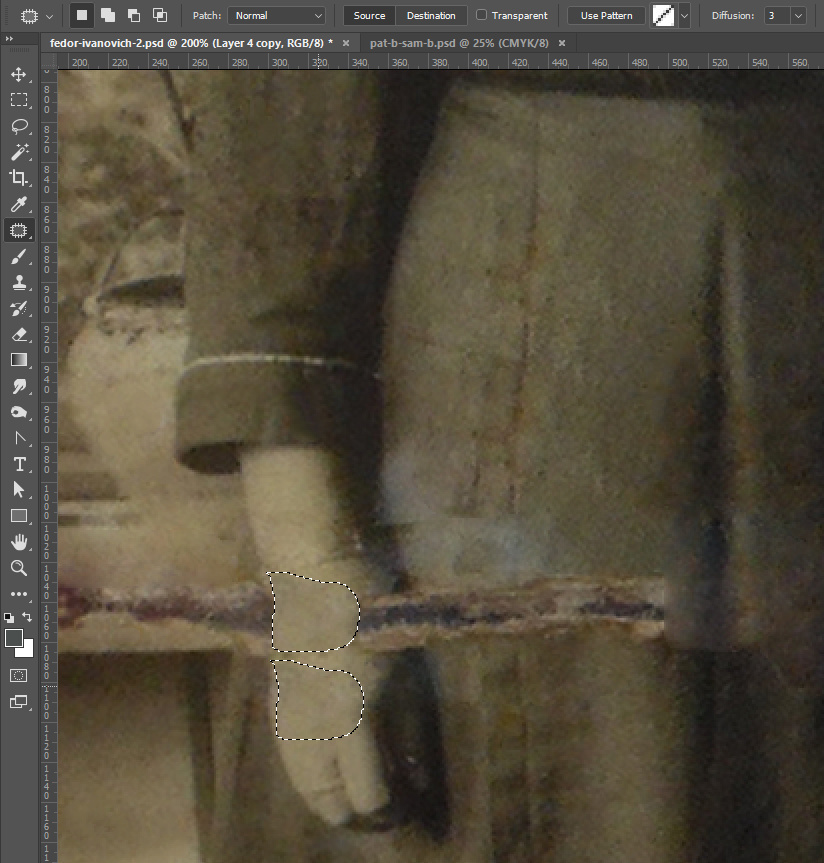
- Use Patch Tool
 remove other large spots and defects.
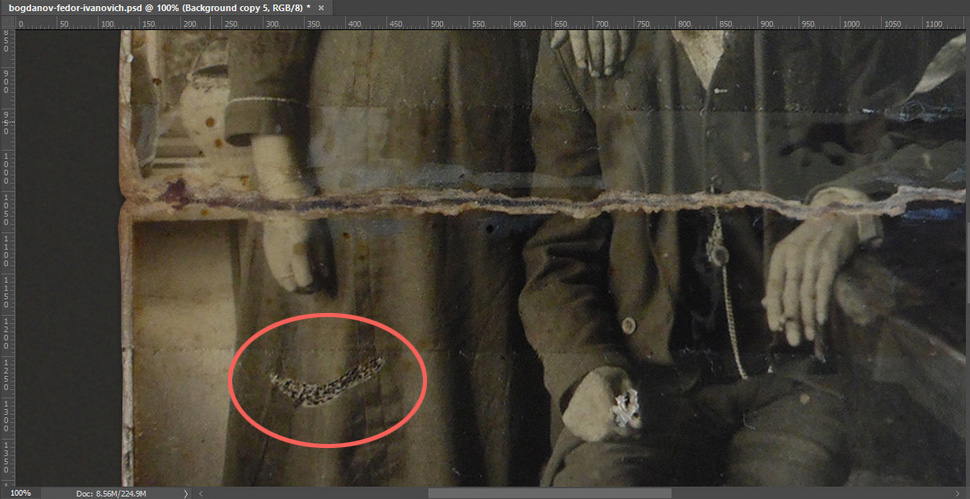

- Here is the video example.
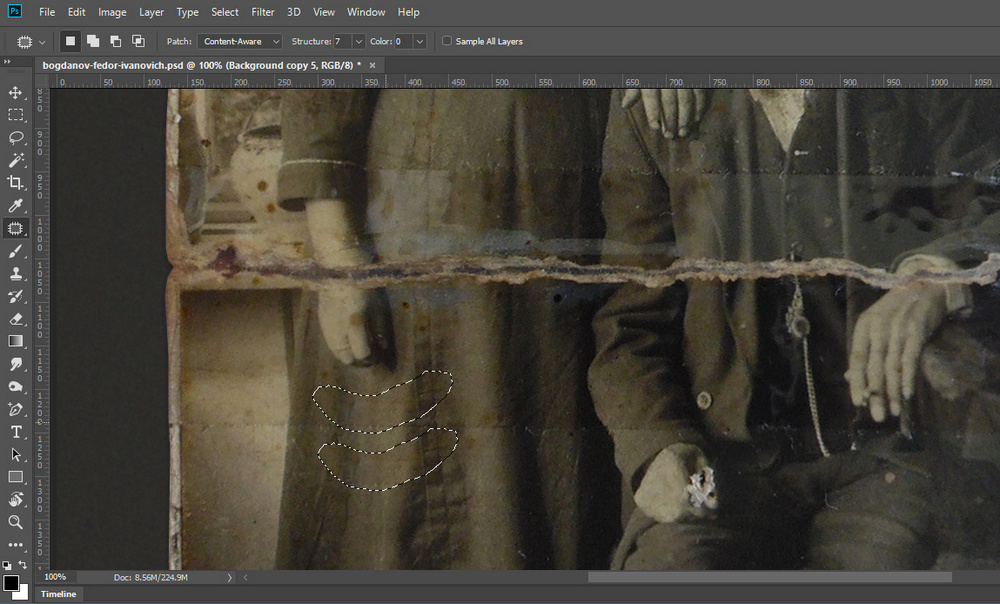
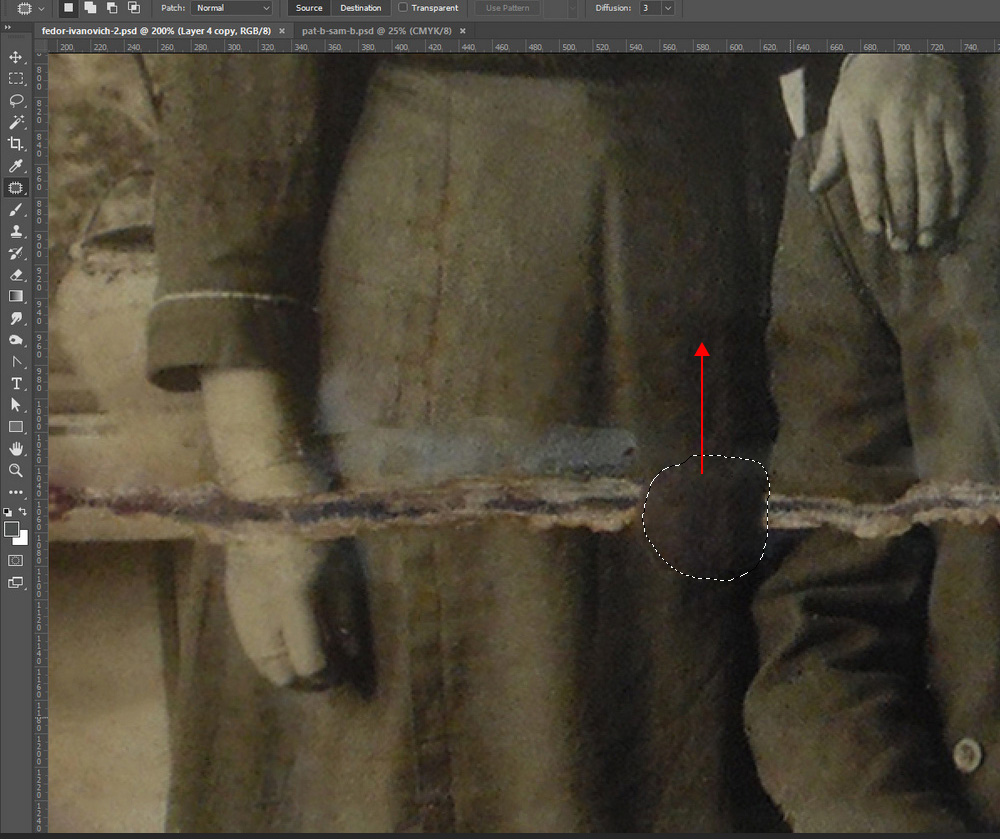
- Also use Patch Tool to remove large crack across the photo. Select small pieces of damaged area and move selection to the clean area with the similar texture. Repeat this action piece by piece.
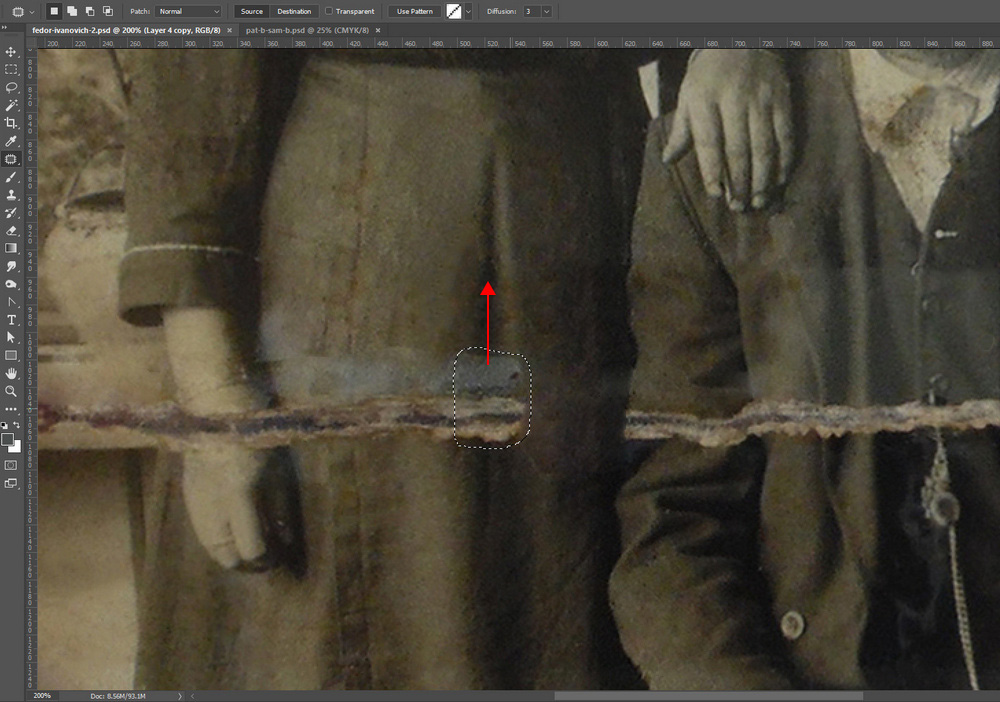
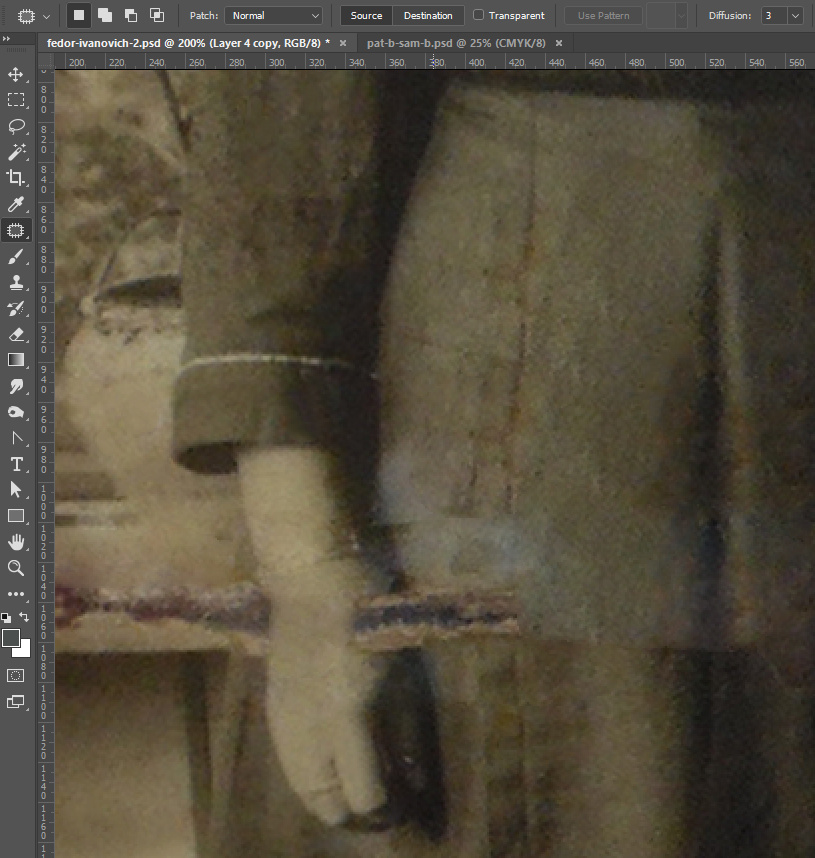
- Here is the part of repaired photo after using Patch tool. It still have imperfections. You may correct them by using Spot Healing Brush.
- Here is video example of removing ripped area.
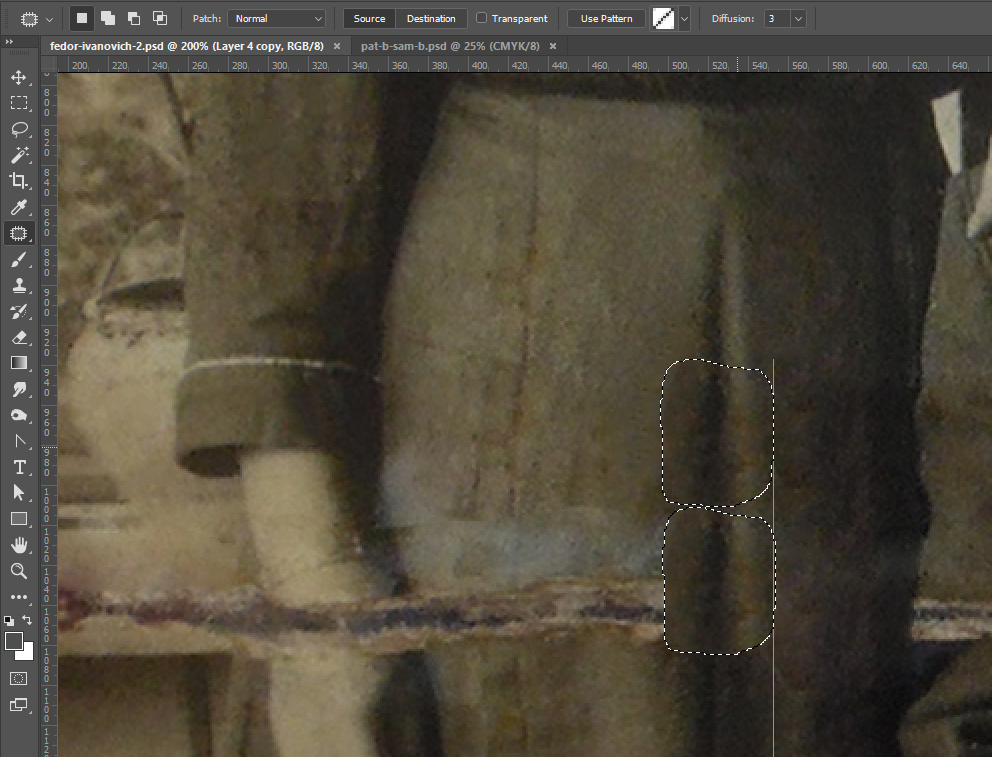
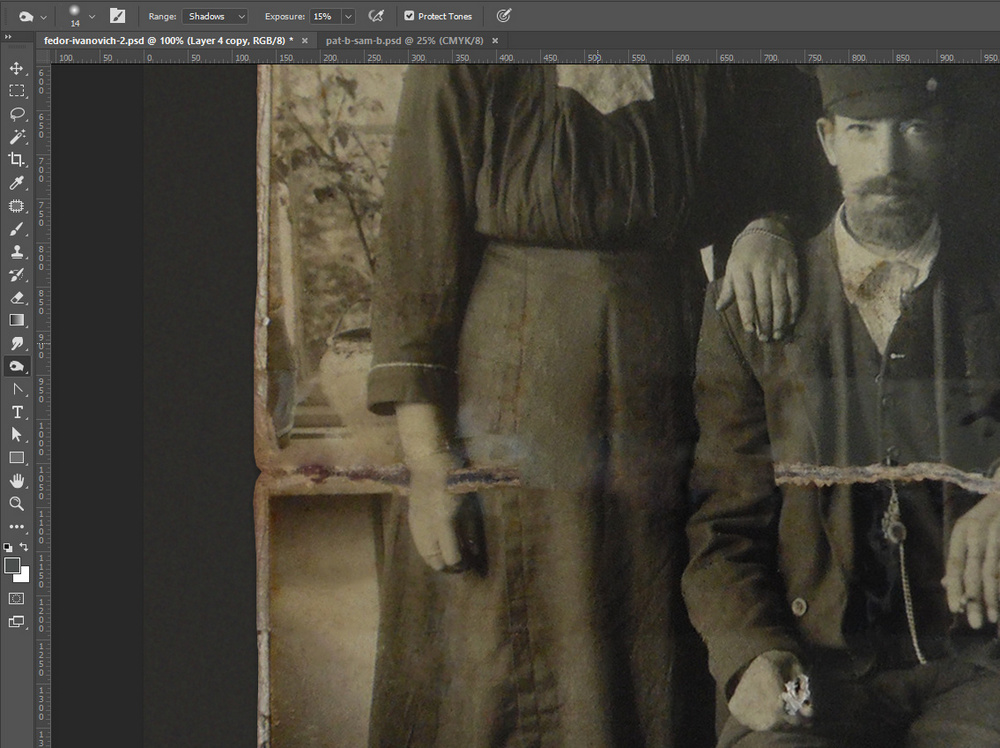
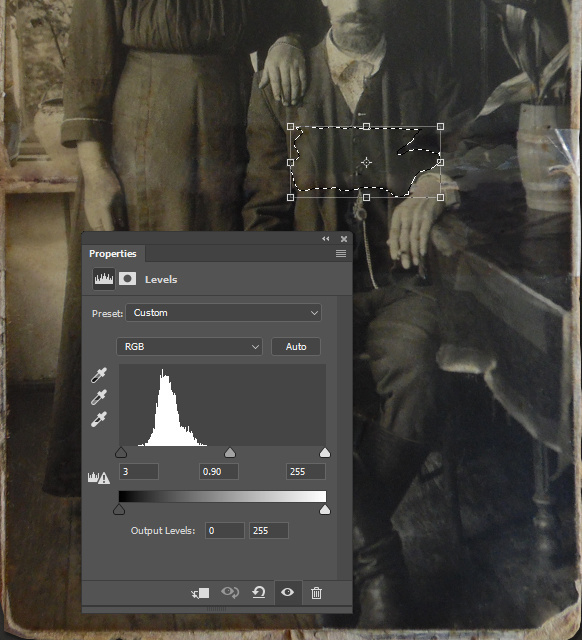
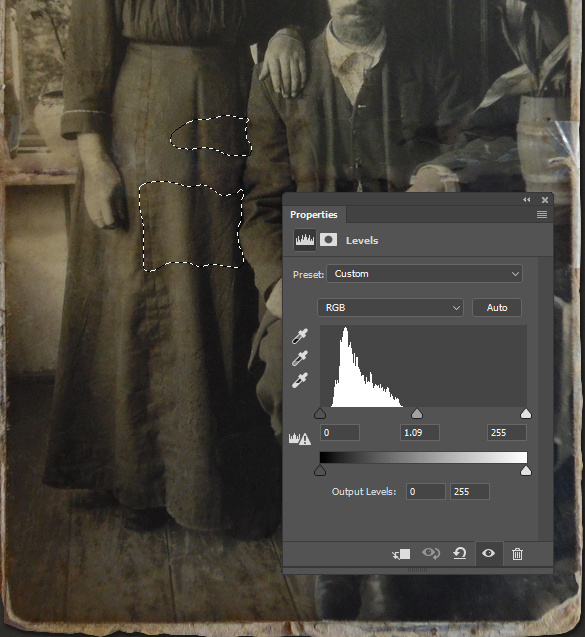
- The large damage across the image has removed but some areas have highlights and reflections because of tape on the ripped area. Choose Lasso selection tool and select the part of image with different tone. In order to avoid very noticeable contour of corrected area, try to modify selection. Go to Select > Modify > Feather (0.8-1). Then correct levels of selected area, the settings depend of the spot tone. Play with markers to get best result. You may seethe contour of corrected area even after modifying the selection. In this case process the contour with the Spot Healing Brush
- Here is the result of recent changes.
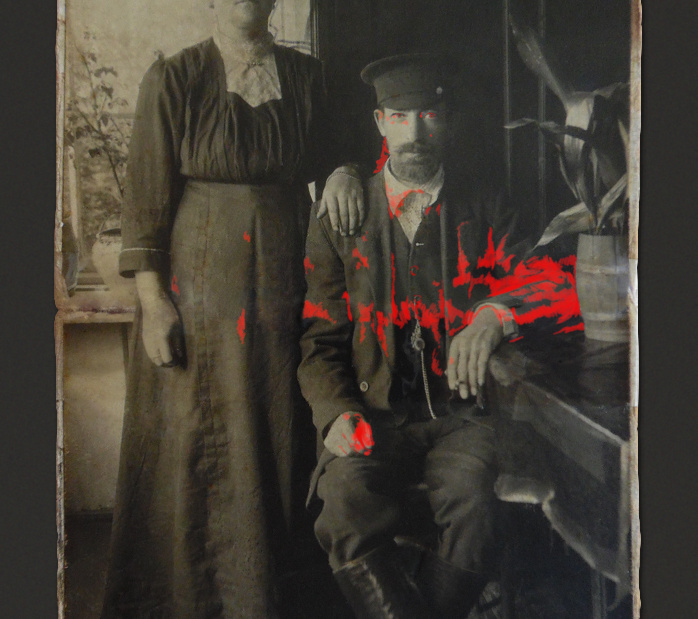
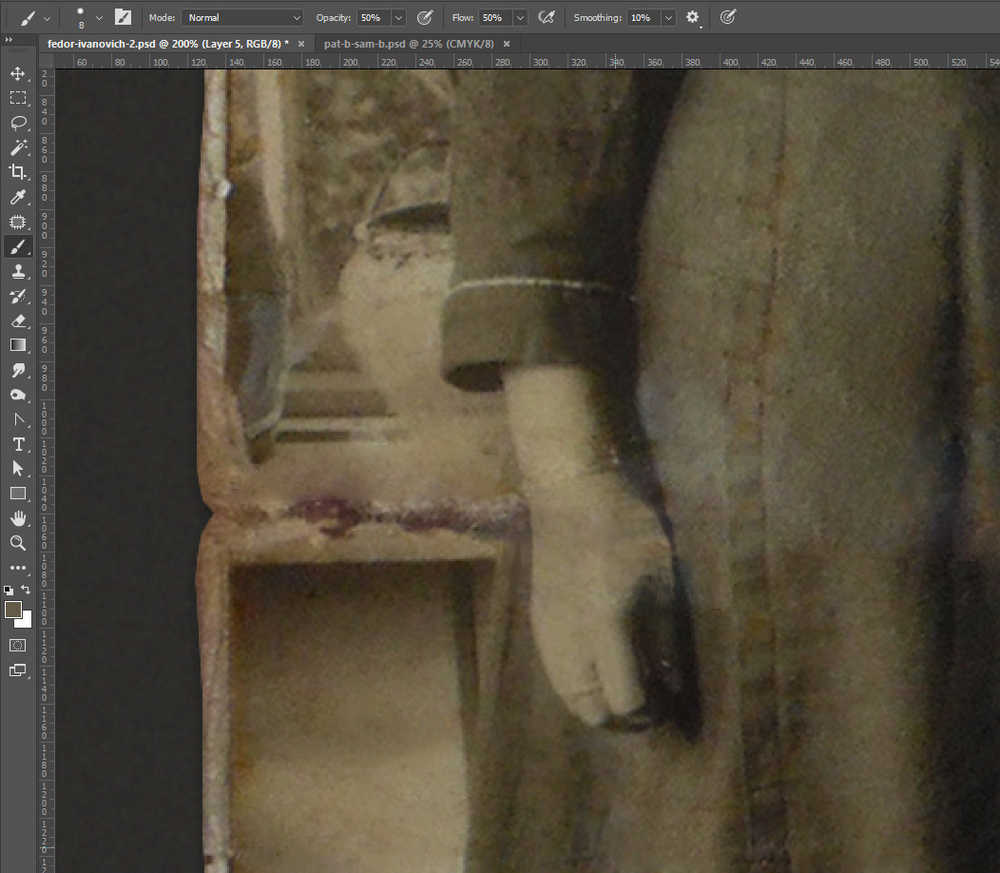
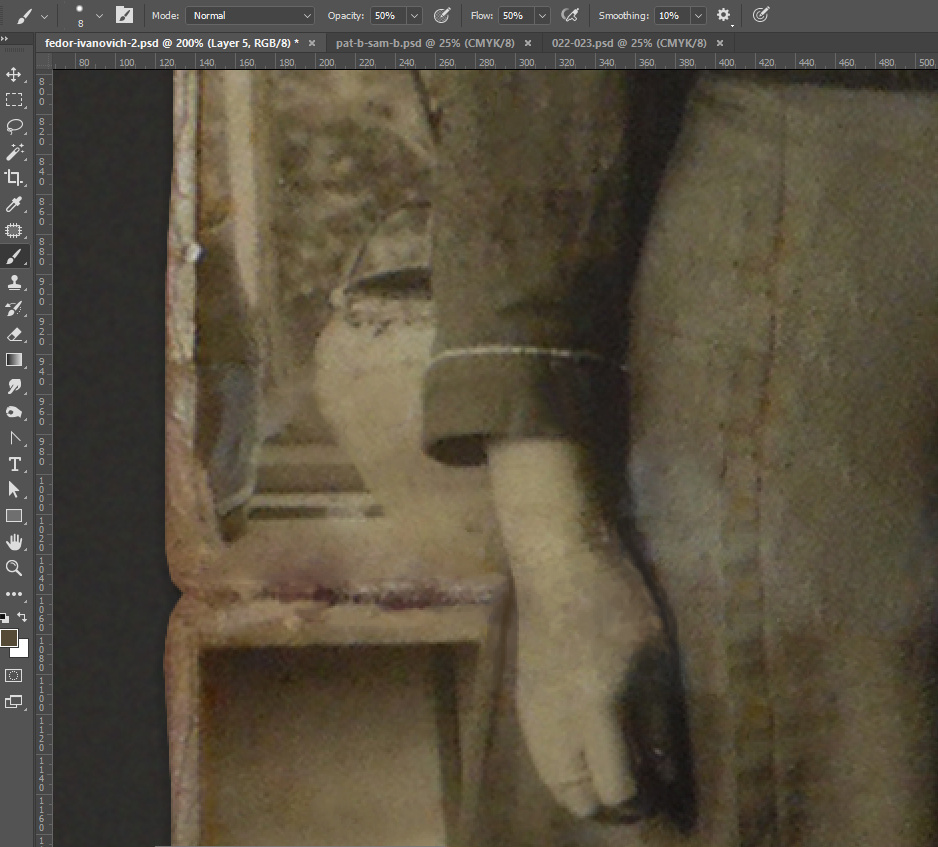
- There are still a lot of imperfections on the clothes after removing large center damage. I fixed them with small translucent Brush Tool (30% Flow and Opacity). You may see areas processed with the brush on the screen shot below.. In order to make brush traces less visible use Alt +click to pick the right colors. I used the similar method in order to draw damaged hands of people on the photo. Watch video example (part 4).
- In the end of this video example you may find how to apply natural photo texture to the painted areas. Work with the Brush Tool in the separate layer. Then go to Filter > Noise > Add Noise(4). Then choose Gaussian Blur filter, set 0.3-0.4 value
- I used the same method to repair lady's hand.
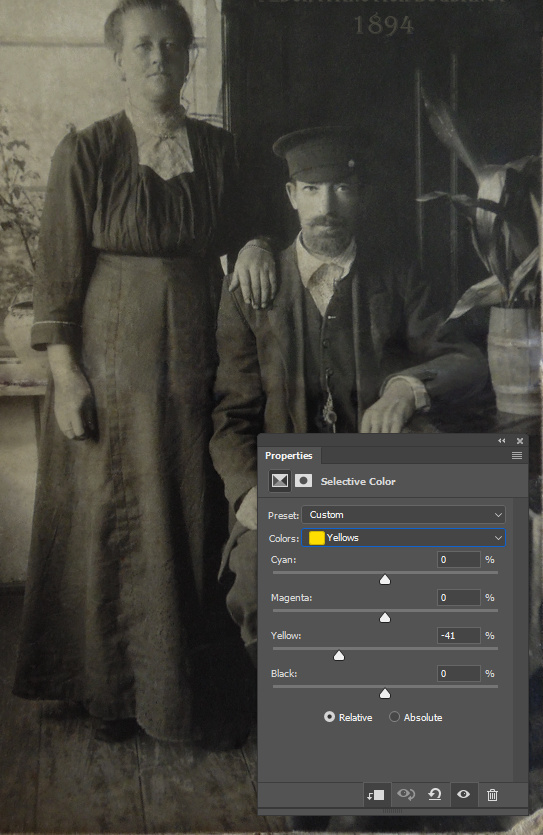
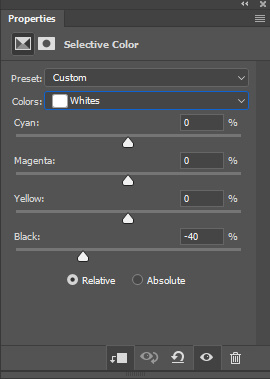
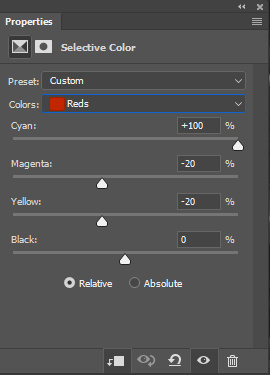
- Left part of the photo has gray tone and some areas are colored with yellow/warm shades. In order to make the tone of the photo even, correct Selective Colors setting. First merge all layers, then go to Image > Adjustments > Selective Colors. If you want to remove yellow shades, use settings from screenshots below.

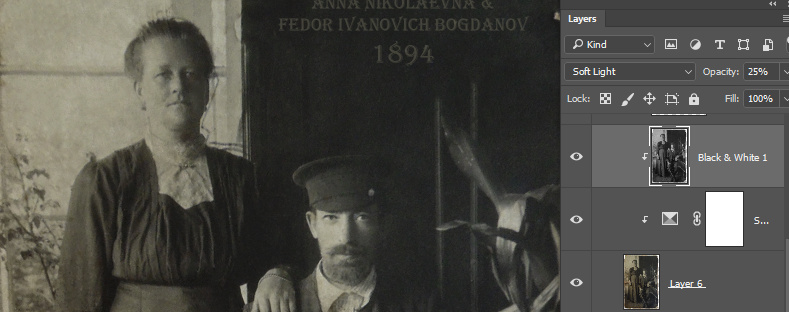
- In final merge all layers, duplicate layer with the retouched photo. Apply Soft Light Blending Mode and Opacity 25%
to the duplicated layer. This may help to add contrast and sharpness.
- And here is the result: